
Artificial Iridescence
Part 1

For my second high stool I wanted to try one of the new pigments I ordered. Plan was to paint it, add a single coat of black on top, and then abrading it away to give some visual interest. I’m a huge fan of greens and blues and opted for green this time around. My choice was between Monte Carlo green and oxide green. I liked the look of Monte Carlo and decided to test it out.
Shortly after that decision, I had read a post from Alex Jennings, detailing the issues he had with trying to use Monte Carlo Blue as a pigment for home made milk paint.
After checking the Earth Pigment website, I confirmed that both MC blue and MC green were synthetic pigments (which is not necessarily a bad thing) so I was more diligent in making a test board1.
Here is my typical process for making and applying the paint
Slake the lime for 10 minutes
I think this is largely un-needed. I added it to the process after my first few batches and it ‘felt’ like it helped with the feel of the paint, but consulting with other paint makers confirms that I can likely skip this step
Mix everything else at at the same time. I’m not particularly precious about this step. I add everything to the cup and let the Magic Bullet sort it out.
It’s at this point you could decant (if extra foamy) or strain if you have a lot of extra solids hanging out in the bottom. I haven’t had a need to, but might explore it in the future.
Apply the first coat
After it dries, lightly sand any areas that have raised grain with a heavily used 320grit sanding sponge
Re-coat as needed.
Once mixed, the paint looked/felt like all the paint I’ve made before, with one exception. There was a noticeable amount of micro-clumping after my first mix. It showed up as dark spots/dots throughout the mixture on the lid of the container (I couldn’t really capture it via photograph). I gave the paint another mix cycle and proceeded to paint my test board. A related issue I noticed with this paint/pigment that I don’t typically have a problem with is separation. Between the second and third coats on my test board, I took a walk and came back to a paint that had heavily settled.
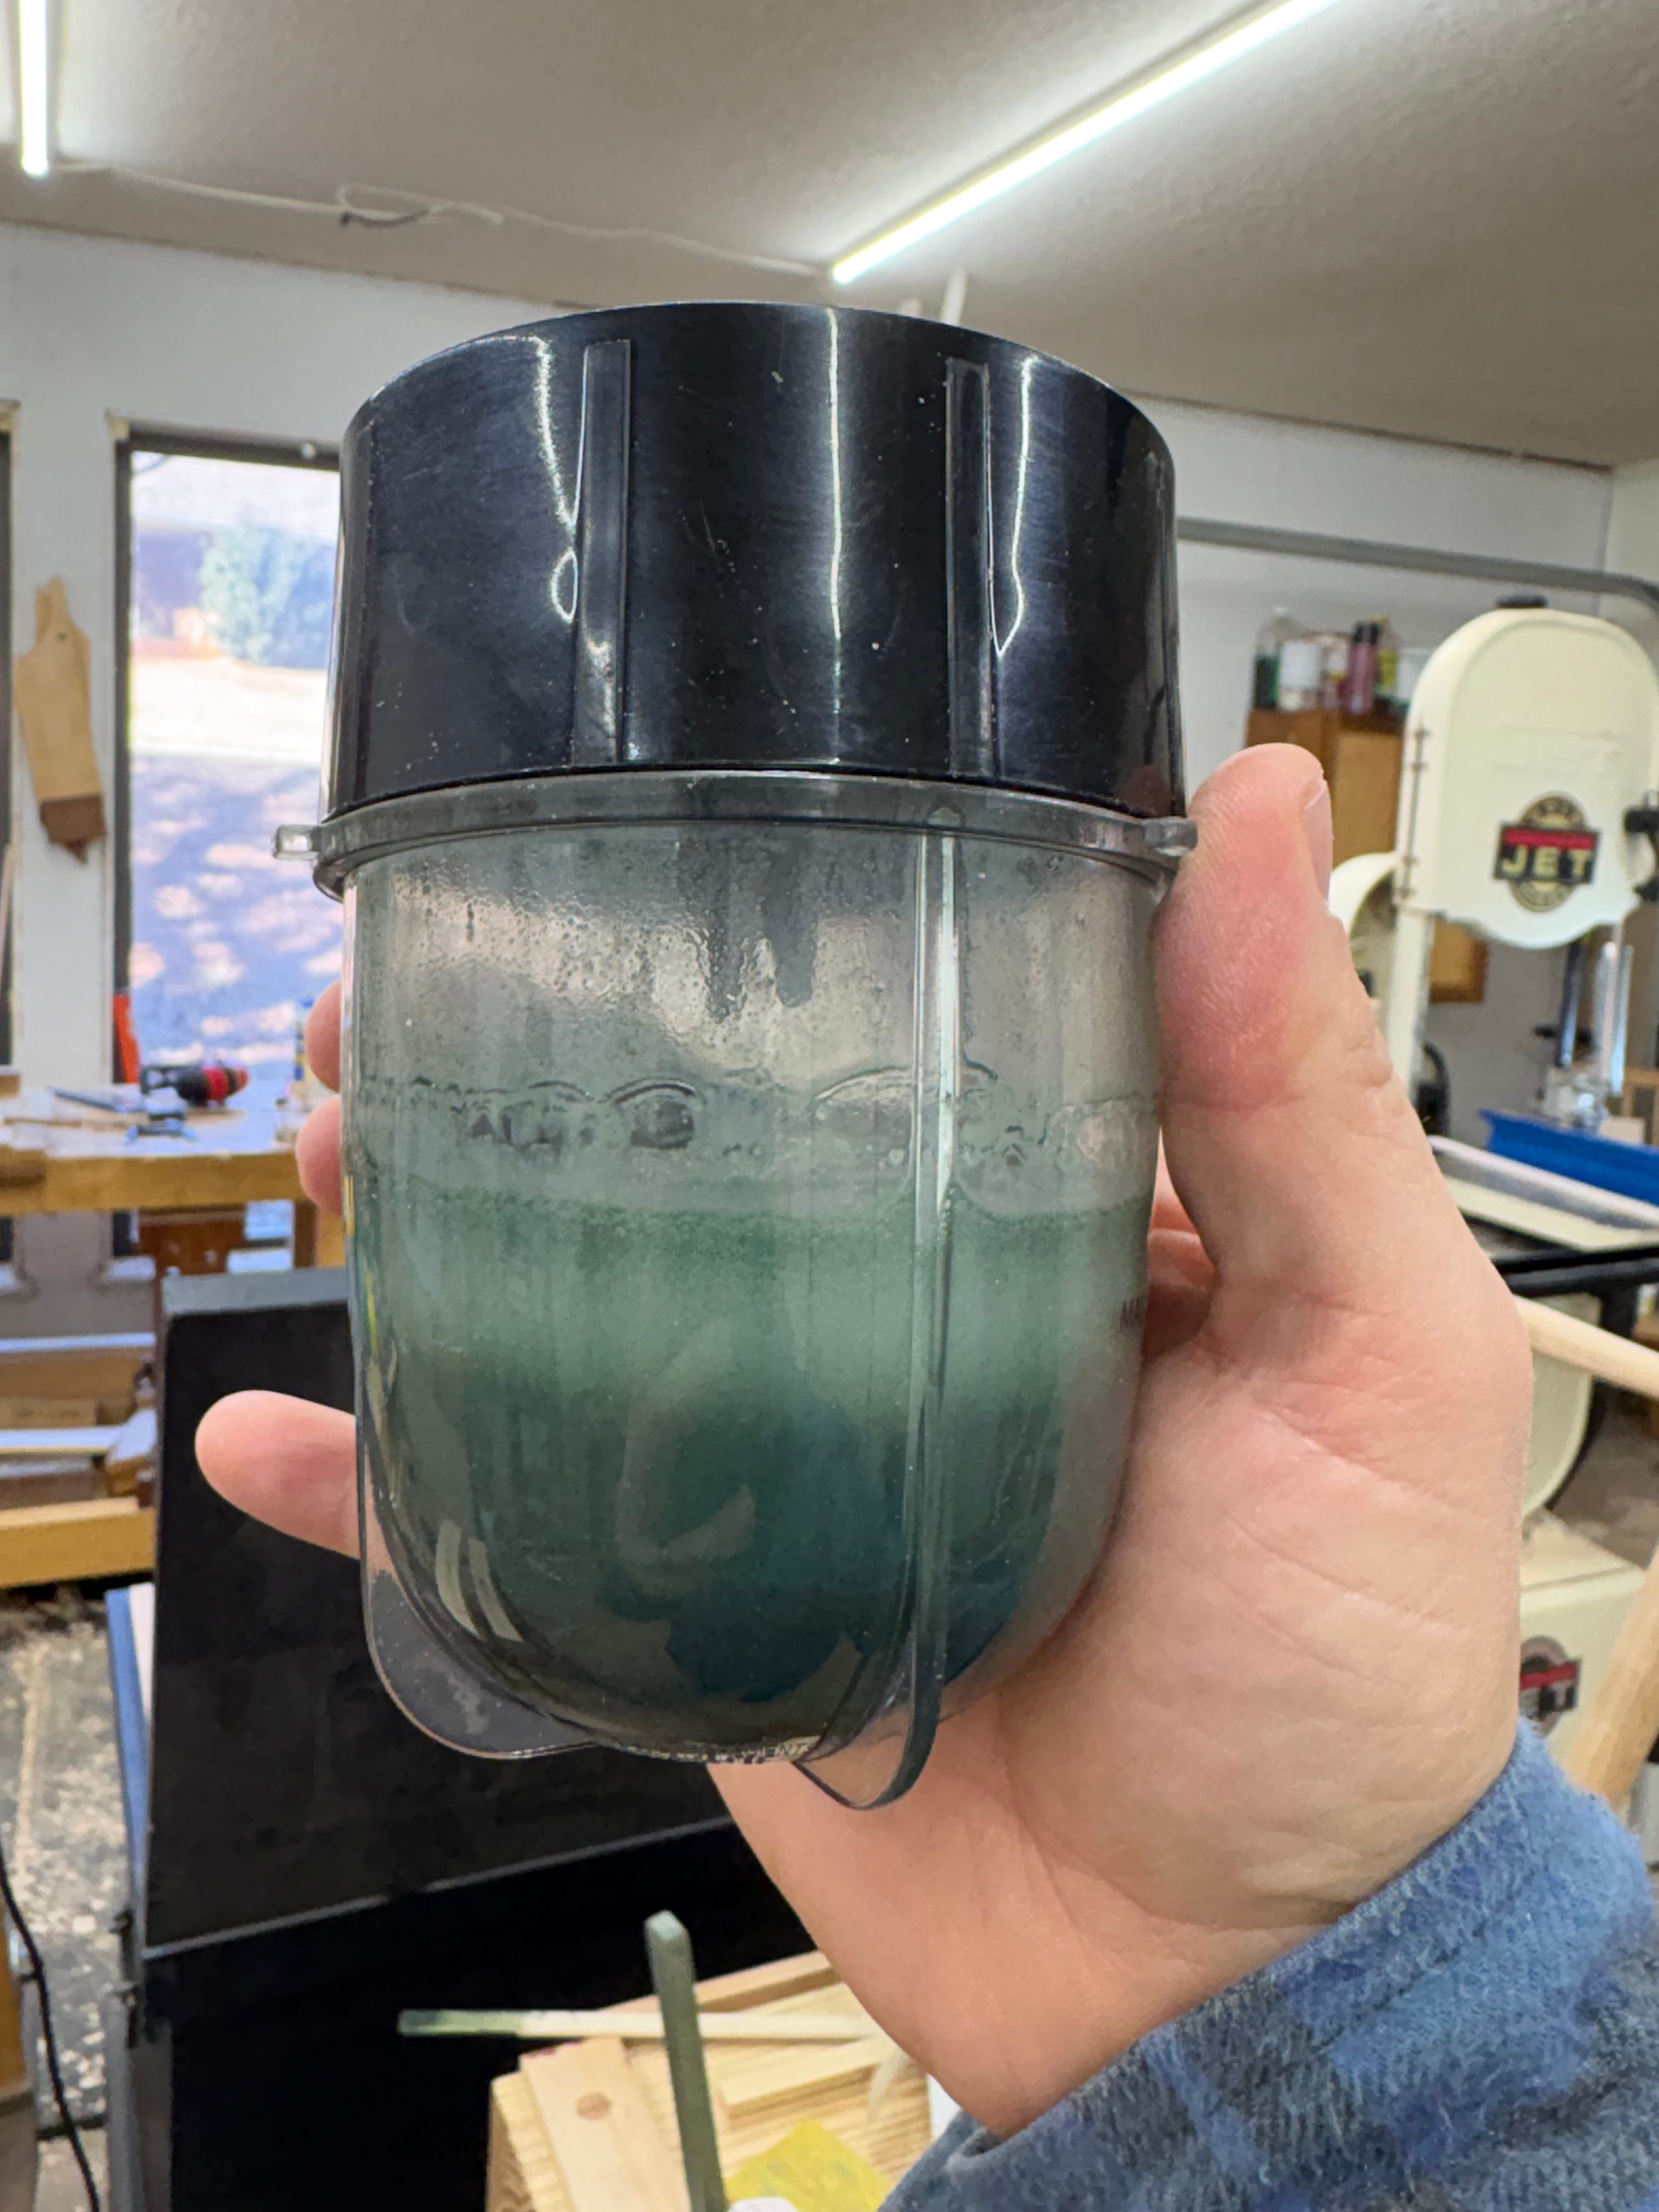
I simply mixed it again before applying a third coat. This time, I took a photo of the lid after mixing and after I had applied the third coat. The settling, even in such a small amount of both paint and time, was impressive.


This led me to changing my protocol while painting. I did a mix cycle before AND after each coat, and if I wasn’t actively applying paint with the brush, I was using it to stir the paint. Sounds like more of a pain in the ass than it actually was.


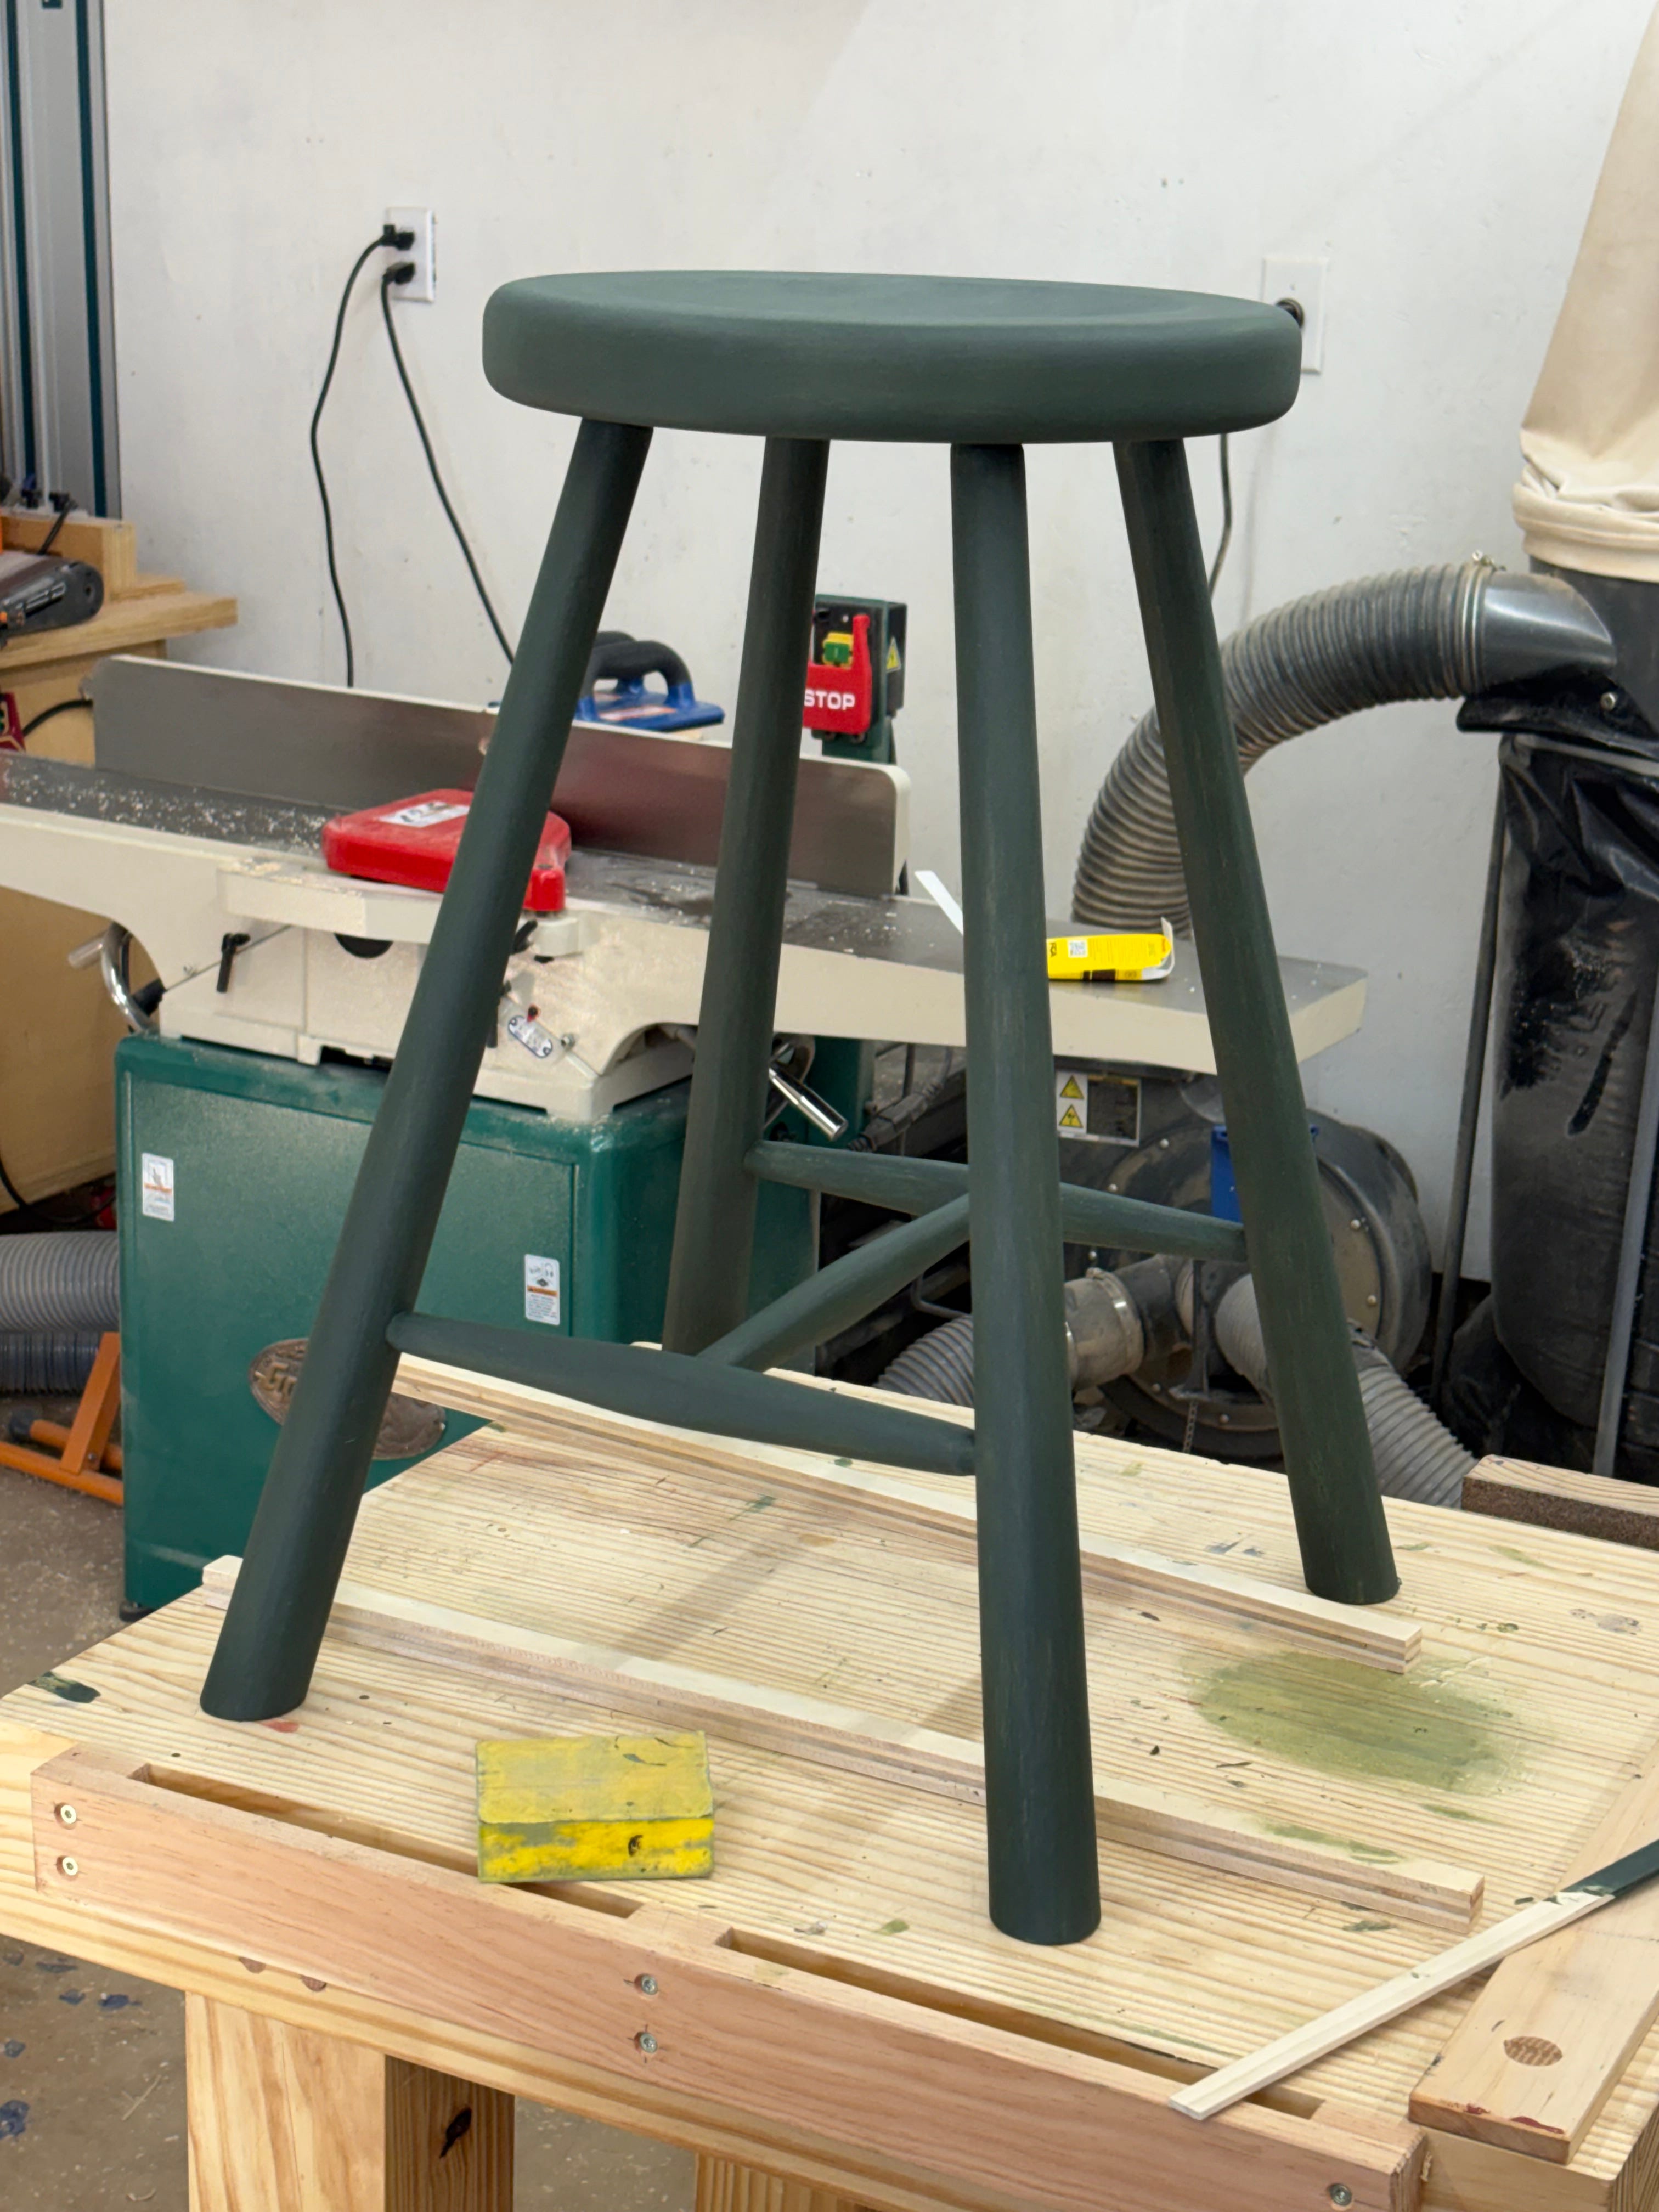
For a green, I was actually surprised with the coverage. Typically, greens seem to take 1-2 more coats to get good coverage, when compared with the typical four coats I need with other pigments2.
With the addition of frequent mixing, the test board turned out well enough for me to move ahead and paint the stool. I had to do it the following day, which meant thinning the paint and storing it in the fridge. I’ve done this more than a few times, and with a nice blend cycle the following morning it was ready to go.
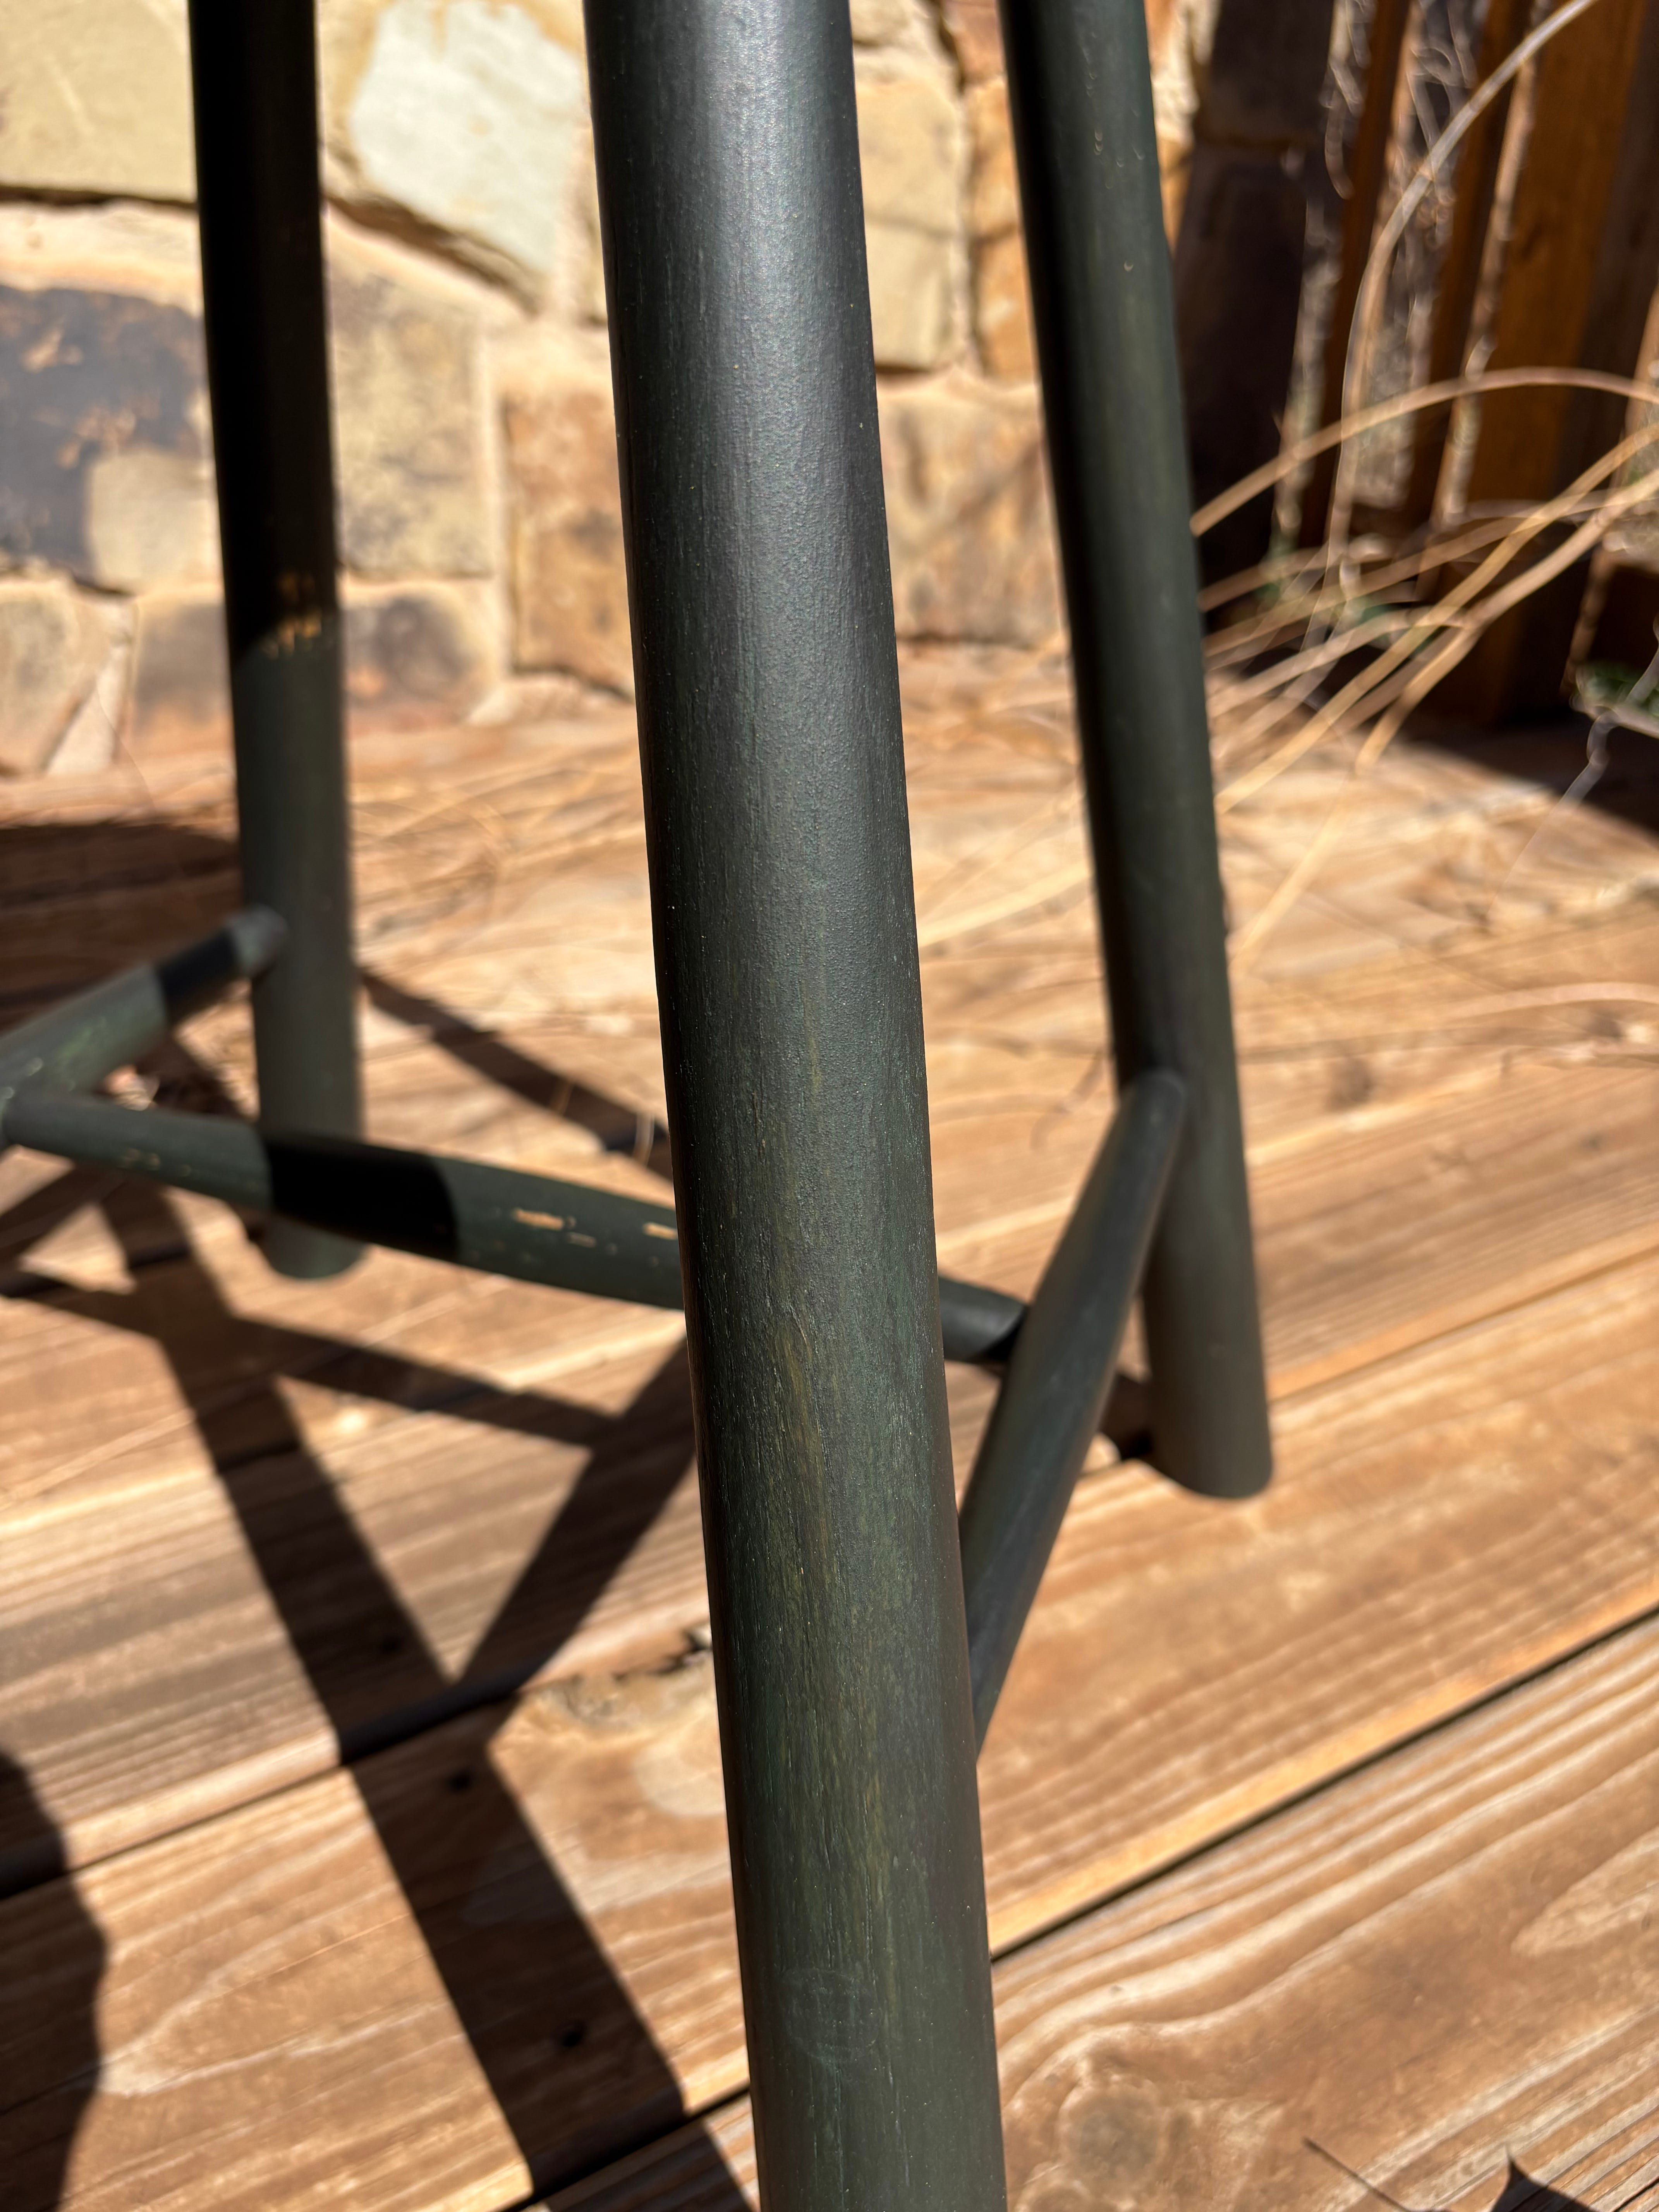
The paint went on well, but the biggest difference between the two days was the surface quality after the first coat. I lightly sanded back the raised grain, but I was still getting a bumpy texture after each coat. Not entirely sure what was going on here, but I used the sanding sponge between each coat and wiped off the dust. This extra sanding left the coverage a little short after 4 coats, but I only mixed a partial batch for the small stool. My plan was to use a single coat of black on top of it and use a maroon pad to abrade it away in spots, so I wasn’t too upset with how it looked.
I mixed a tiny batch of Roman black (a natural pigment closer to a really dark grey versus a deep black) and painted a light coat on my test board. After a few hours, I used a maroon 3M pad to abrade and polish the surface and it looked and felt great. The effect doesn’t show up in pictures very well, unfortunately, but I was pleased enough to move ahead.
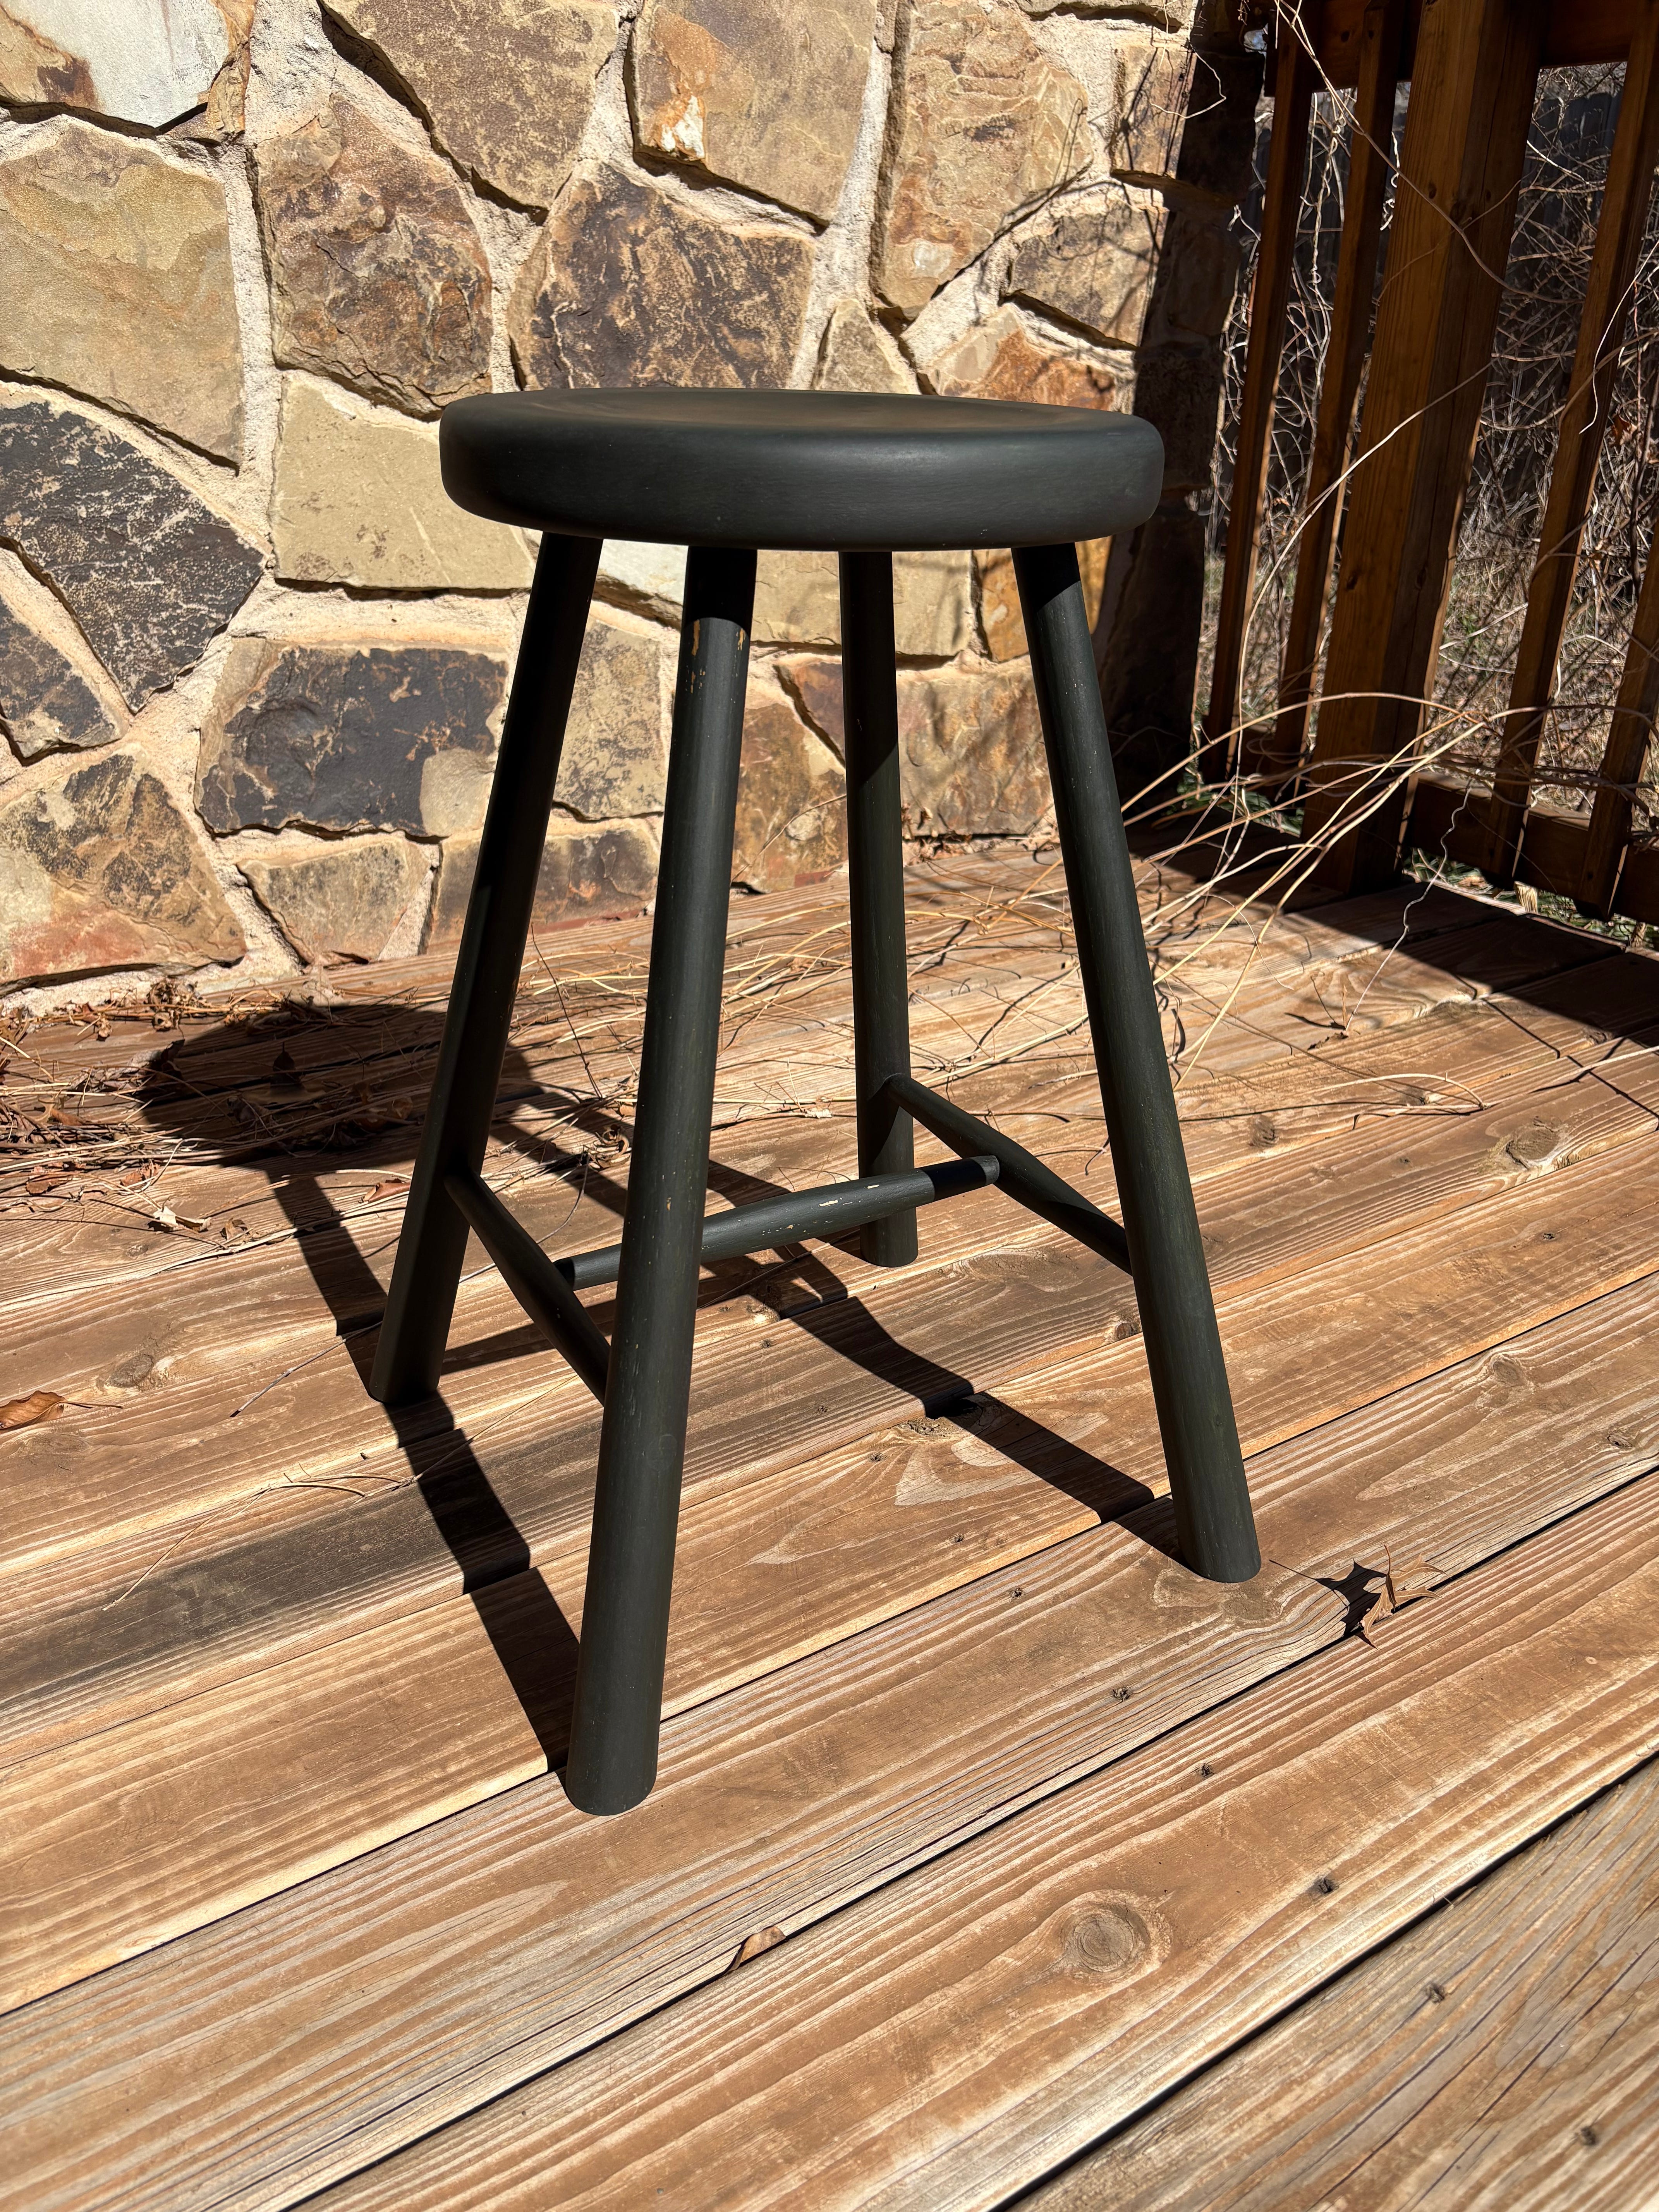
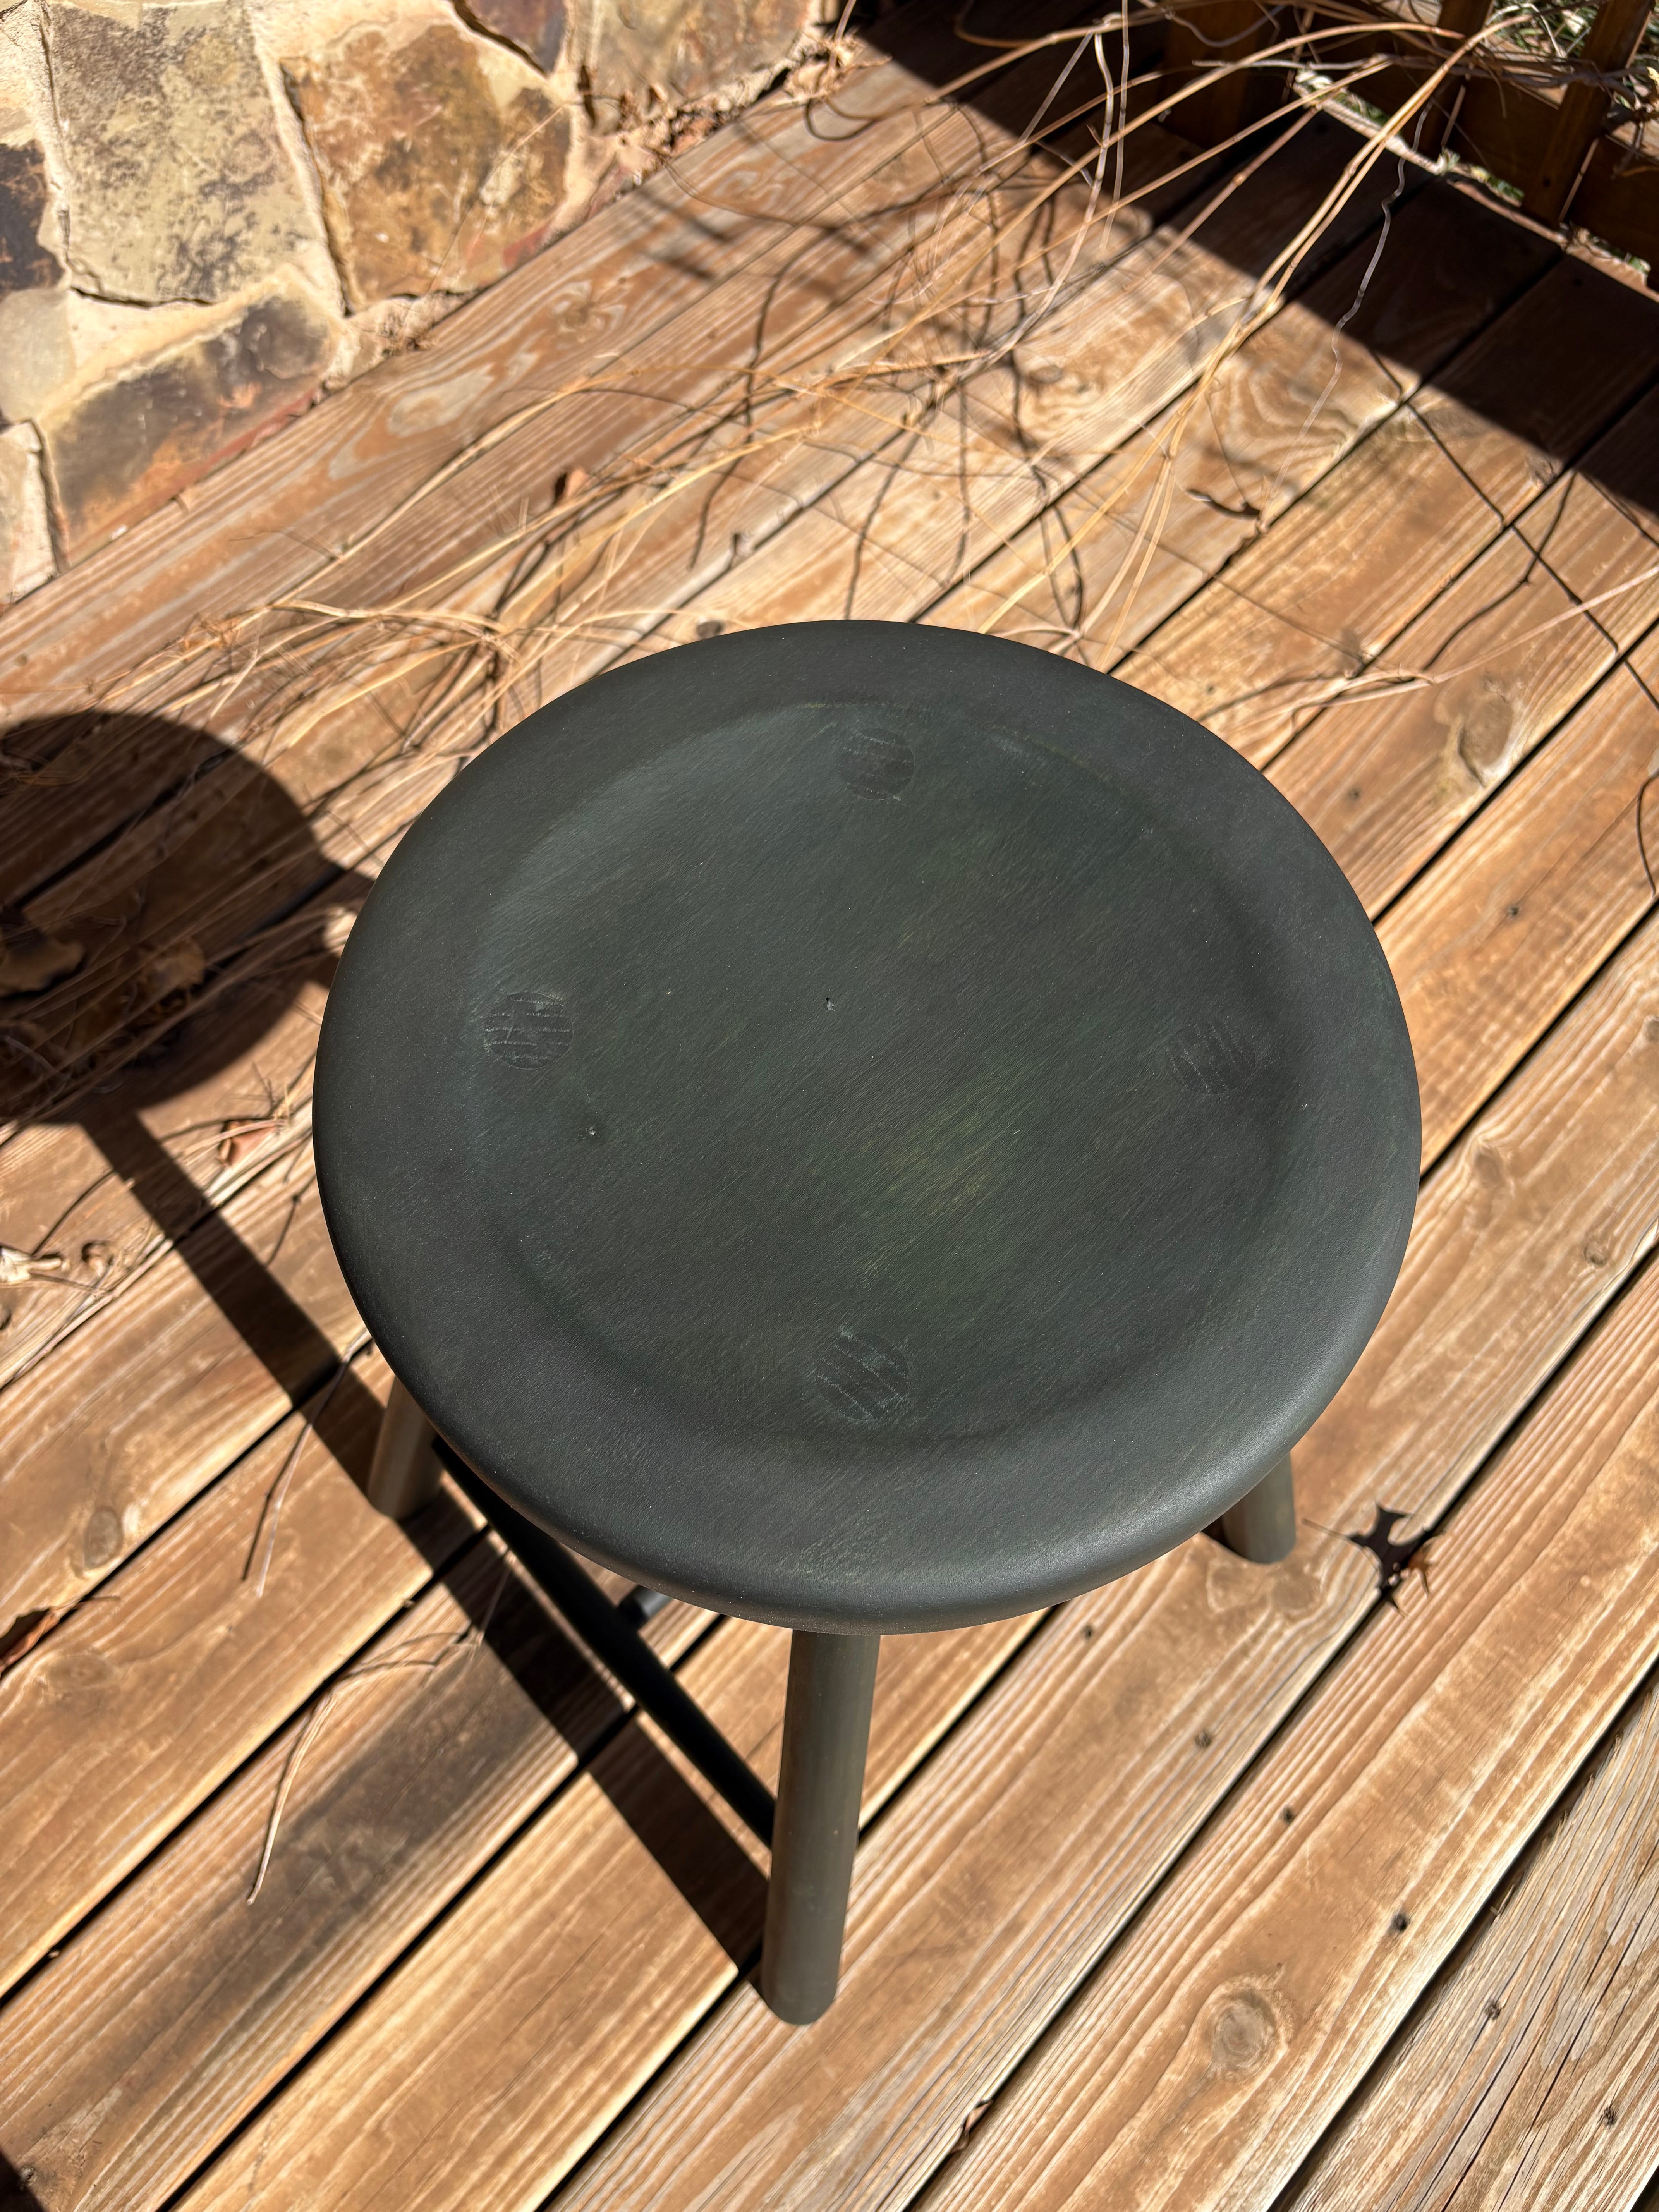
I applied a light coat of black on the whole stool and left it for 12 hours. I honestly should’ve waited longer for it to harden up, but this was all one massive experiment with a ton of variables, so I just went for it. The surface didn’t burnish as well as my test board, but I still got the desired effect. I went a little TOO hard on some spots, abrading back to bare wood, but I was trying to see if I could get it to burnish as smoothly as my test board.
Brief recap for part 1:
The synthetic pigment was fine, just had some extra work
The black wash coat effect is really fun, and would be even more pronounced on a base coat that wasn’t somewhat dark to begin with
The paint flaking in some spots likely means I needed to be a little more diligent with my surface prep on this piece
Part 2 will cover tests with Monte Carlo blue pigment. I want to try a few things to see if I can address the separation better. Earth pigments recommends adding/slaking the pigment gradually to avoid micro clumping. Nick thinks an extra thick paint will hold it in suspension. I’ve got a batch of quark going and hope to test them both soon.
To be completely honest, more often than not, I just mix paint and go. After the first few batches, I feel comfortable with the process so I’m willing to chalk any weirdness up to learning. These are also personal/spec pieces. I wouldn’t take this approach for custom work.
On the other side of that coin, you have freaks like Venetian red that can cover in 1-2 coats max.
Getting close to finishing my first non-BS chair and wondering if I should go for it and try making my own milk paint. I've never tried the dry stuff so I have no point of reference. Reading all these experiences is helpful.
That turned out nice! To be fair, my prep was to blame for much of my failure, but the paint reeeeallly fought me too. I am curious about the idea of deliberately using fatter milk to possibly hold the pigment in suspension.