
Bug Hug

With the undercarriage sorted out, I moved on to the armbow. The hand shape I wanted required a wider hand than the typical 2” arms I’ve used, but I didn’t want the entire armbow to be that wide. The first chair I made had a flared armbow, so I took a cue from it and started with that general shape.
I didn’t want to copy it as is and just modify the hand shape since it’s a shorter arm than I like. I like the hands of my chairs to extend to the front of the seat. It’s a mix of personal comfort and aesthetics. When I sit in a ‘short’ armed chairs, I feel like I have to pull my elbows back to place my hands on the hands of the chair, and I like the profile look of chairs where the arms extend that far forward.
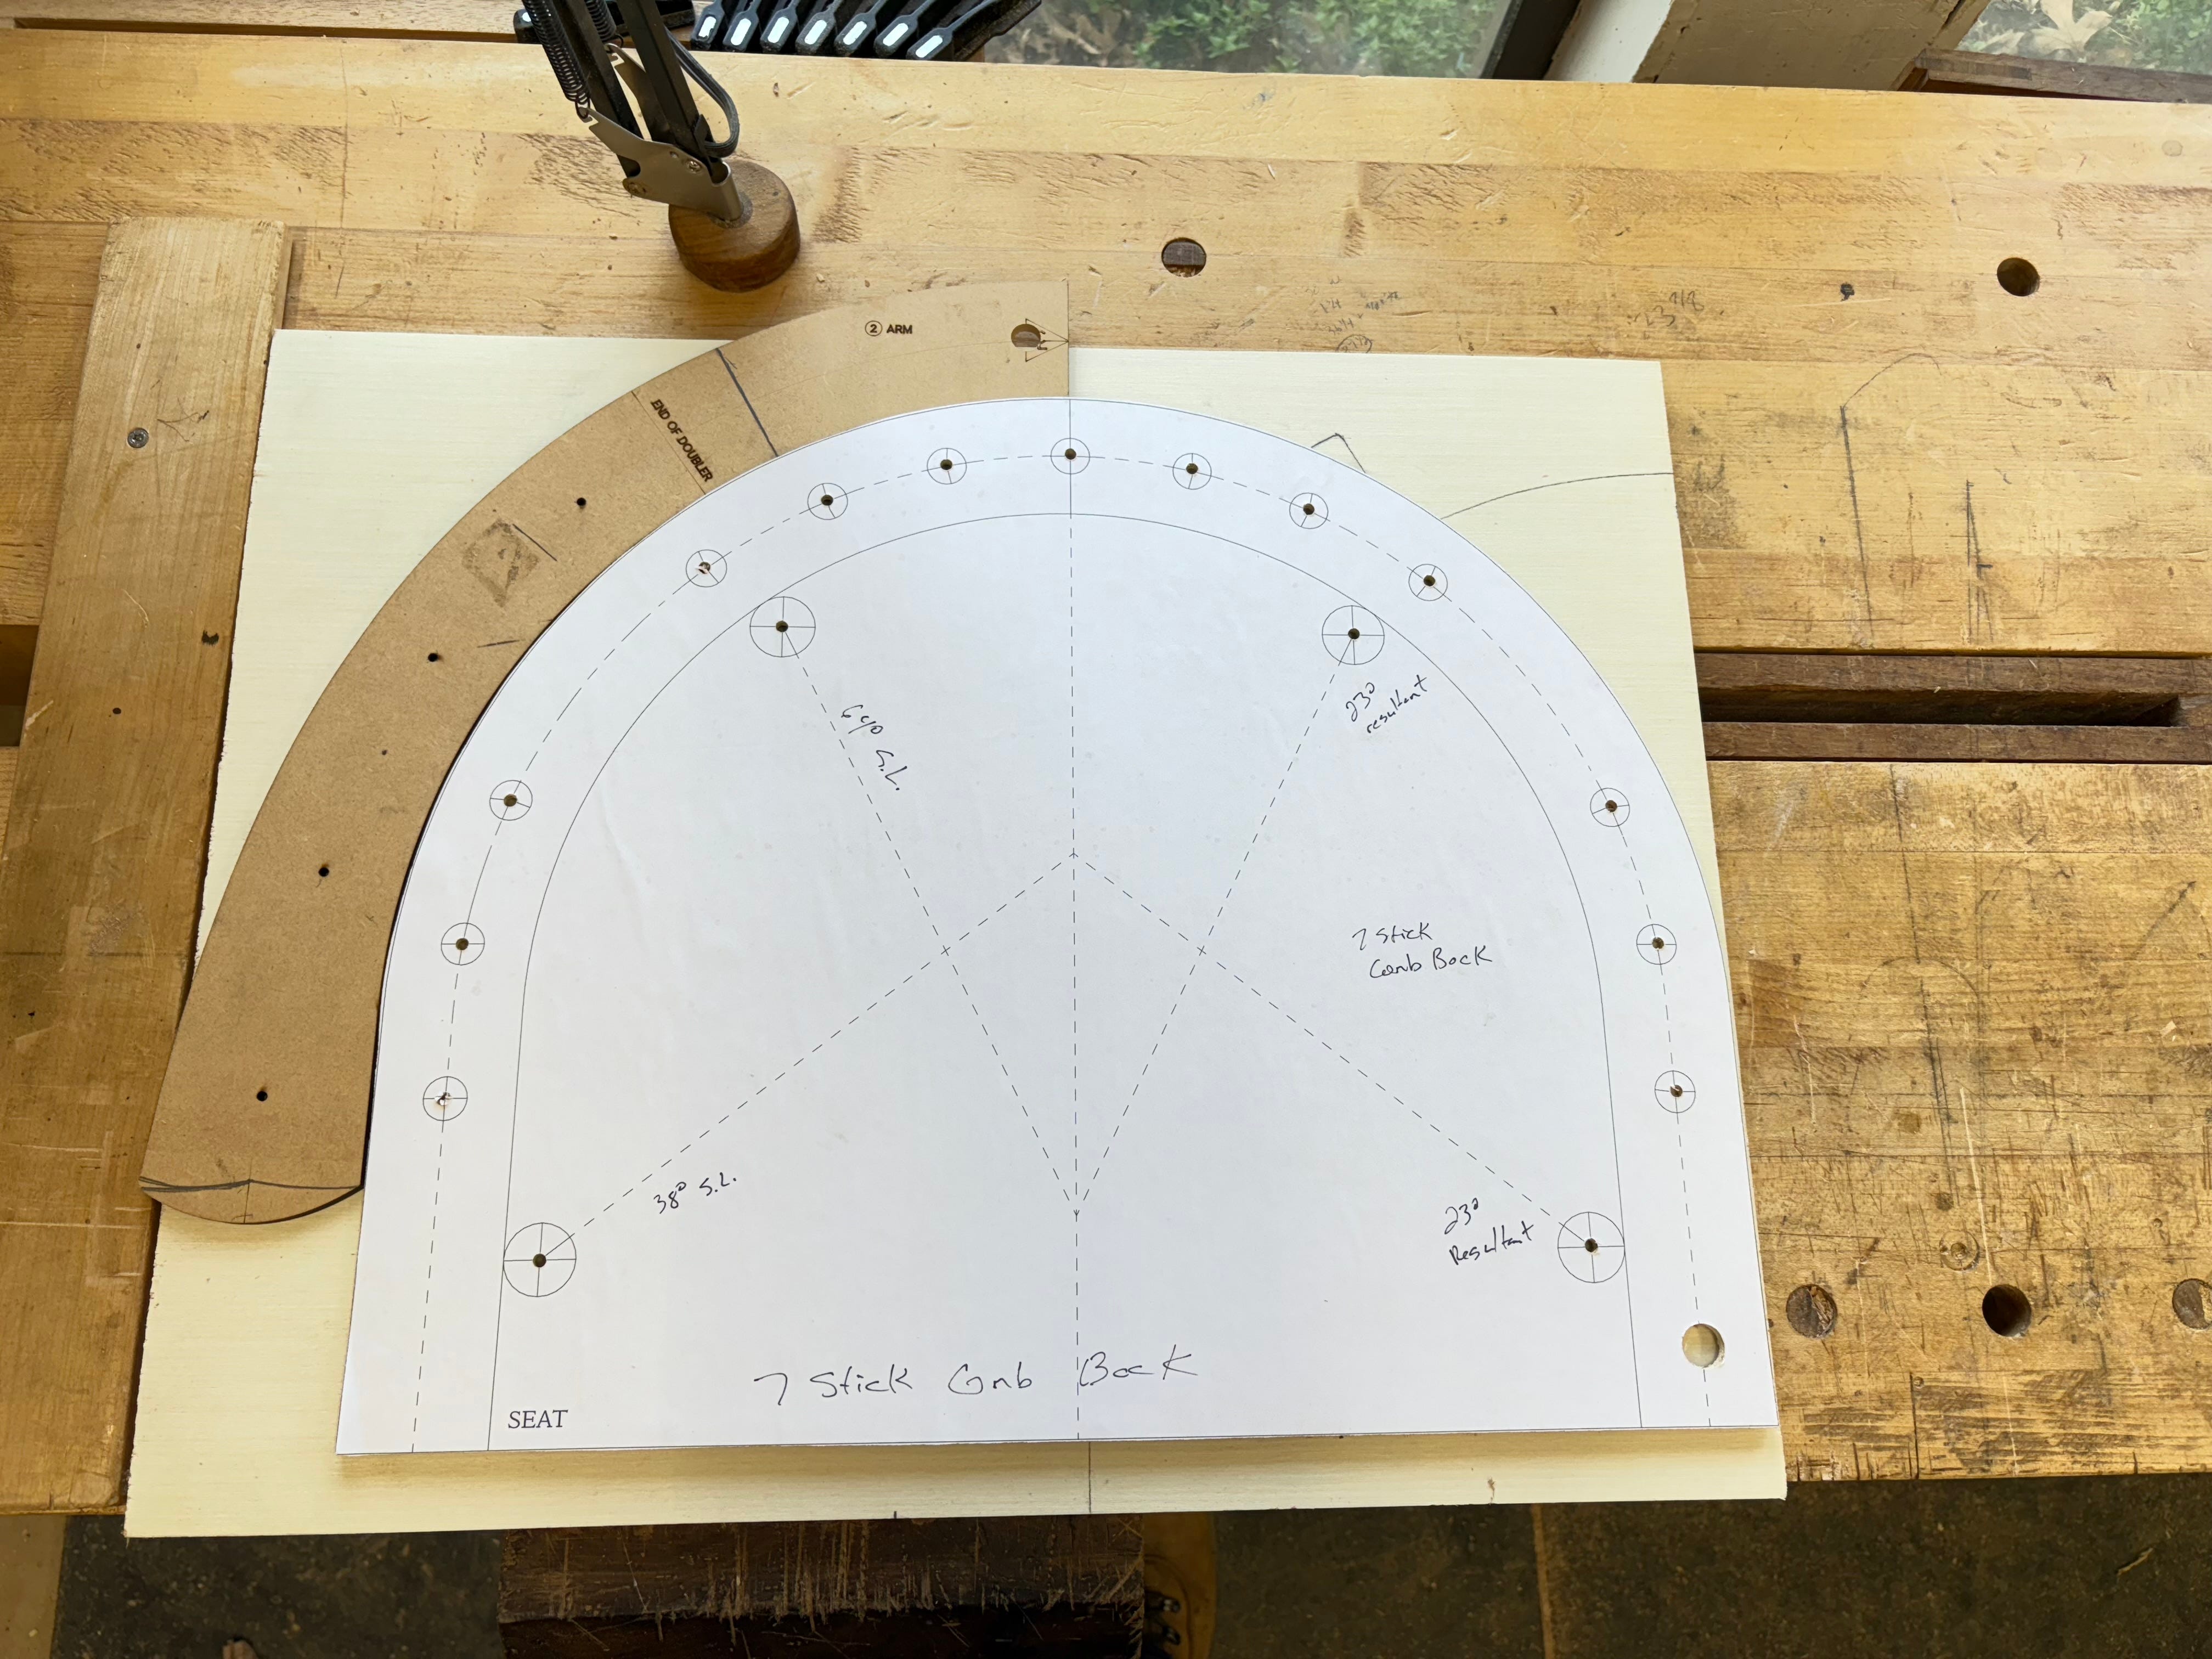
This arm flares from 2” to 2-3/4” wide at the hands, which looked like a nice place to start. I traced the seat shape and drew some reference lines. To determine where the flare would start I used my dividers to take 6 ‘steps’ from the centerline at the back edge of the seat to the front, walking along the edge. The flare from 2” to 2-3/4” would start at the 5th step.


My original plan was to flare the hand out only on the outside curve, but with the arm extended to the front of the seat, the long straight section on the inside of the arm looked too jarring when it was next to the flared curve. I marked the center point of the arm and added more curvature to both the inside and outside edges of the arm.


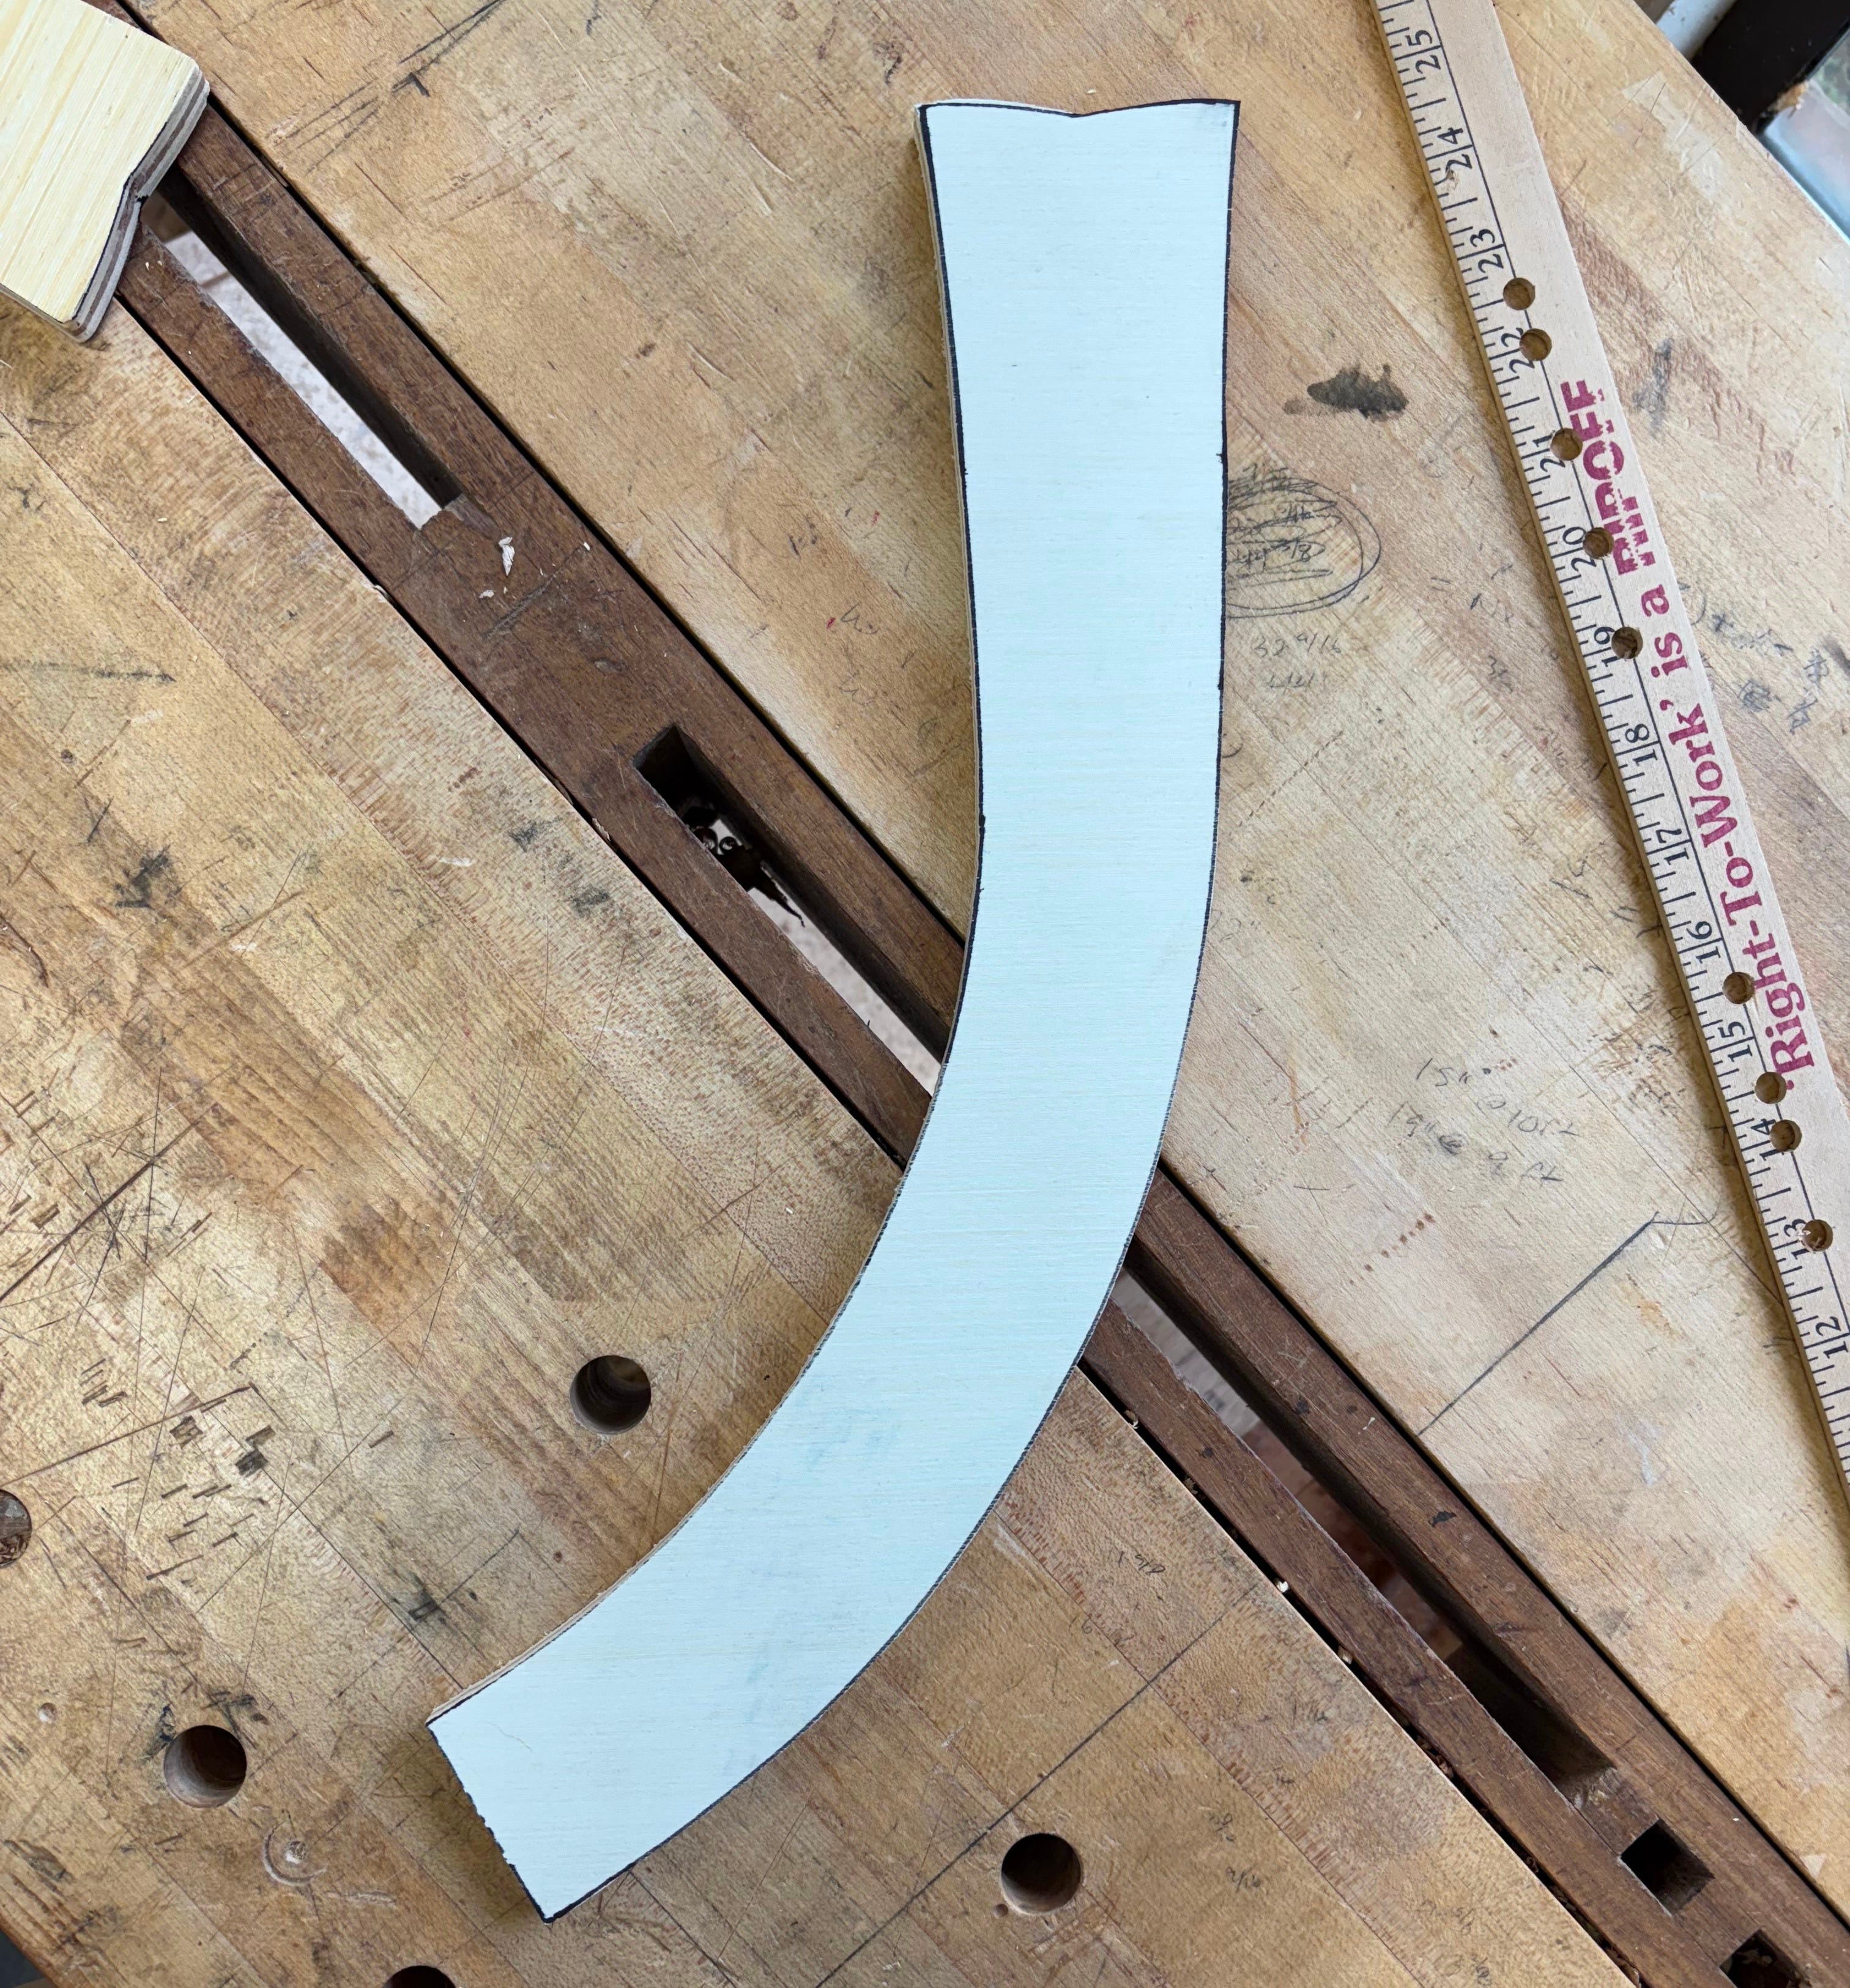
I found a section of curvature I liked on a French curve and marked the start/stop points with a marker to consistently lay out the hand shape.


I liked how the resulting arm would slightly cross over the seat and curve inward, almost like the chair is trying to give you a hug, but I didn’t like the outside curve. It didn’t match the subtle flare out I achieved on the inside of the arm. I re-drew the arm shape and used my French curves to change the inflection point, shifting from curving inward to curving outward, yielding a matching flare.

I was very pleased the second iteration.
I made a full armbow with scrap ply and added blocks under my drilling jig to simulate tilt. My first pass used a 1” spacer block to raise the arm from 8” above the seat at the back to 9-ish” at the front of the seat.
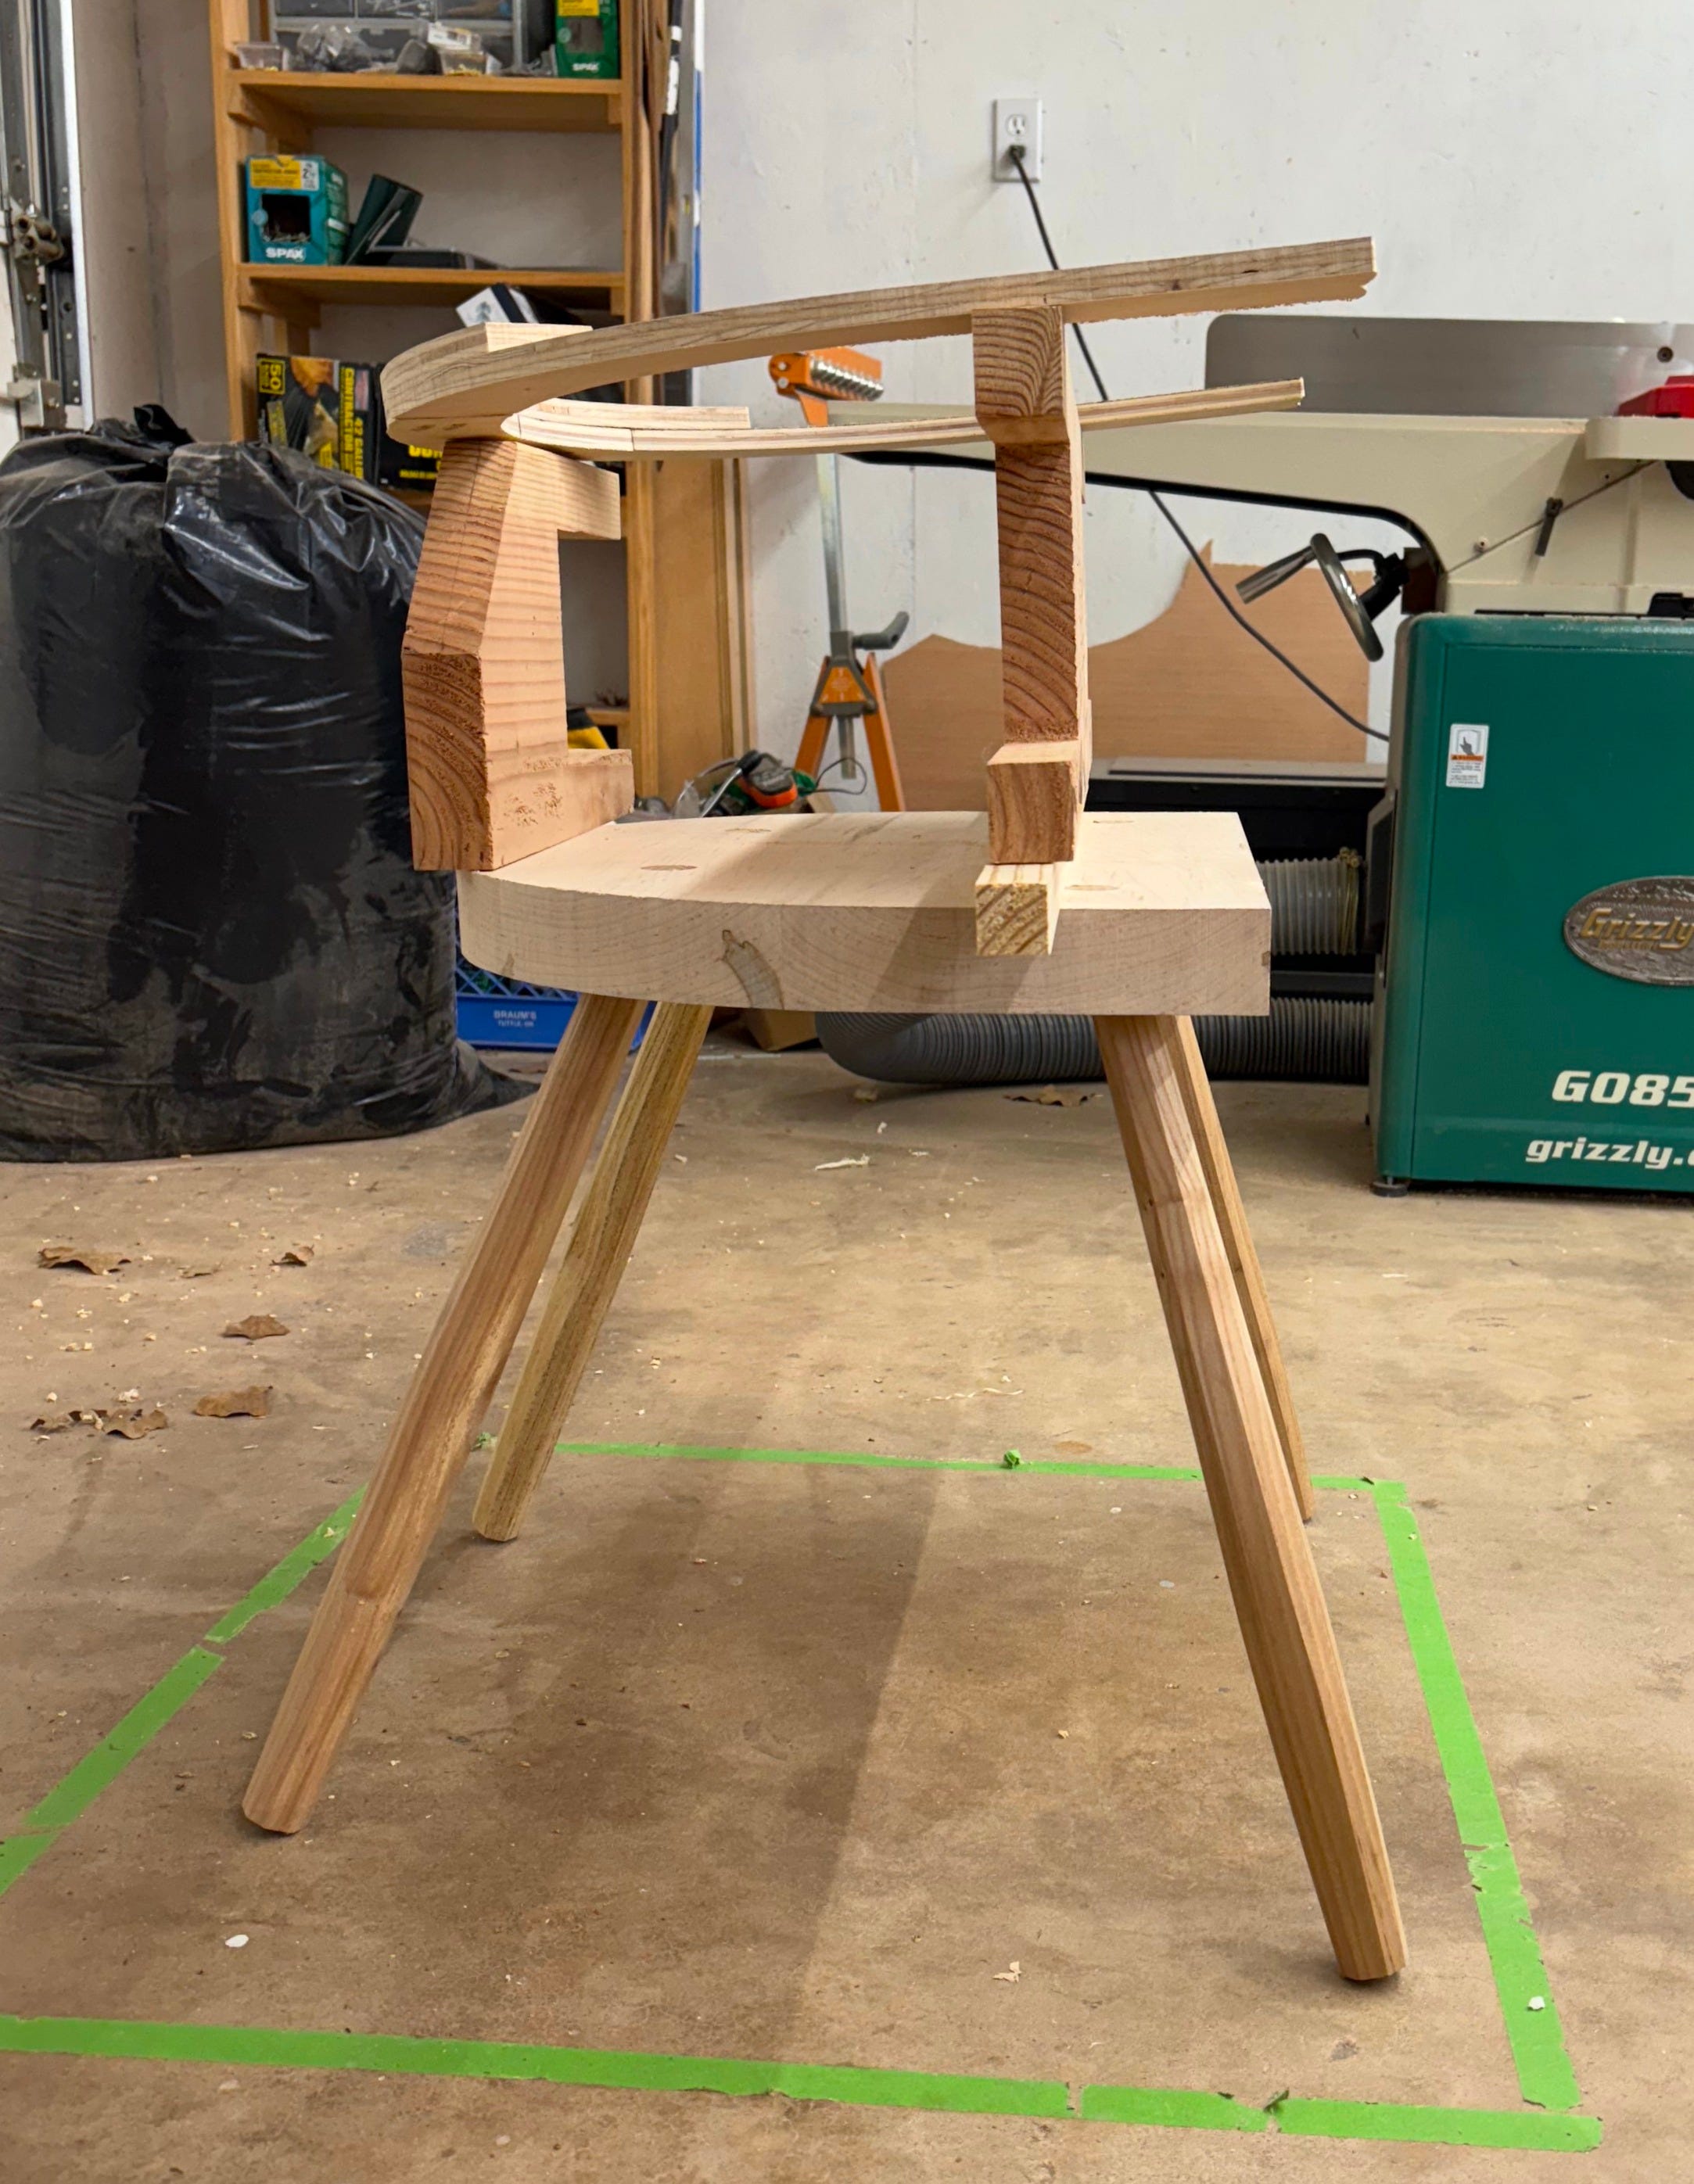
This passed the eye test, but I wanted to do a comfort check.
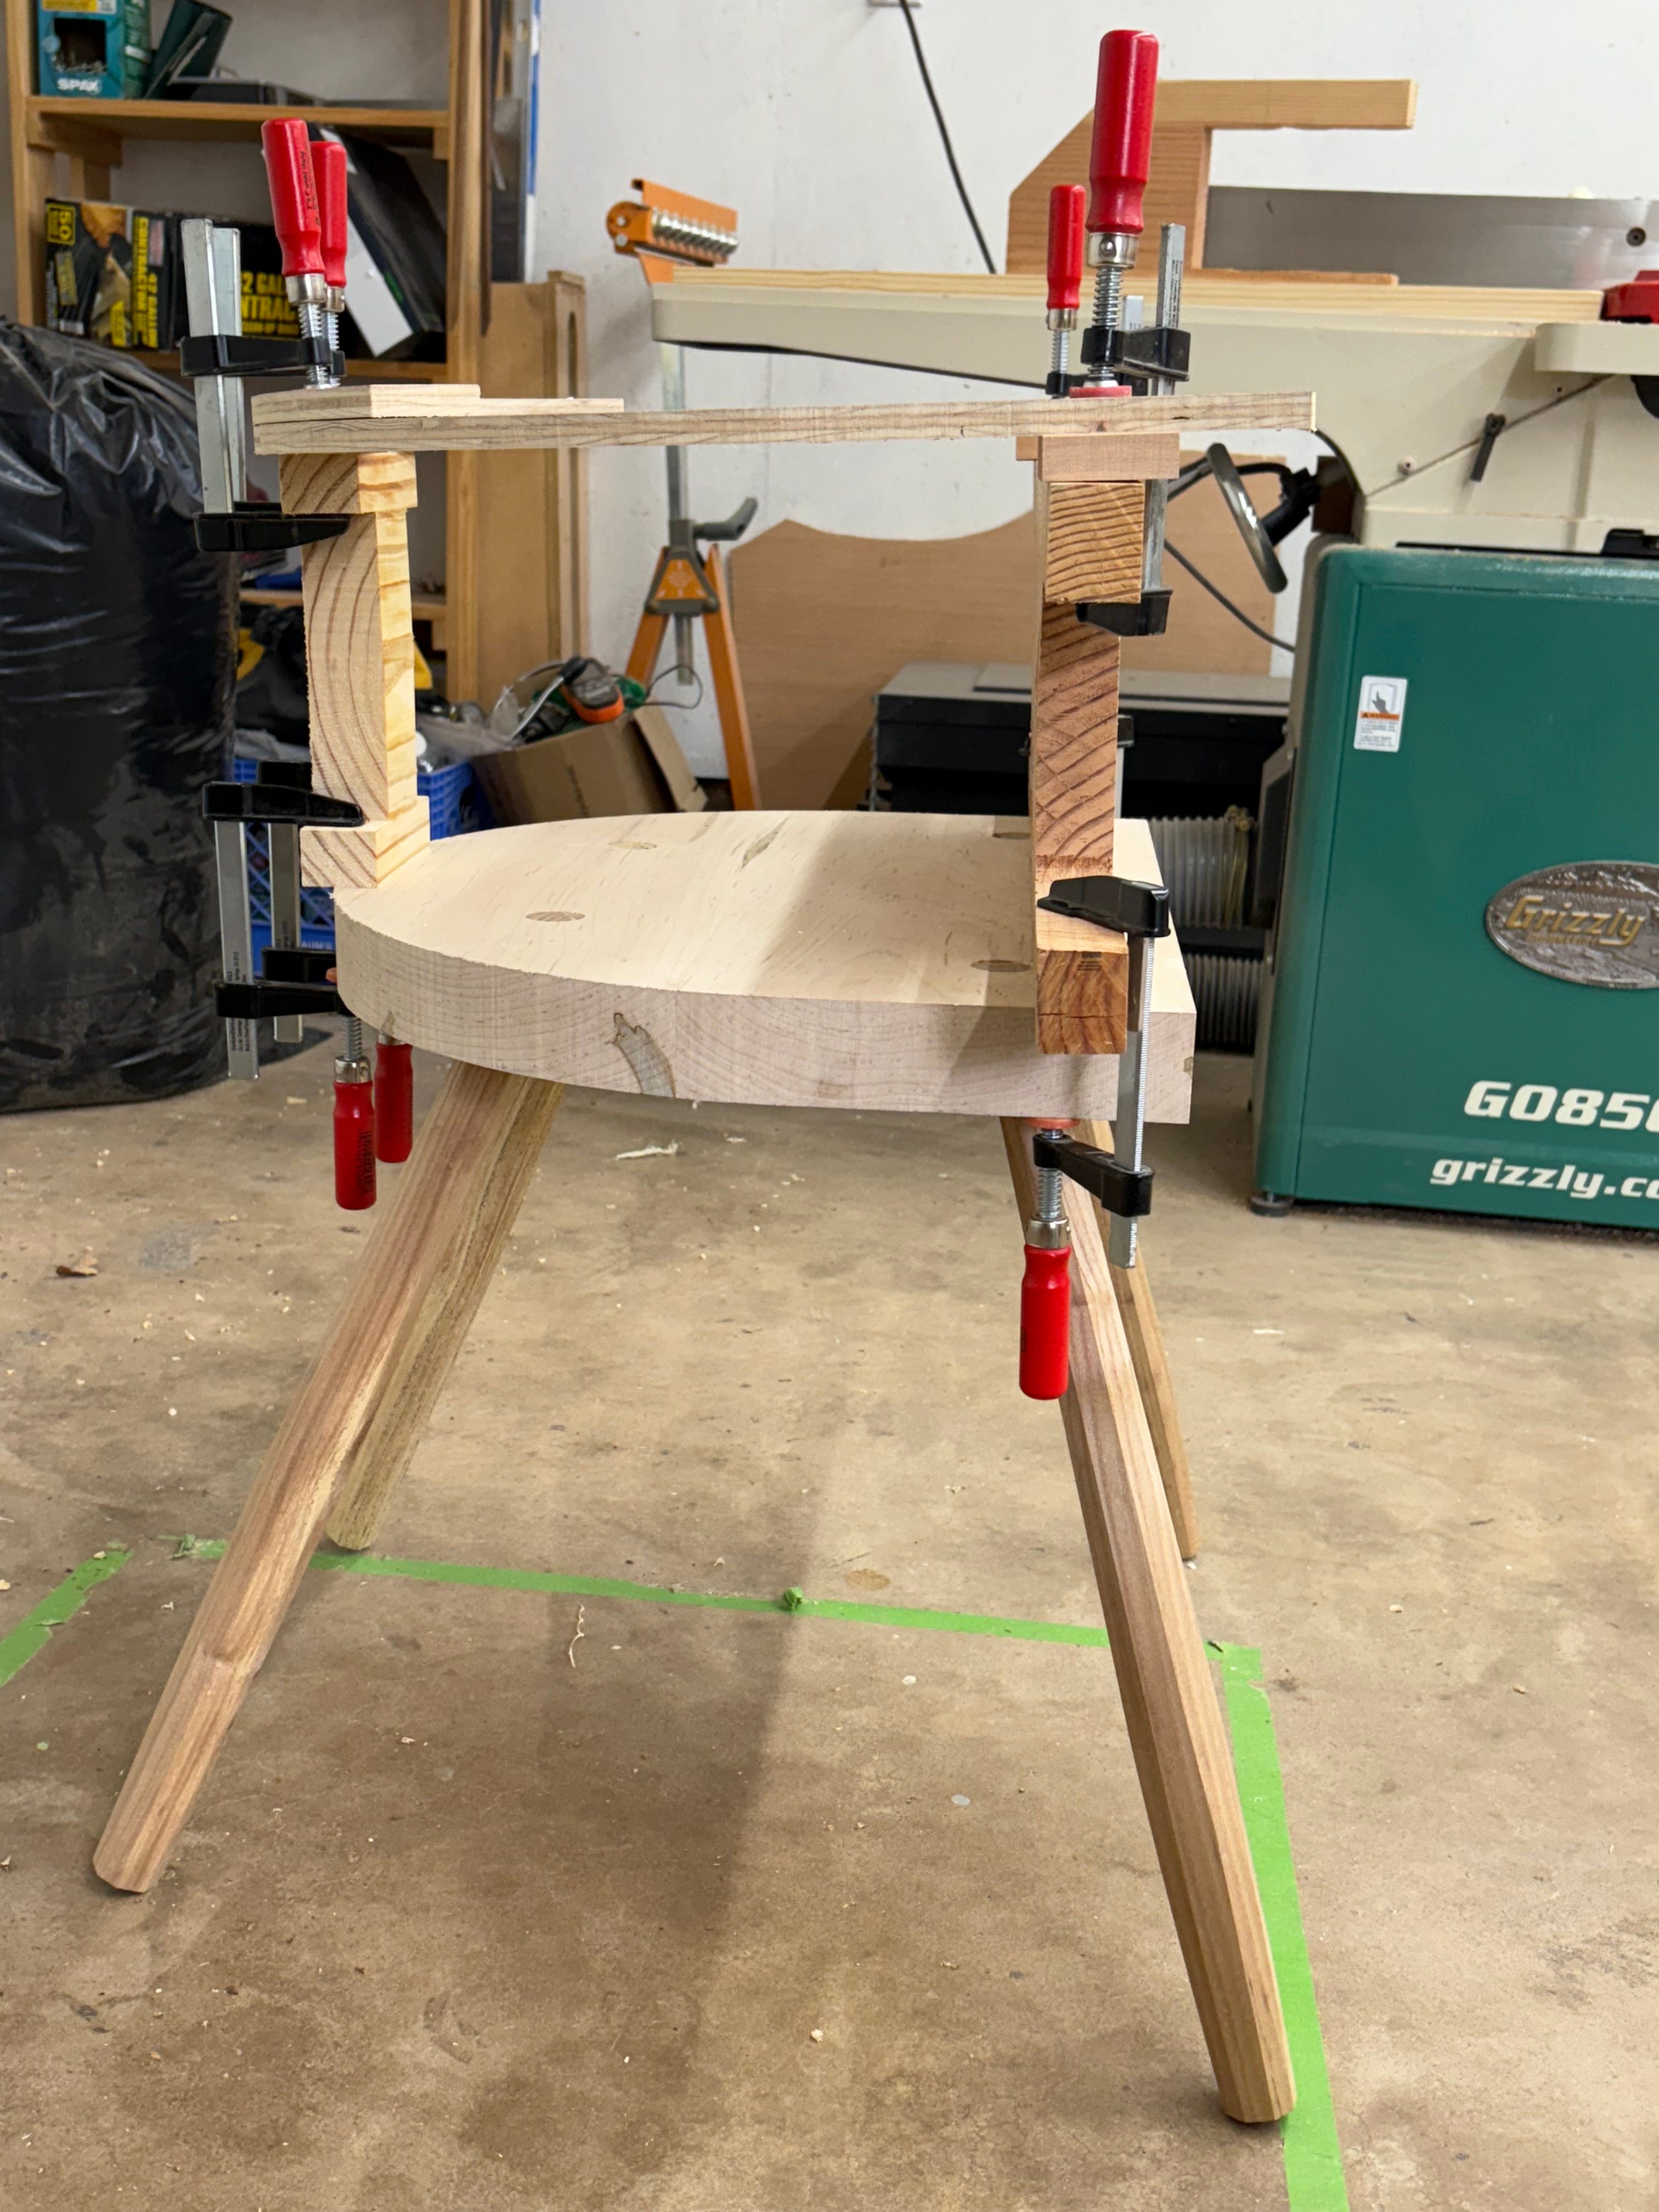
At first I made extra clamping blocks and tried to hold everything firmly enough to allow me to sit in the quasi-chair and get a feel for the raised hands. Then I stopped being dumb and just cut some hand sized spacer blocks (1” and 5/8”) and went inside to sit in some chairs. Placing the blocks between my hands and the chairs hands was enough to simulate the ‘tilt’. I can’t quite describe why, but the 1” blocks didn’t feel as good as the 5/8”.
Final detail for the armbow was the shoe. I’ve seen some chairs with rounded ends on their shoes (making them look like elongated kidney beans) and it’s something I’ve wanted to try, but I didn’t want to leave it at that. I have no idea where this inspiration came from, but I pictured drilling a large hole near the edge of the shoe to create some detail/ornamentation.


I started with a 1” hole, and I liked the effect, but it was too big. I tried 3/4” next and even though I got my offset wrong, it felt too small. The goldilocks 7/8” hole looked good to my eye.
Once all the planing was done, I could mark and cut out the parts and assemble the armbow. After clean up and a little shaping, here’s the final version.
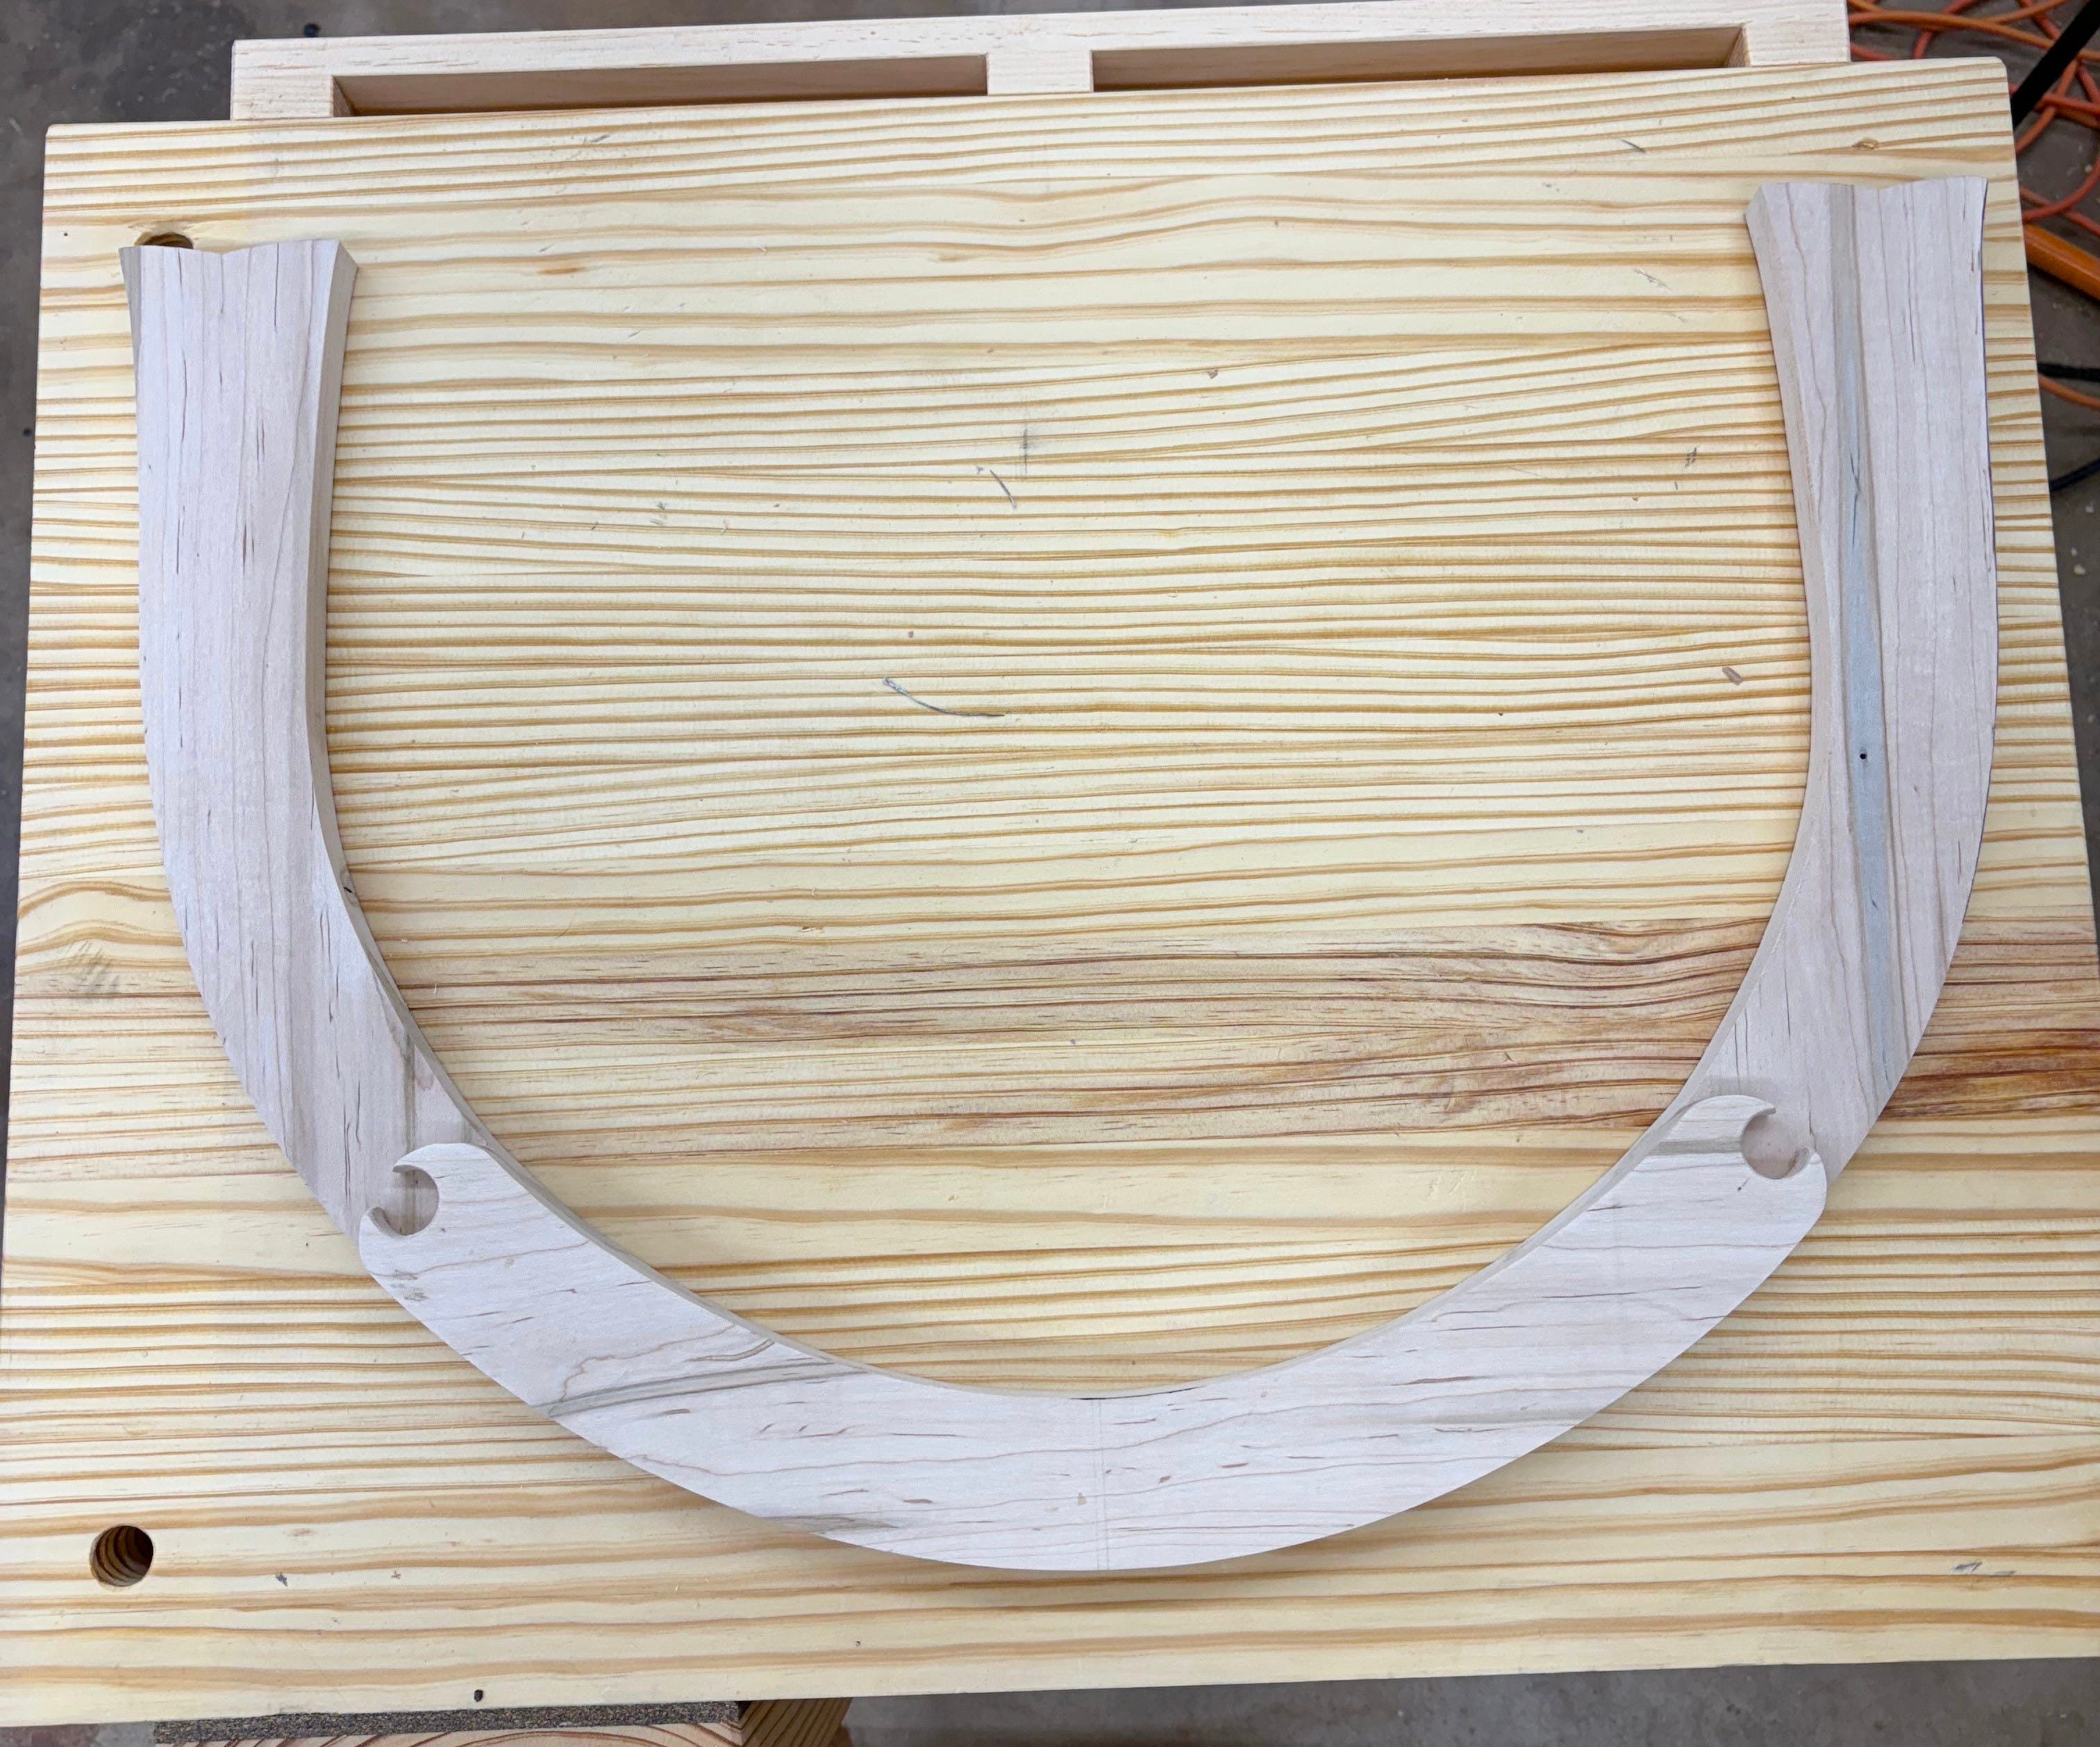


Very interesting progression! And a nice result!!