
My Spare Bench

Preface: I don’t claim to be a workbench expert. I’ve read a handful of books on design and construction but have only built 3.5 (my first bench barely classifies. It was essentially a massive assembly table). I predominantly do hand tool work at my bench, so that drove many of my choices RE size, workholding, and construction.
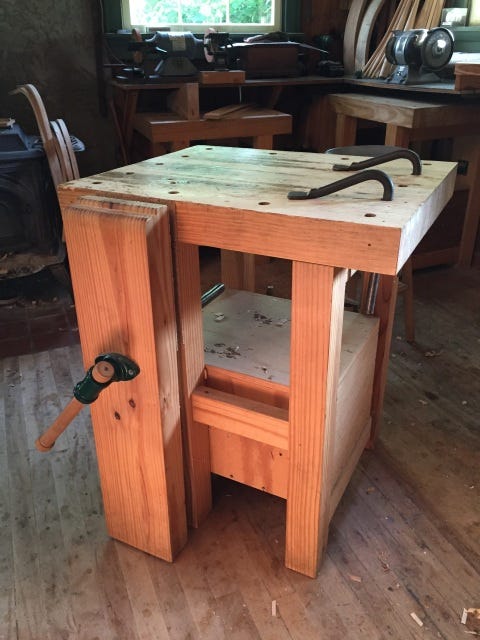
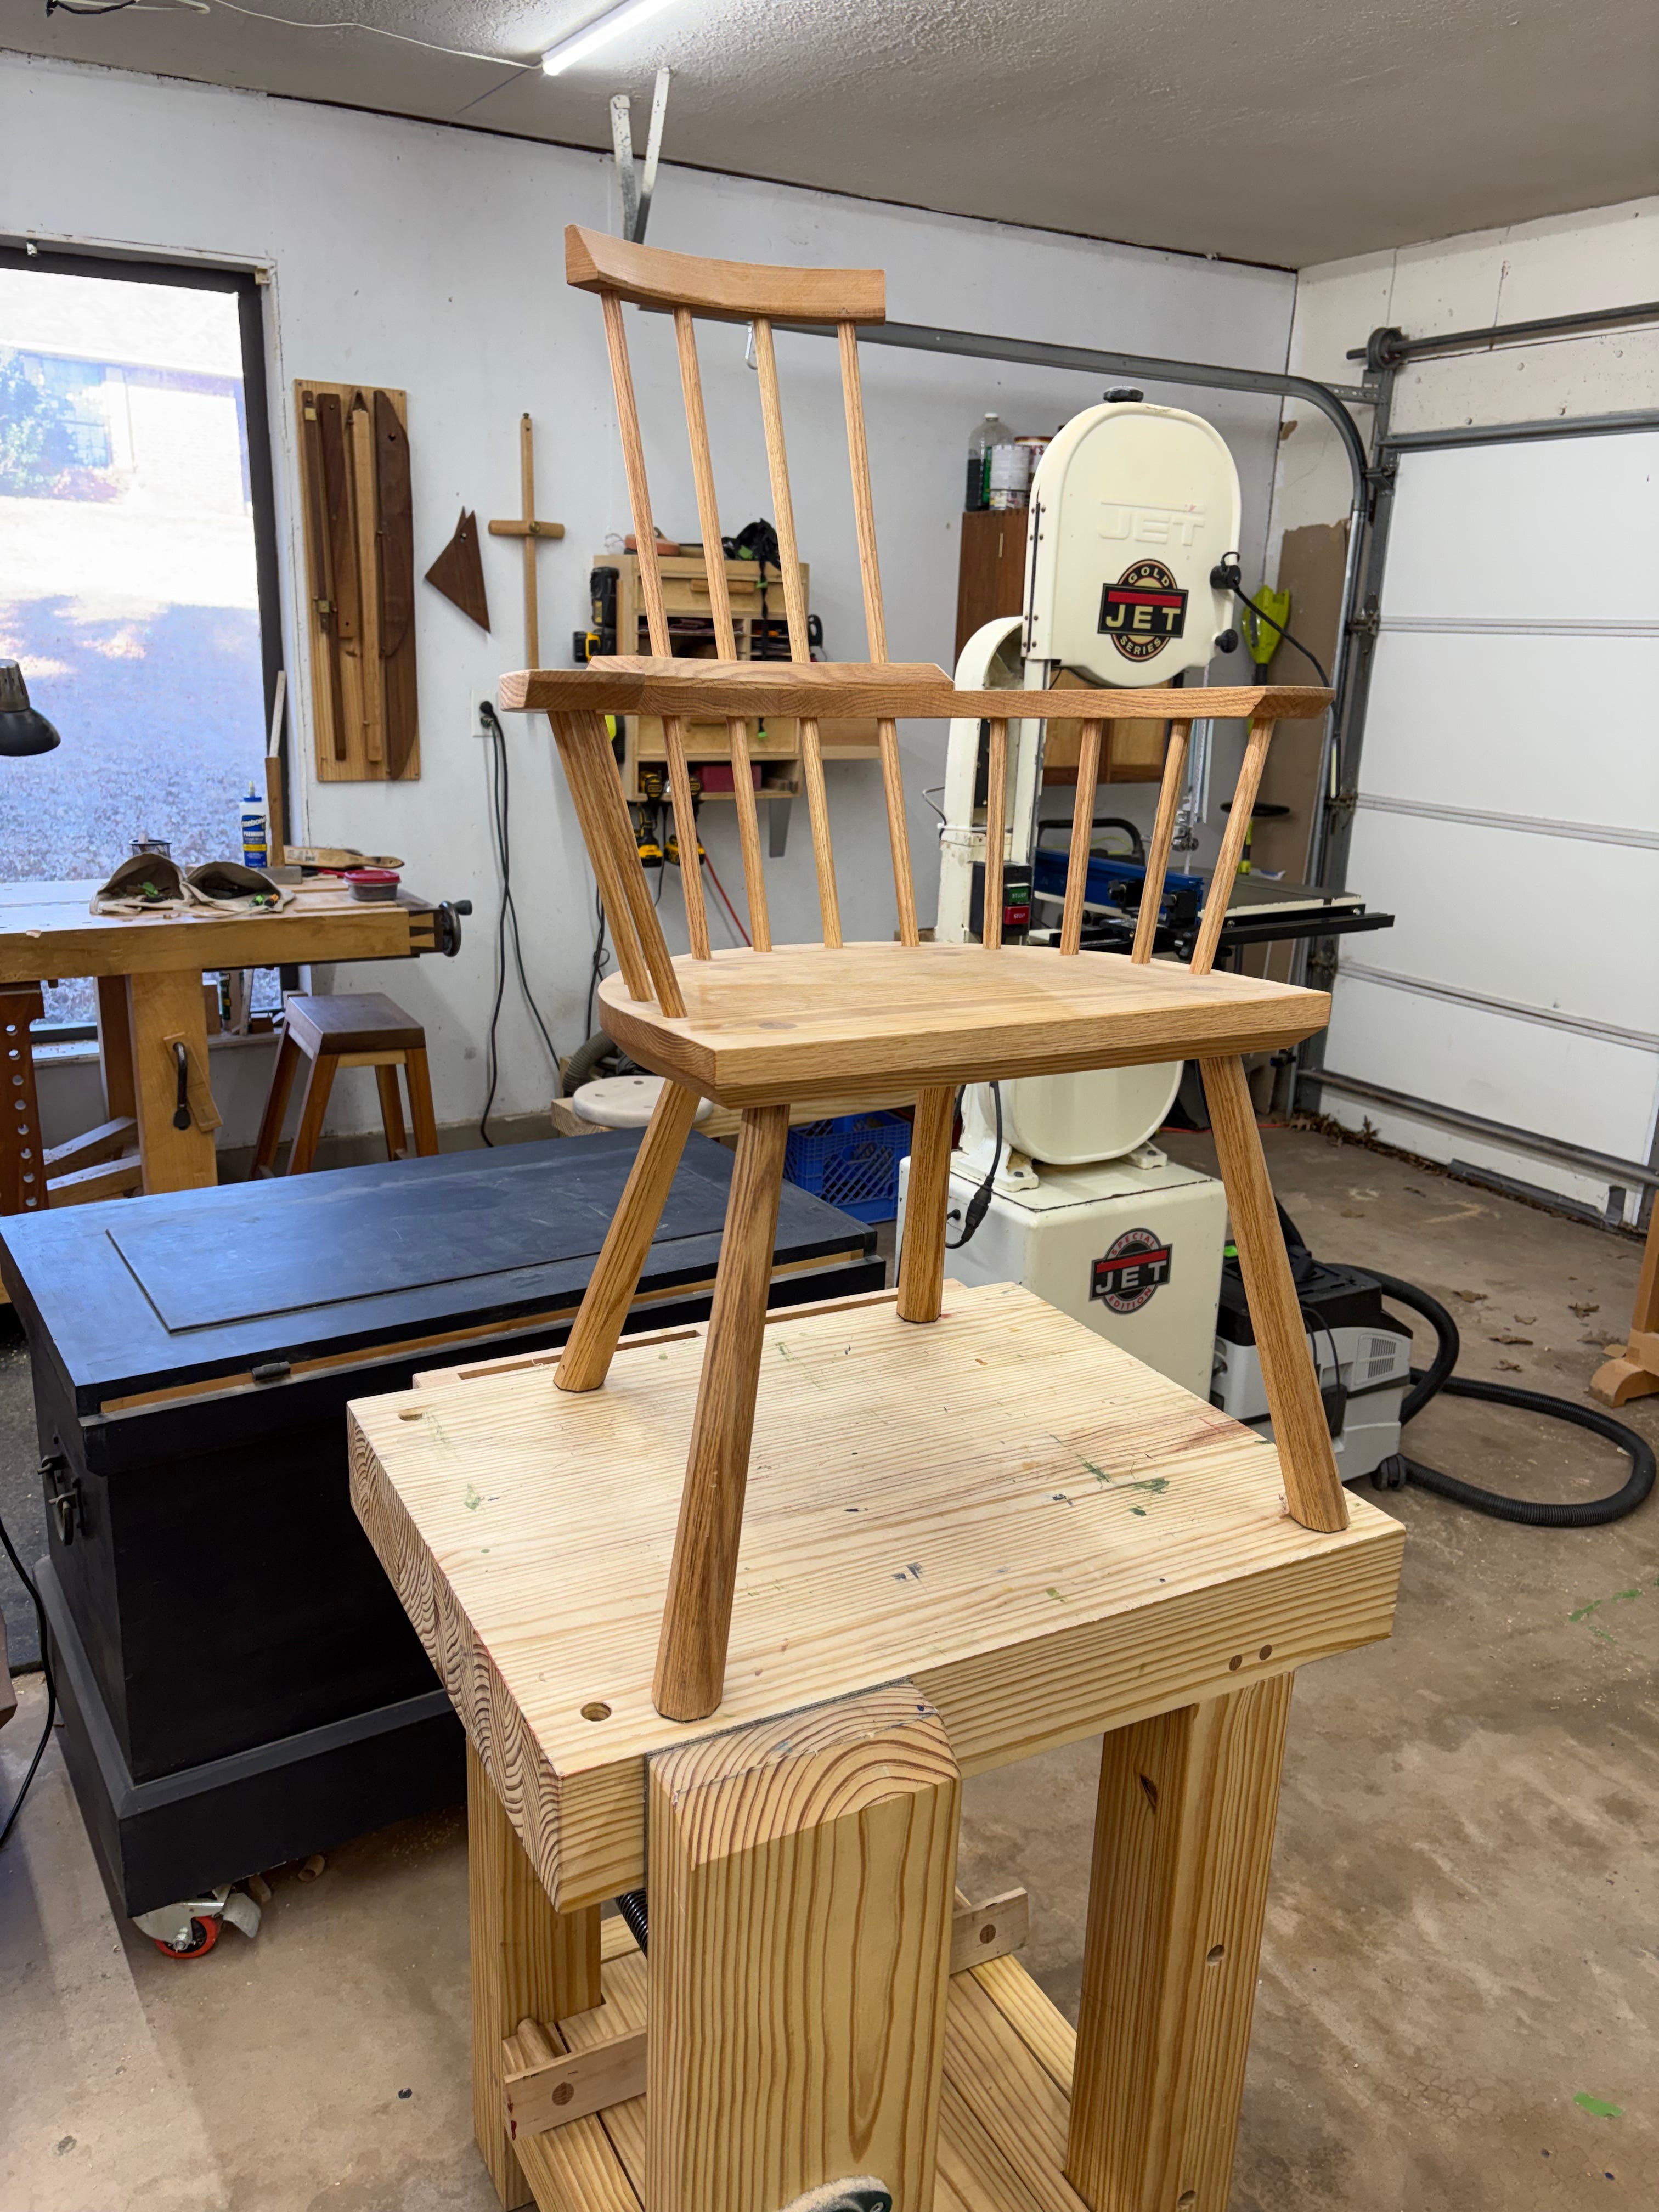
I’ve had a couple people ask about the small bench that’s been captured in a lot of my photos1.
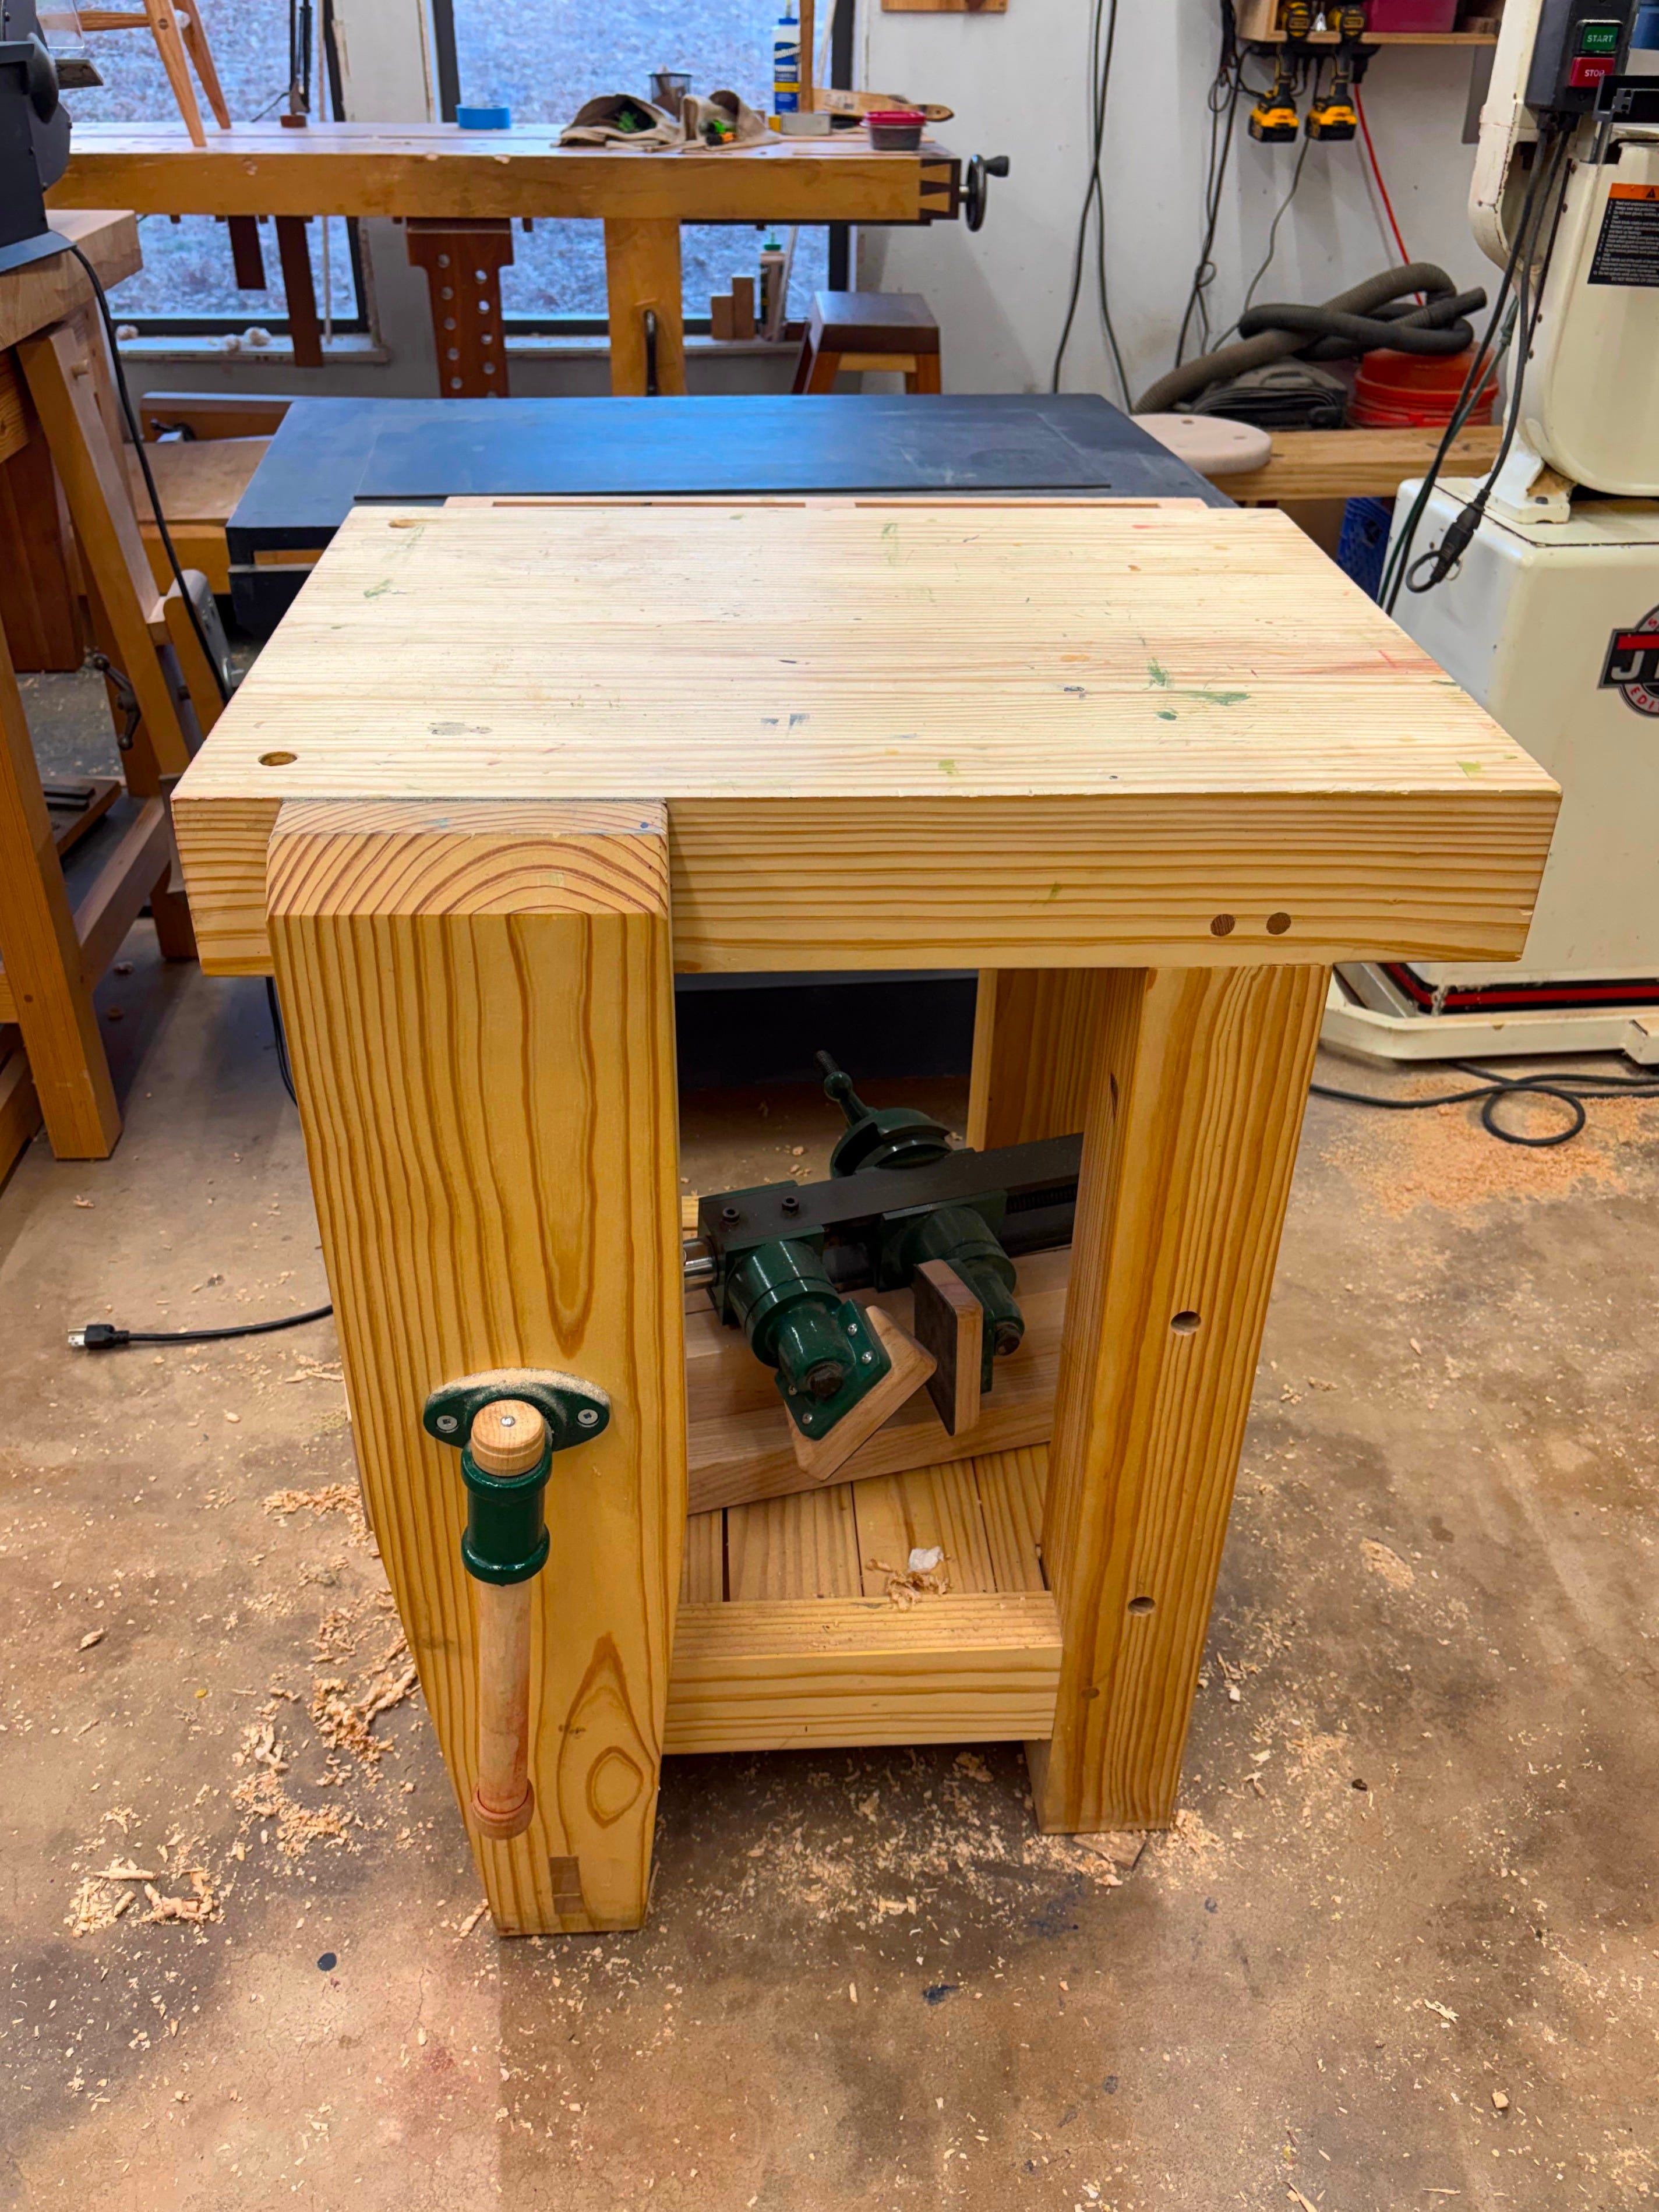
I had a goal last year to teach some classes out of my shop2 so I wanted a small-ish bench that was big enough for chairmaking or small casework. My initial inspiration came from Curtis Buchanan’s bench. He offers plans here based on a ‘pay what you can’ system, which is great for people trying to get into the craft.
It’s a straightforward design, and even adds a ‘box’ underneath the bench so you can add weight via sandbags. The box is thoughtfully mounted low to the bench, lowering the center of gravity. It also provides a shelf that sits high enough for easy retrieval of tools but is also low enough to not limit the use of holdfasts.
After pouring over the plans, I ultimately decided to go a different direction, but I did decide to use the vise screw he recommended (along with the necessary parallel guide to utilize it). I pivoted to a smaller version of a Roubo/Anarchist’s Workbench3, which is similar to my main bench, and I was more comfortable with its layout and construction.
This won’t be an in depth build/construction post since there are loads of resources about bench construction. You can find those details in Schwarz’s book, found here (the pdf is a free download), and there are many youtube videos out there covering bench construction in great detail. What follows are mostly the high points, but I will talk a little more in-depth about the leg vise, since parallel guides aren’t too common now.
Bench Material
I’m lucky enough to have Southern Yellow Pine (SYP) readily available, so that’s what I used. It’s a great bench material but, honestly, almost any wood can work. This bench could even be made out of construction lumber. Normally a wood that will provide decent weight is a factor, but this bench is too small for that to come into play, and we will be adding extra weight after the fact. If you do decide to use SYP or construction lumber from the home center, rough cut your parts to length and let them dry for about a month before you start work on it. Home center lumber is usually too wet to be put to use right away when making a bench or furniture.4
Bench Stats
Top: 28” long x 22” deep x 4” thick
Legs: 4” x 4” x 32”
I opted for a bench height of 34 inches. The legs are mortised into the 4” thick top with 2” long tenons, hence the total length of 32”5
Front/Back Stretchers: 16” x 4” wide x 2” thick
2” tenons on both ends
Side Stretchers: 18” x 4” wide x 2” thick
2” tenons on both ends
Chop: 7.5” wide x 2.5” thick x Bench Height Tall+ a bit for trimming
Made overlong and trimmed to length once bench is assembled
Parallel Guide: 21” long x 3” wide x 1” thick
Tenon that is 3” long (over long) x 2.5” wide x 7/8” thick
This is the only part of the bench that I would recommend a hardwood with interlocked grain, such as hard maple. More on it’s modifications and mounting later.
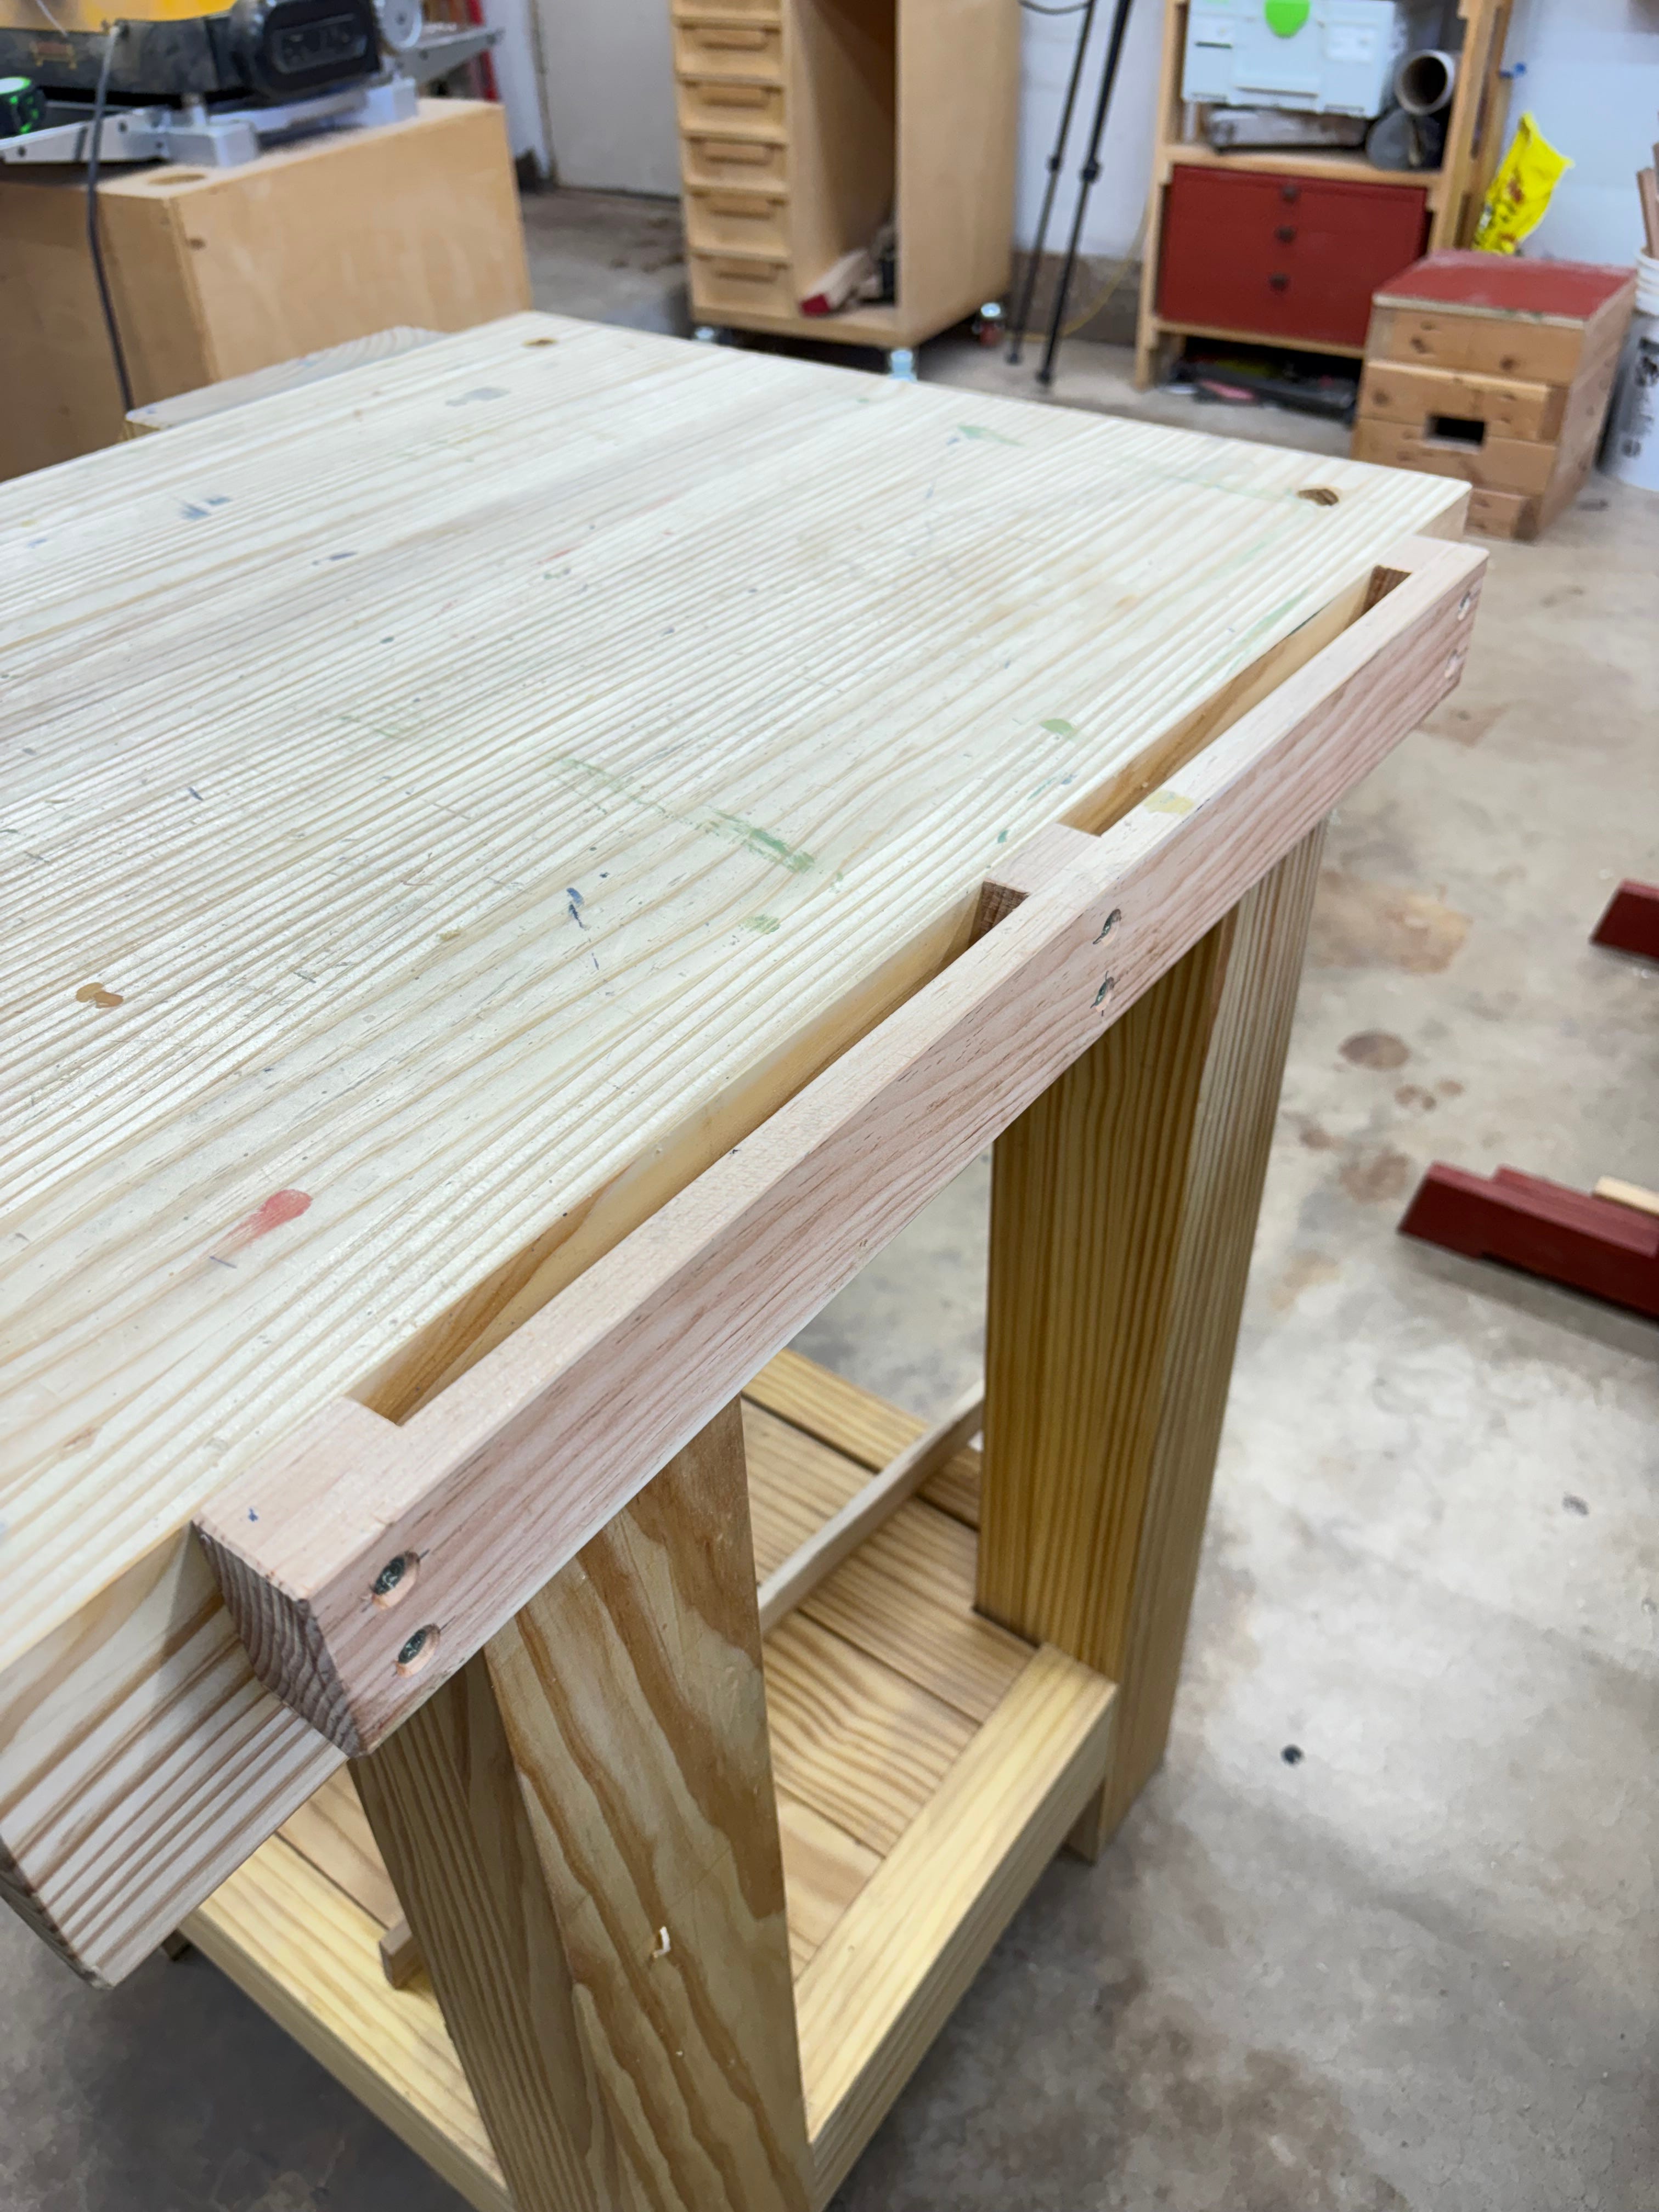
Joinery
Drawbored mortise and tenons are used throughout, with 1/2” rived oak pegs. It’s a robust joint that will hold up long after the glue fails and doesn’t require any clamps during assembly (the drawbores take care of that). Even the top is drawbored to the leg tenons. Dinkle, from Dinkle’s Woodshop, has an excellent video about how drawbored mortise and tenons work. You can find it here (surely you’re already following her? If not, I highly recommend her substack. It’s a great source of information and humor.).


The parallel guide is joined to the chop with a wedged through tenon and pinned for extra strength/insurance. I had initially only wedged this joint, but I noticed some movement after the first few times I used the vise, so I pinned it with oak dowels and haven’t had any issues since.


Bench Hardware
The only piece of bench hardware I used was a tail-vise screw from Lee Valley, found here for $60.

Unfortunately, at the time of writing this (Jan 25th, 2026) it is no longer available to ship to US customers (it’s still available for Canadian customers). Searching the internet for “Tail Vise Screw” did come up with a few other items that appear to be the similar, but from different manufacturers (such as Yost), ranging in price from $50-100. This is fairly cheap when it comes to hardware, but will require more work on the back-end to function as a face vise6.
Parallel Guide
For this type of vise to work effectively as a face vise, you need a way to hold the jaws open at the bottom of the vise, so all of the clamping pressure is focused on the space between the benchtop and the top of the chop. Without a positive stop, the vise will just rack more and more at the bottom as you tighten it. You won’t get any more grip strength and it’s actually bad for the long term health of your vise.
Here I’ve got a piece of 8/4 clamped in the vise (1-7/8 thick) and I’ve tightened the vise as much as I could, and the bottom of the jaws have closed up to 1-1/2” and I could easily pull the work piece out of the vise.
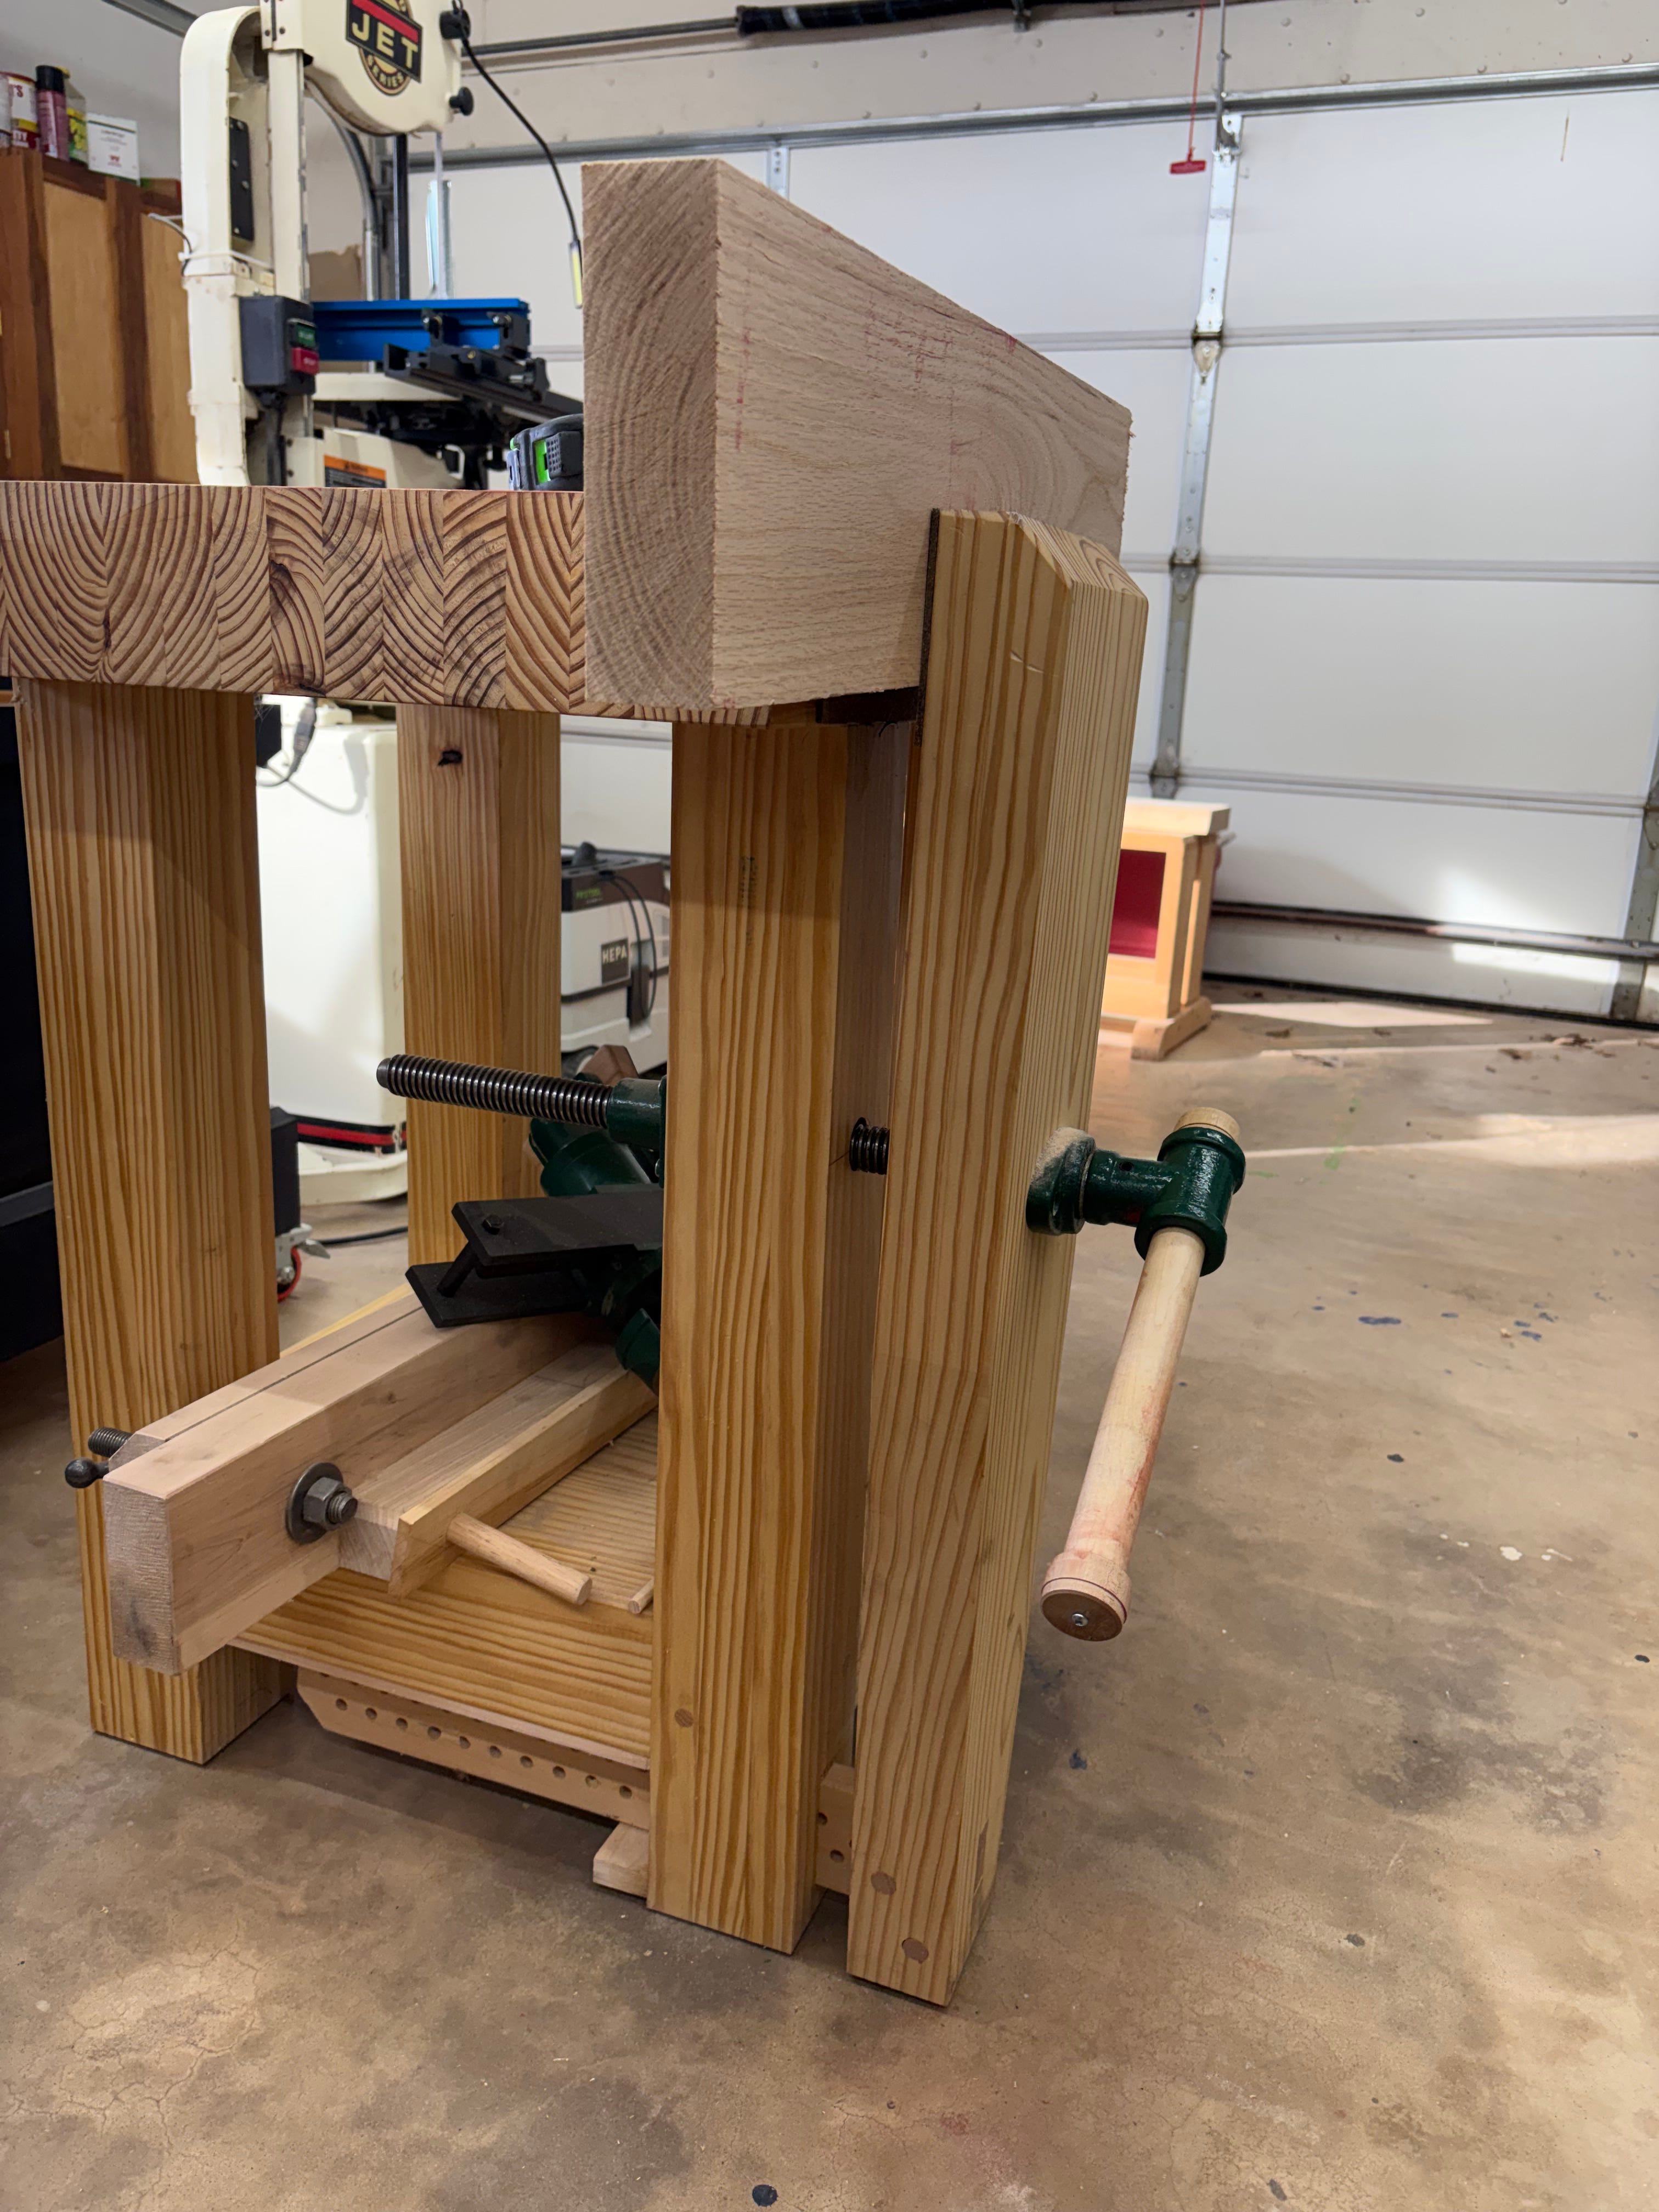
This time I have an ash peg placed in the parallel guide holding the lower jaws open to roughly 2”. Now as I tighten the vise, all of the racking is directed at the upper part of the jaws, giving me tremendous clamping pressure. When I tried to pull the work piece out of the vise I lifted up the entire bench instead.
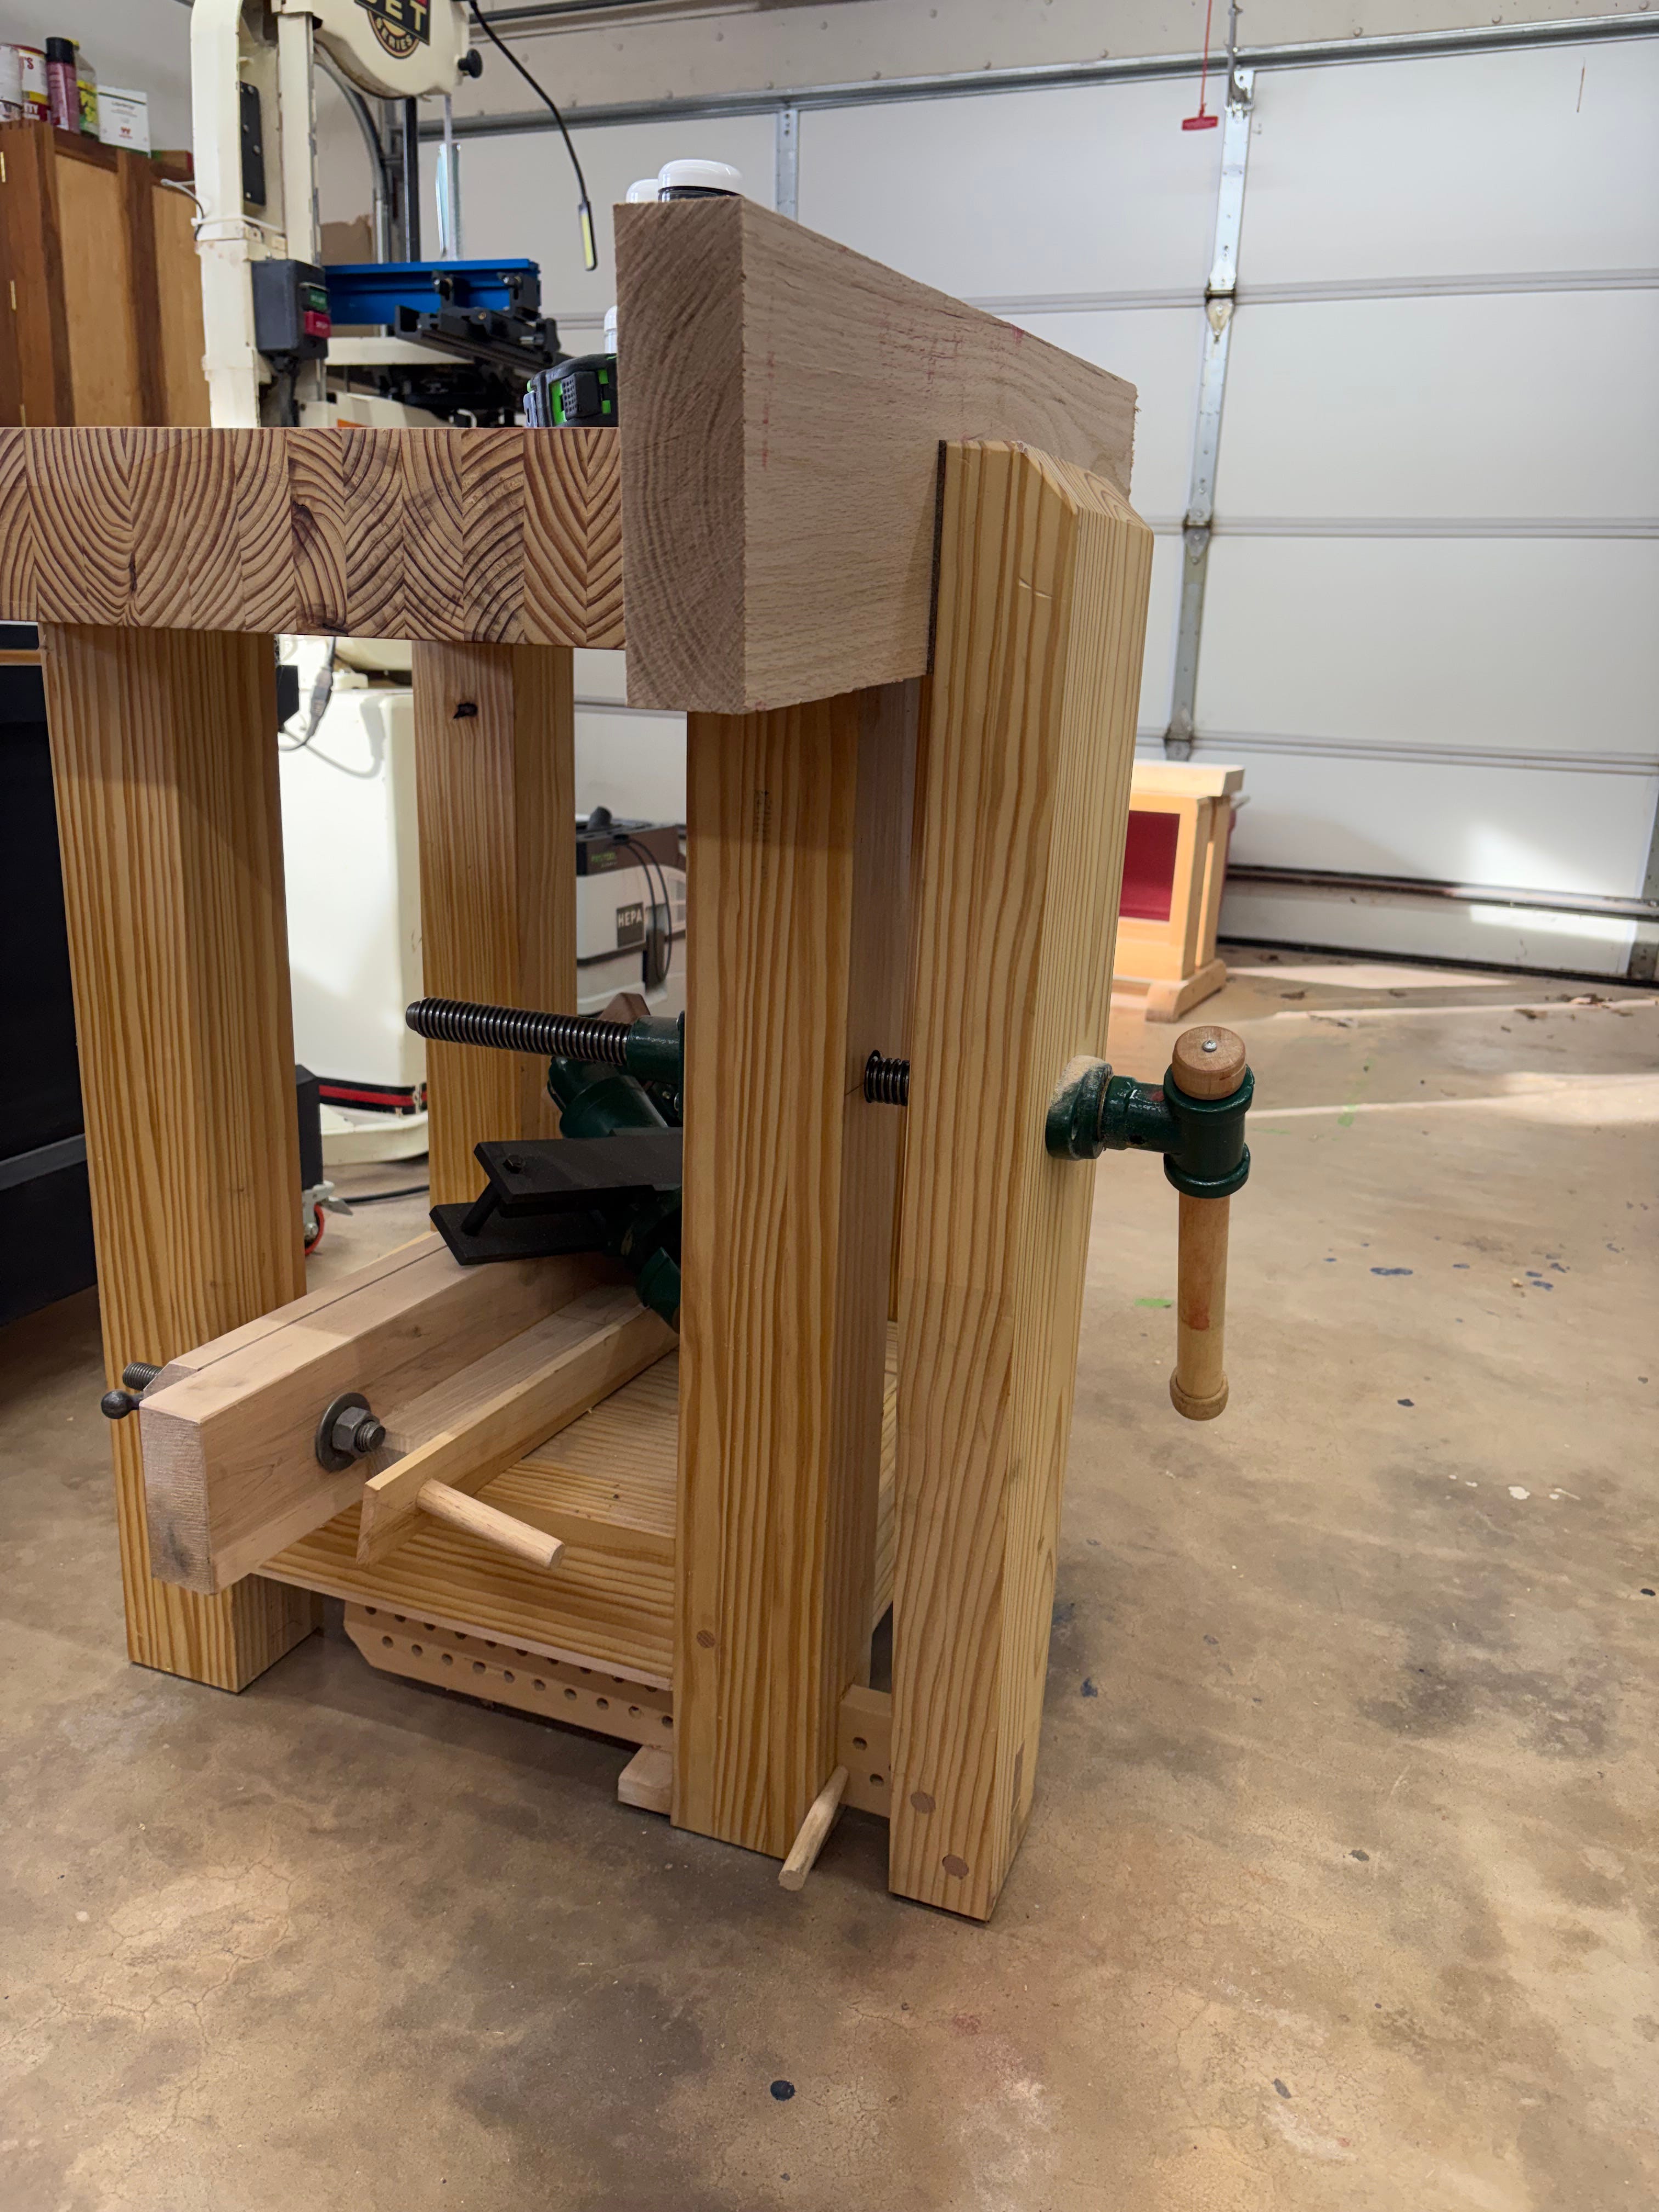

To give yourself plenty of options for clamping workpieces of various sizes, you need a series of holes for the peg. The first hole, located on the midline of the parallel guide, is 1/2” from the shoulder. Then I drilled 2 sets of holes 1” from the edges of the guide. One series starts 1” from the shoulder, and the other is 1-1/2” from the shoulder. The rest of the holes are drilled 1” on center from the previous. The max capacity for this particular vise screw was 8”, so I didn’t need any holes past that point, but I wasn’t bothering myself with math or measuring when I laid everything out on the parallel guide and just made swiss cheese out of it. In hindsight, the first hole could just be placed in the ‘top row’ of the guide. Most of the hole layouts I’d seen for parallel guides had the first hole centered, so I just copied them.
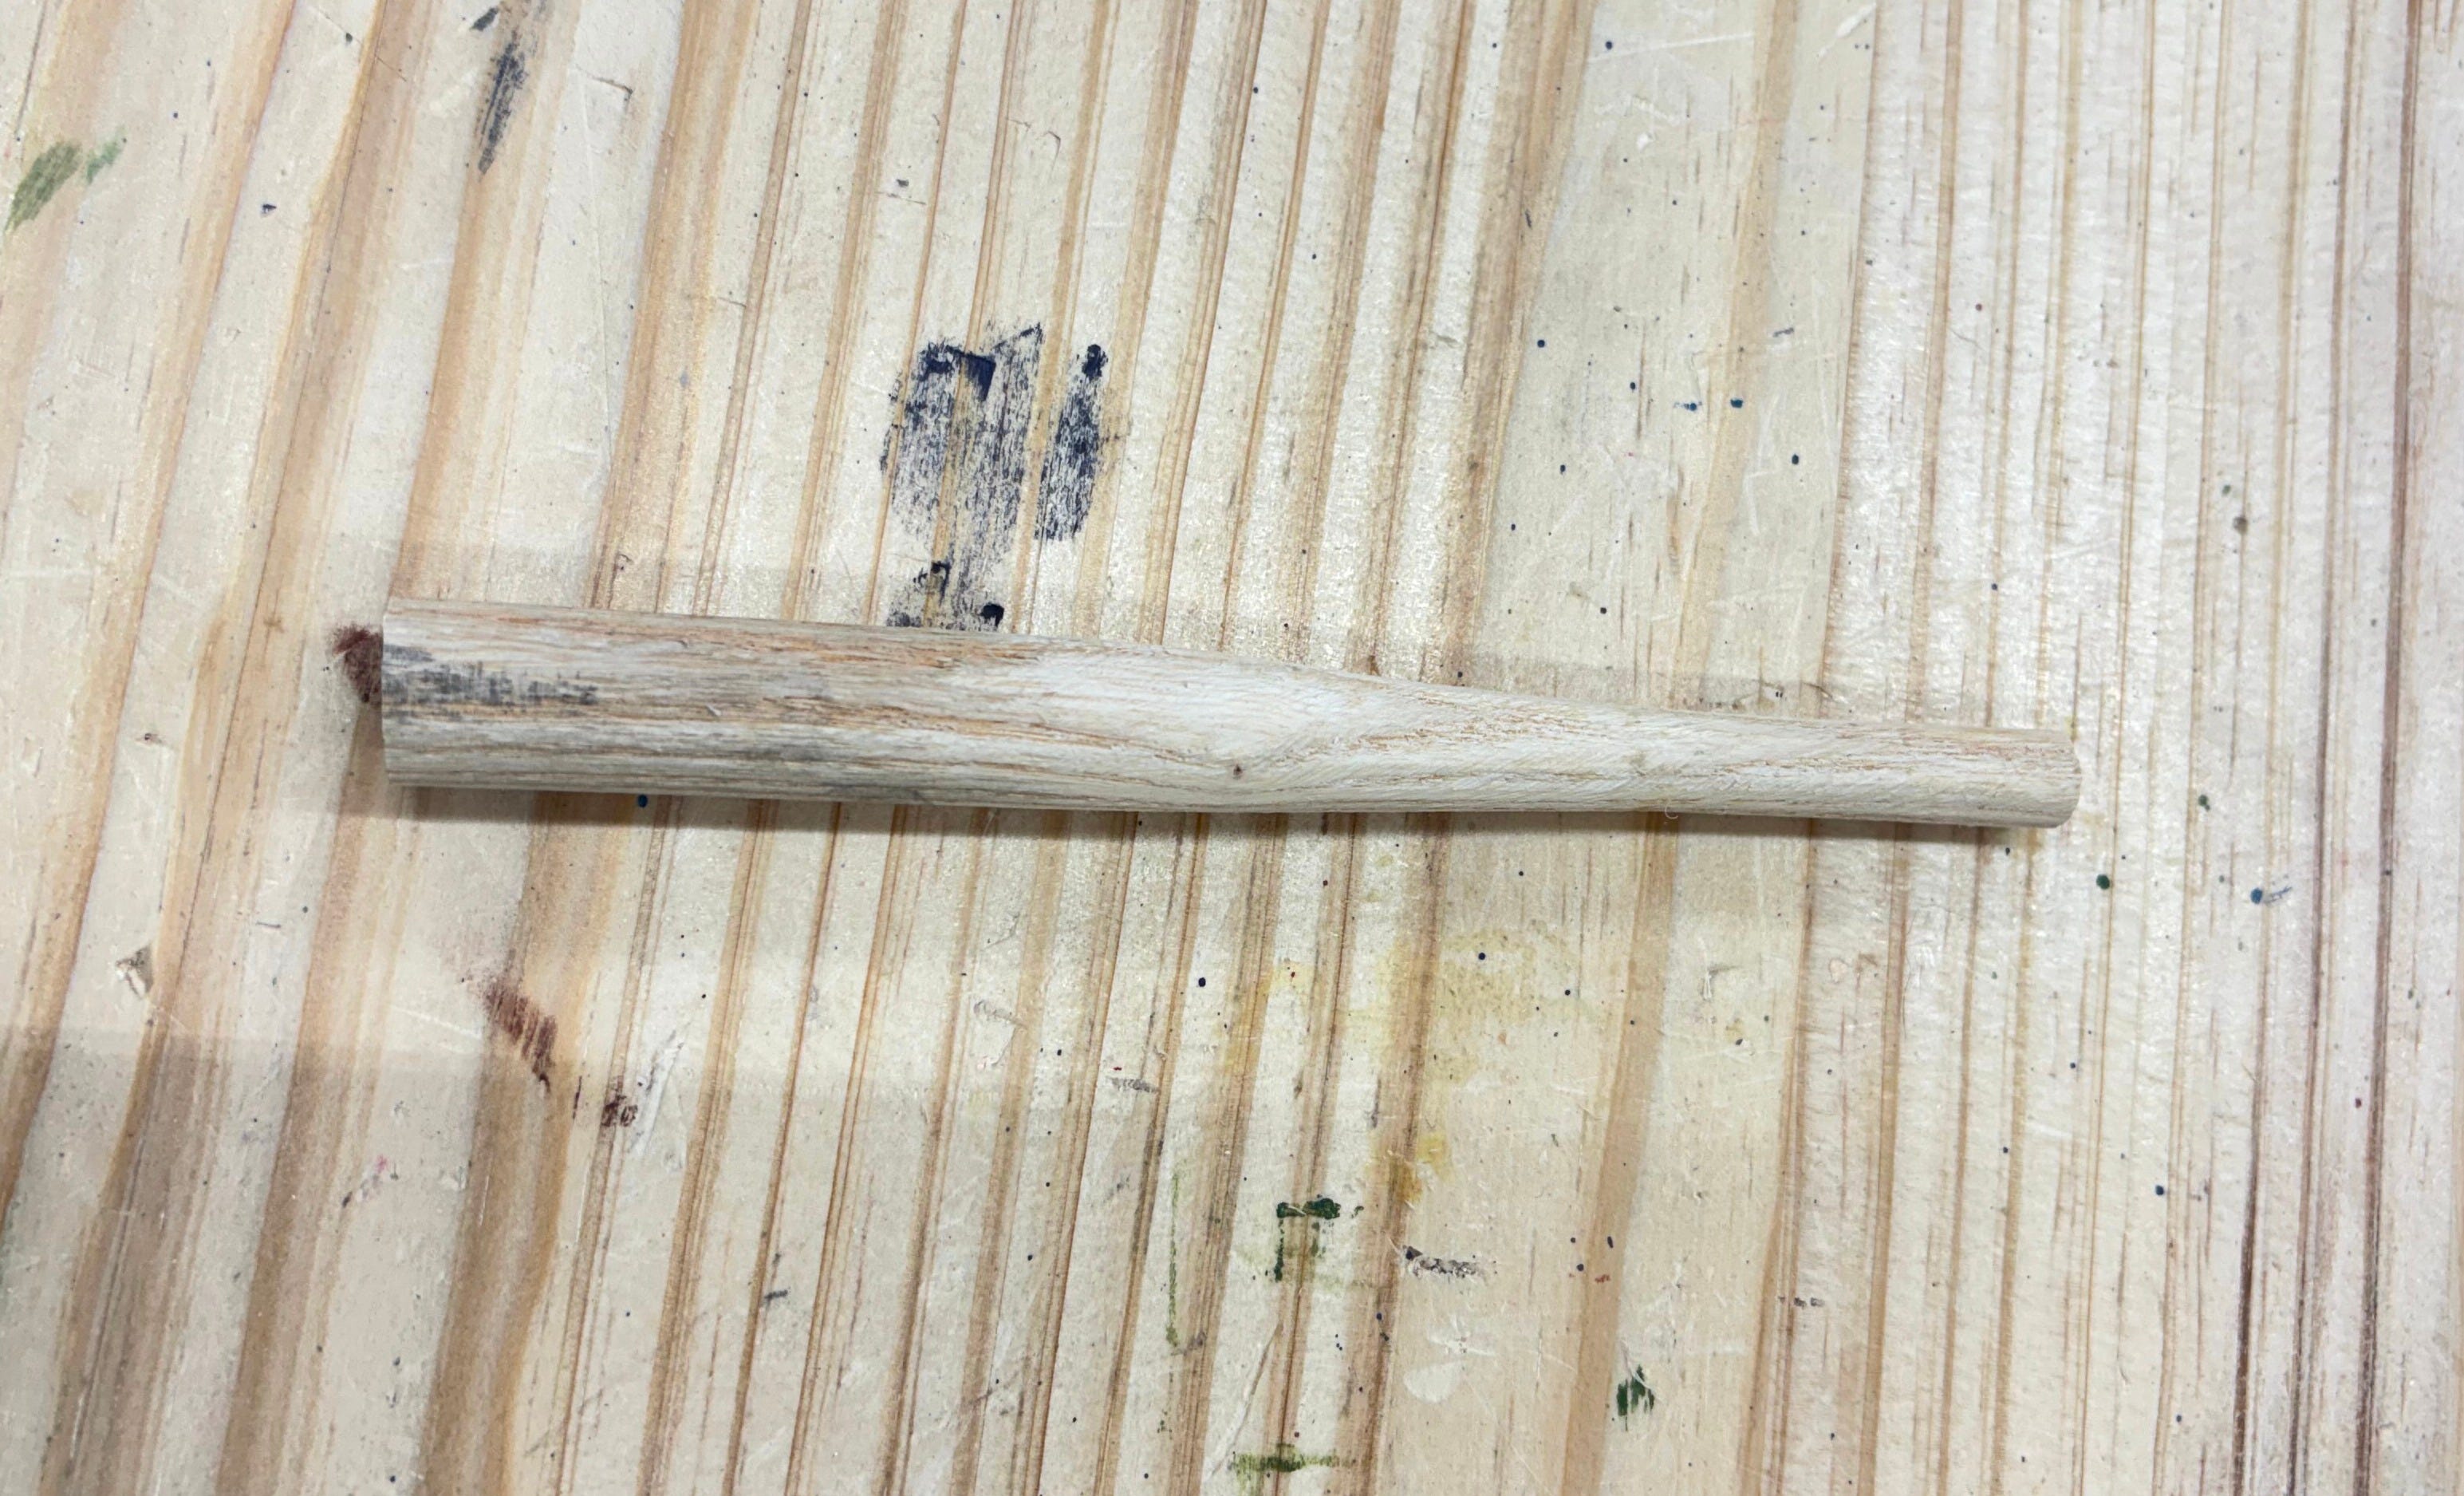
To get it all working, I made a 6” long ash peg that tapers to a 3/8” diameter dowel about 2” long. I should probably drill a hole in the fat end for a leather hoop or something else to denote “THIS IS NOT SCRAP”. I’ll probably just paint the ‘handle’ end the next time I have leftover paint from a project.
I glued crubber onto the inside chop and the section of the bench were they mate to give some extra grip.
Accessories
I’ve only added 2 accessories to the bench so far: a tool rack that I screwed to the back of the benchtop and a removable planing stop.
The tool rack is 23” long and has a 5/8” wide slot. I milled a 30” long x 2” wide piece of scrap to 5/8”, cut a 23” long section off of it and 3 pieces that were 1.5” long to act as spacers. I glued the spacers to the rack and screwed the rack (without glue) to the back of the benchtop.


The planing stop is 7/16” thick stock. I clamped it to the benchtop and drilled two 3/4” holes through it and the bench at the same time. I wedged and glued 3/4” dowels into the stop and sanded the dowels lightly to get a easy but snug fit.
I haven’t needed to modify the bench past that, but I’m more than happy to add dog holes or appliances if/when is appropriate.
Finish
I’m not too precious when it comes to my benches. They are another tool in the shop, so they only get a coat or two of linseed oil to prevent glue from sticking. If you want to add something a little more robust, feel free but please stay away from any film forming finish. It’ll reduce the ‘grip’ of the benchtop. They’ll also be a pain to re-apply when you routinely flatten the bench top.
Underneath the bench I have a twin screw vise and a spare carver’s vise (for casework and chairmaking respectively) and they add a decent amount of weight. I might want to add my 50lb kettlebell if I was going a heavy amount of planing.
Hope this answers any questions y’all might’ve had about the bench (and feel free to leave any more in the comments, I’m more than happy to answer them).
I try to take pics on my bench near the windows, but natural light and LEDs don’t always cooperate. The frequency that the LEDs pulse at is at odds with my iPhone’s shutter speed, and will leave dim/black bands along the photos. You can’t natively adjust the shutter speed, unfortunately, so I have to resort to moving the piece around in the shop to try and get photos that look remotely decent. The other ‘quick fix’ is to crank the exposure, but this has it’s own problems with potentially washed out photos.
This was a goal I wasn’t able to achieve, mostly from being bogged down by the process of business formation (I’ve still got a future post in mind about that experience) as well as insurance and assumption of risk etc. I was able to teach a co-worker how to make a staked bench, so I’m happy I was able to do that at least.
The stretcher placement on the Buchanan bench was an area of concern for me. Curtis is a smart guy and I’m sure his benches have held up great, I just had a hard time with with a stretcher running cross grain to a 22” wide top in which the legs are mortised into. When that top wants to expand/contract, there is no where for it to go, unless you oversize the rear leg mortises.
Best approach is to use a moisture meter and write the % MC on the boards. Pin gauge meters are relatively cheap and work great for this. Check them every few days and write the %MC next to the previous reading. Once the reading hasn’t changed (much) over 3 sequential readings, it’s ready to work.
Bench height is a topic that has been somewhat beaten to death. I can only speak to what has worked for me (I’m 5ft 9in tall). This bench comes up to 34”.
Benchcrafted has hardware that won’t require a parallel guide, but is much more costly ($350 - $525 depending on style and finish). I have this hardware on my main bench and it is fantastic. If you have the funds, you won’t be disappointed and you’ll be supporting an independent American company, but that hardware is by no means necessary.
Did you consider this method of ratcheting to enable the parallel guide?
https://eclecticmechanicals.com/wp-content/uploads/2018/10/ratcheting-parallel-guide-pdf.pdf
what a good looking small bench!