
Rip and flip for panel making
Or 'If you can't buy wide quartersawn boards, shop made is fine'

Sharing a brief post today to cover the ‘rip and flip’ technique for making pseudo quartersawn panels. I decided to use this technique for the lid and base of the box, mostly to demonstrate it and share it here1.
Quartersawn lumber has two excellent benefits:
Dimensional Stability: quartersawn lumber experiences less expansion/contraction as humidity changes, compared to flat sawn lumber
Appearance: quartersawn lumber features straight grain throughout the board face.
Before I get too far off in the weeds, here’s a quick refresher on lumber cuts and grain orientations:
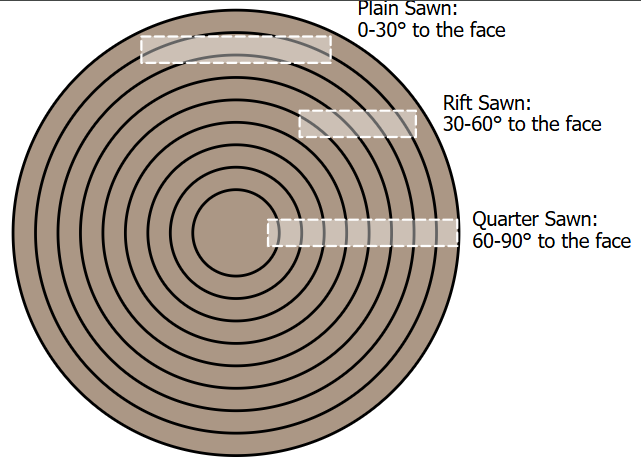
Between its visual desire and the waste associated with quartersawing logs, this lumber can be hard to find and (potentially) cost more. If you don’t mind putting in a lot of extra work, you can make your own ‘quartersawn’ panels from 8/4 plain sawn (also called flat sawn) boards.
I start with an S3S piece of 8/4 material2 and then make slices on my bandsaw. Running the jointed edge against the fence, I make a cut about 1/8” wider than my desired final panel thickness. This gives me plenty of wiggle room for wood movement and future milling of the panel. I re-joint the edge and cut another slice, repeating as necessary.


You can do this on a table saw, but the waste factor goes up quite a bit since the table saw kerf is ~1/8”.
Once I have all my slices, I rotate the pieces to get a preview of my panel. The heartwood/sapwood helps to illustrate what’s going on here. This will eventually be painted, so I’m not concerned with it, but it’s something to be aware of if you use this for method.


I glue the panel and after milling to final, I have a nice, straight-grained board that will have minimal expansion and contraction. It’s a lot of extra work, akin to making an end grain cutting board vs a face grain one, but it lets me make some nice looking panels when I’m trying to avoid cathedrals.
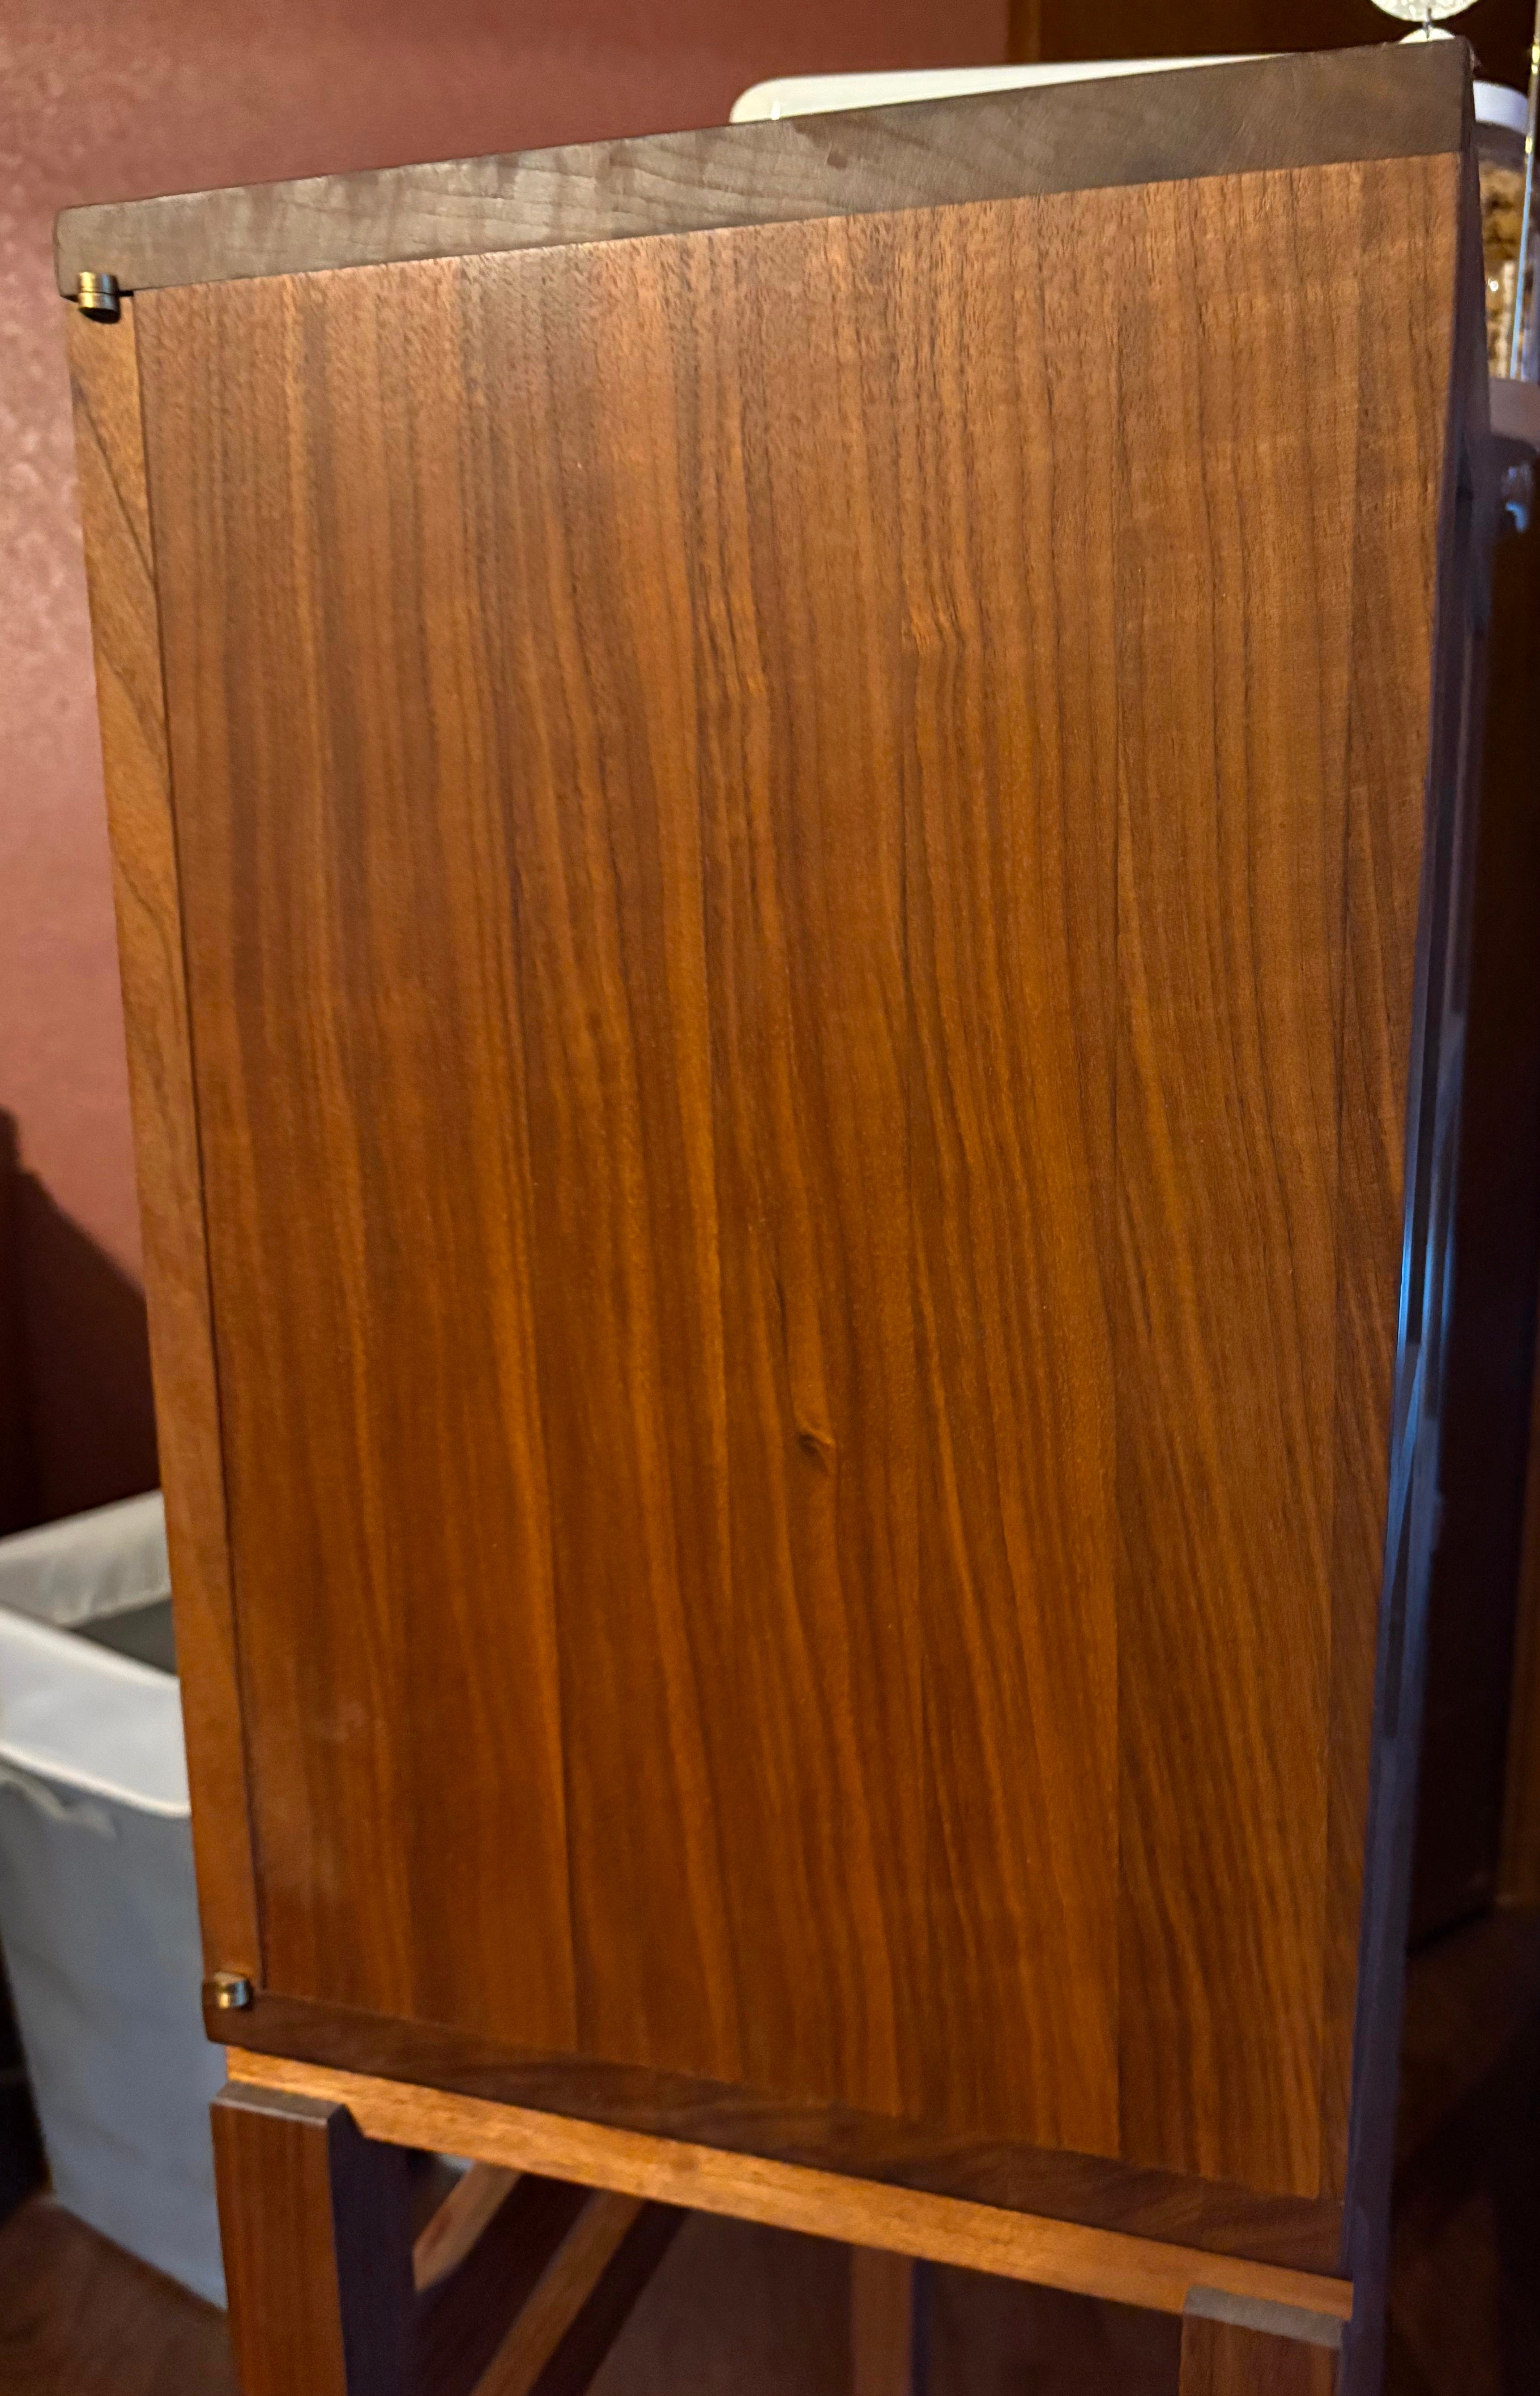
It’s the technique I used to make all the panels for my wife’s perfume cabinet. One thing to pay attention to is the edge of the panel. If it is going to be exposed, you want to put piece with riftsawn grain facing out, so you get straight grain on the face and the edge. It’s a detail I neglected on the door parts, and the flat sawn face against the straight grained panel still bothers me.
I first saw this technique from Philip Morley on an Instagram story. I’ve seen a few other makers use it since, so I’m sure it’s been around for a while and I can’t give proper credit to its originator.
Surfaced 3 Sides, meaning the faces are flat and parallel, and one edge is square to the faces
Rip and flip is one of my favorite techniques for more appealing panels!