


Wrapping Up

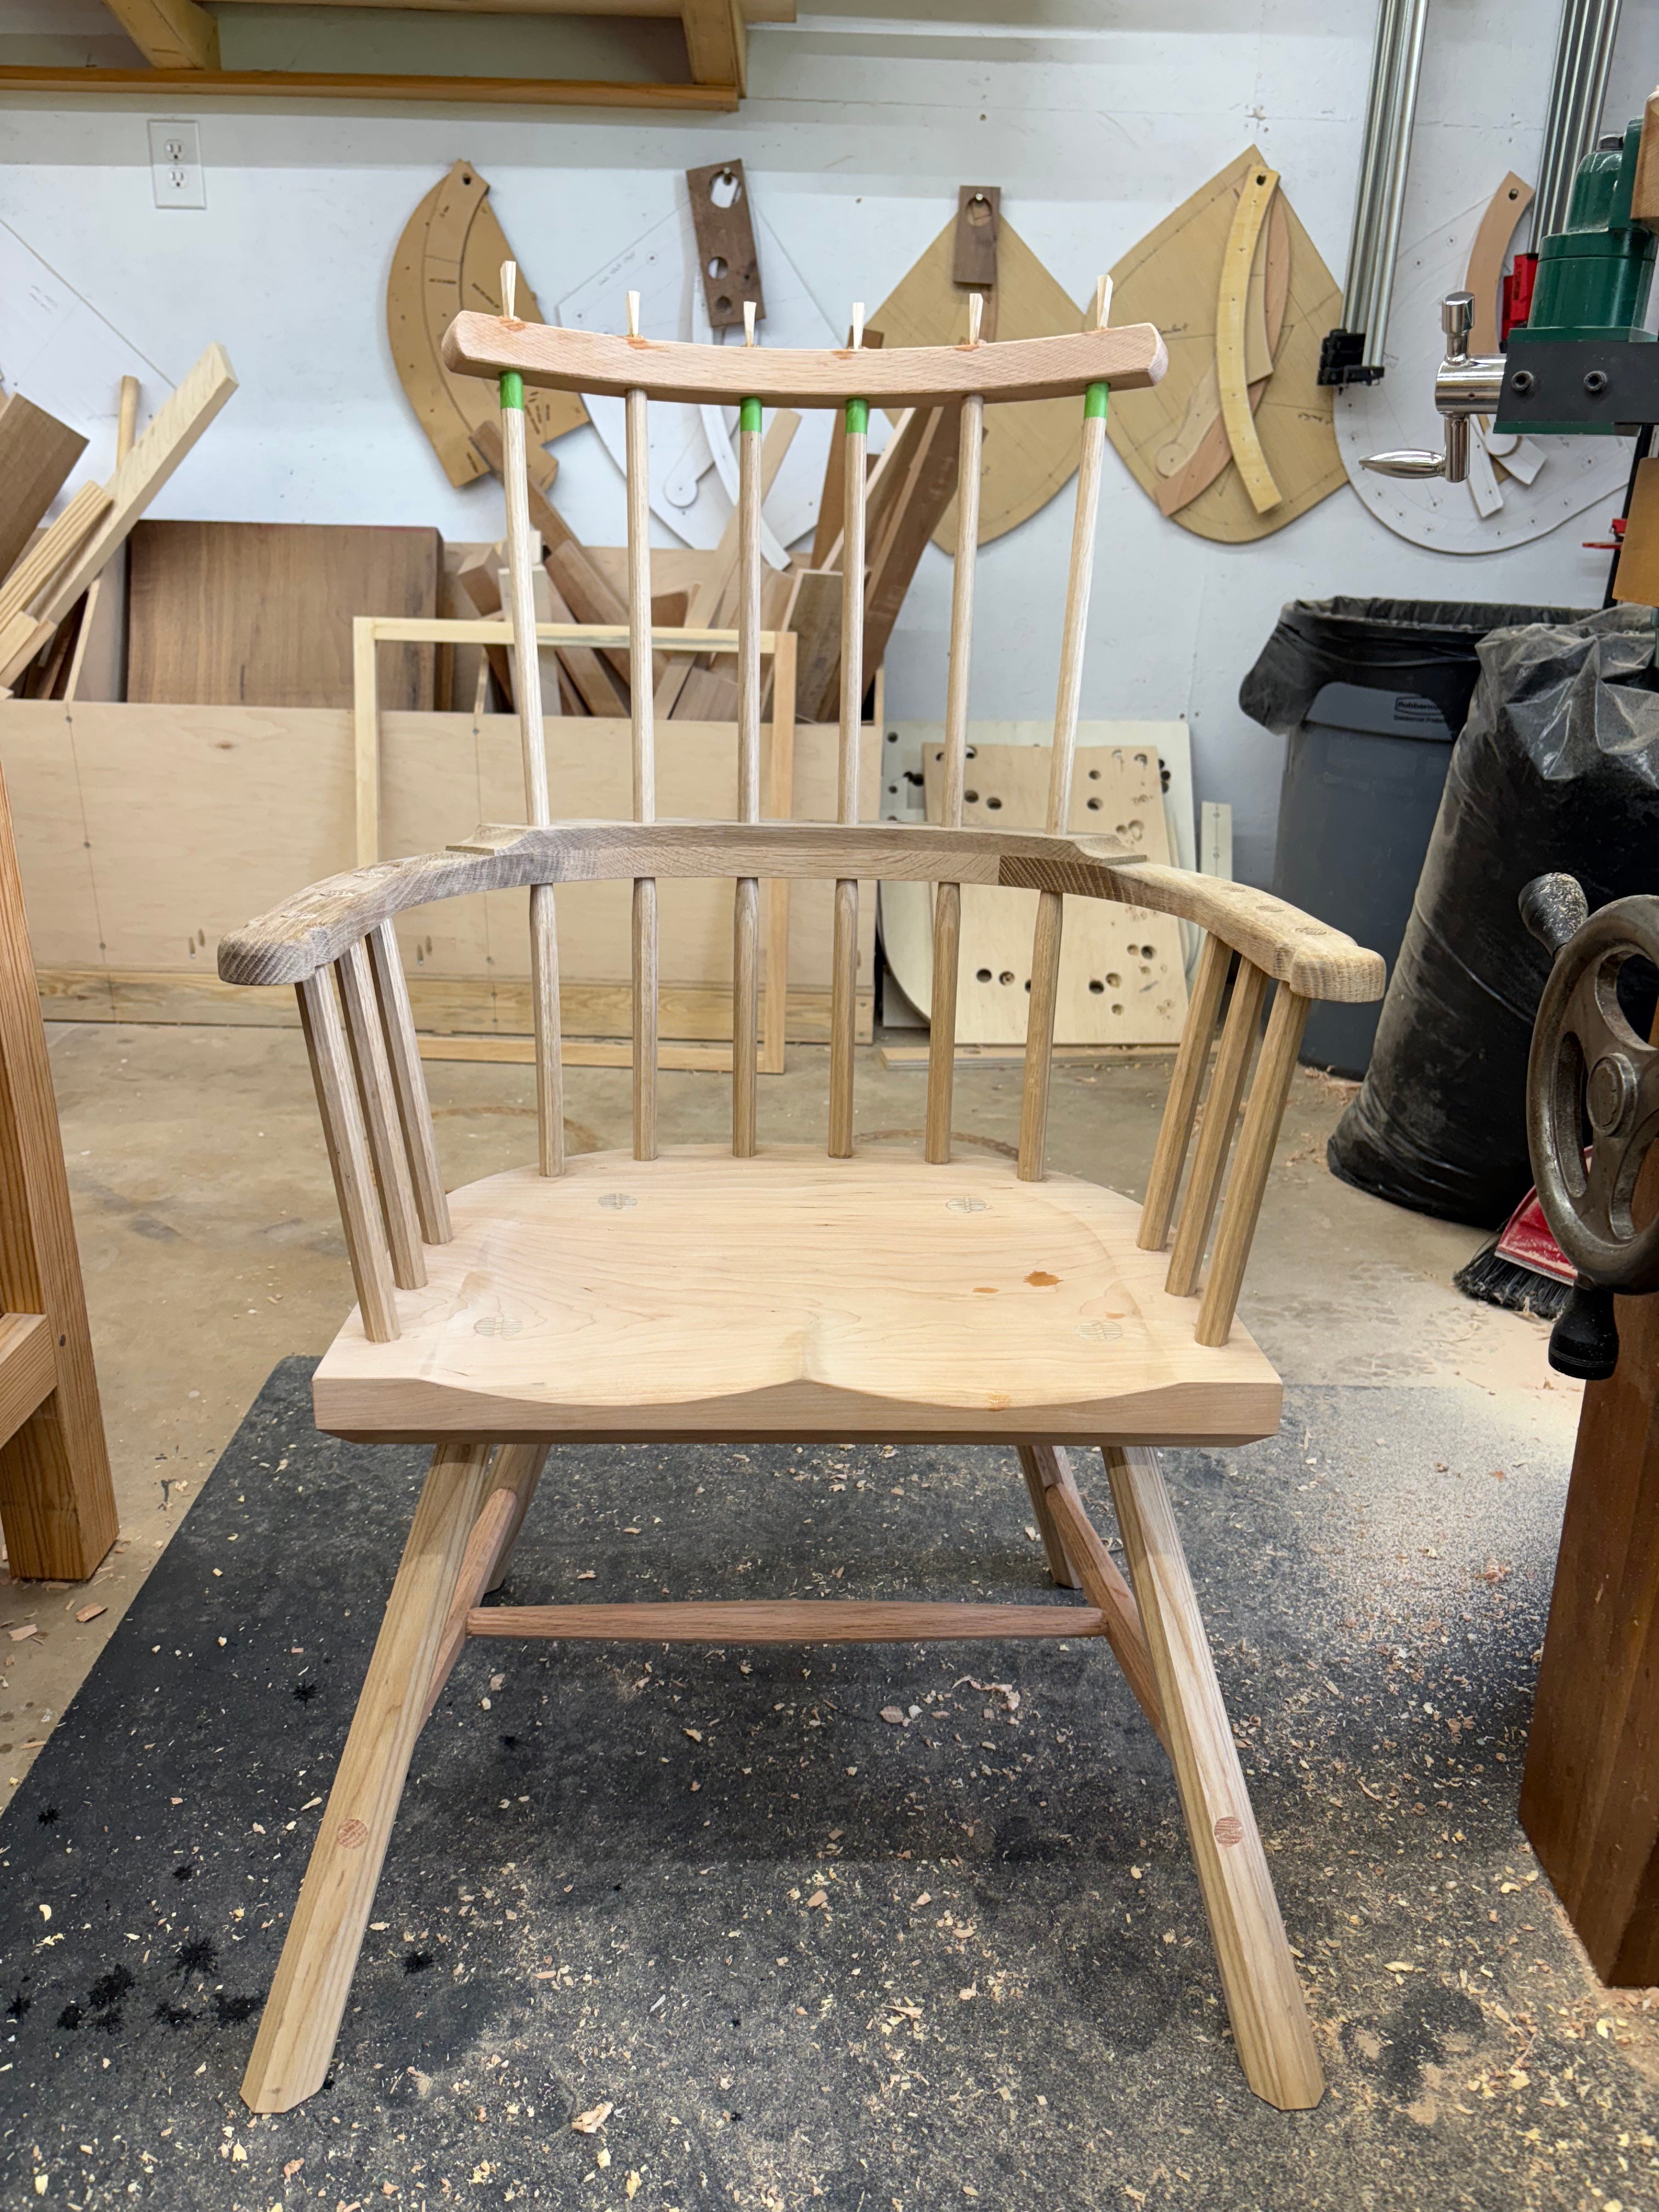
Outside of my typical iterative comb process, the remaining construction of the chair went smoothly.
I wanted a lightening of parts as you moved up the chair, so it took a few mock combs to get there. I wish I had been better about taking photos with each one in place, but I was in the groove and didn’t even think to document it. Once I was done, I realized it was a very predictable progression and I might have been able to save some time if I had just written it out.
Seat, 1-3/4” thick → Armbow, 1-1/2” thick → Comb, 1-1/4” thick
The width of the comb also got smaller and smaller as I iterated. I might’ve been able to make it even narrower, but settled on 1-1/4”, effectively making the cross section a square.
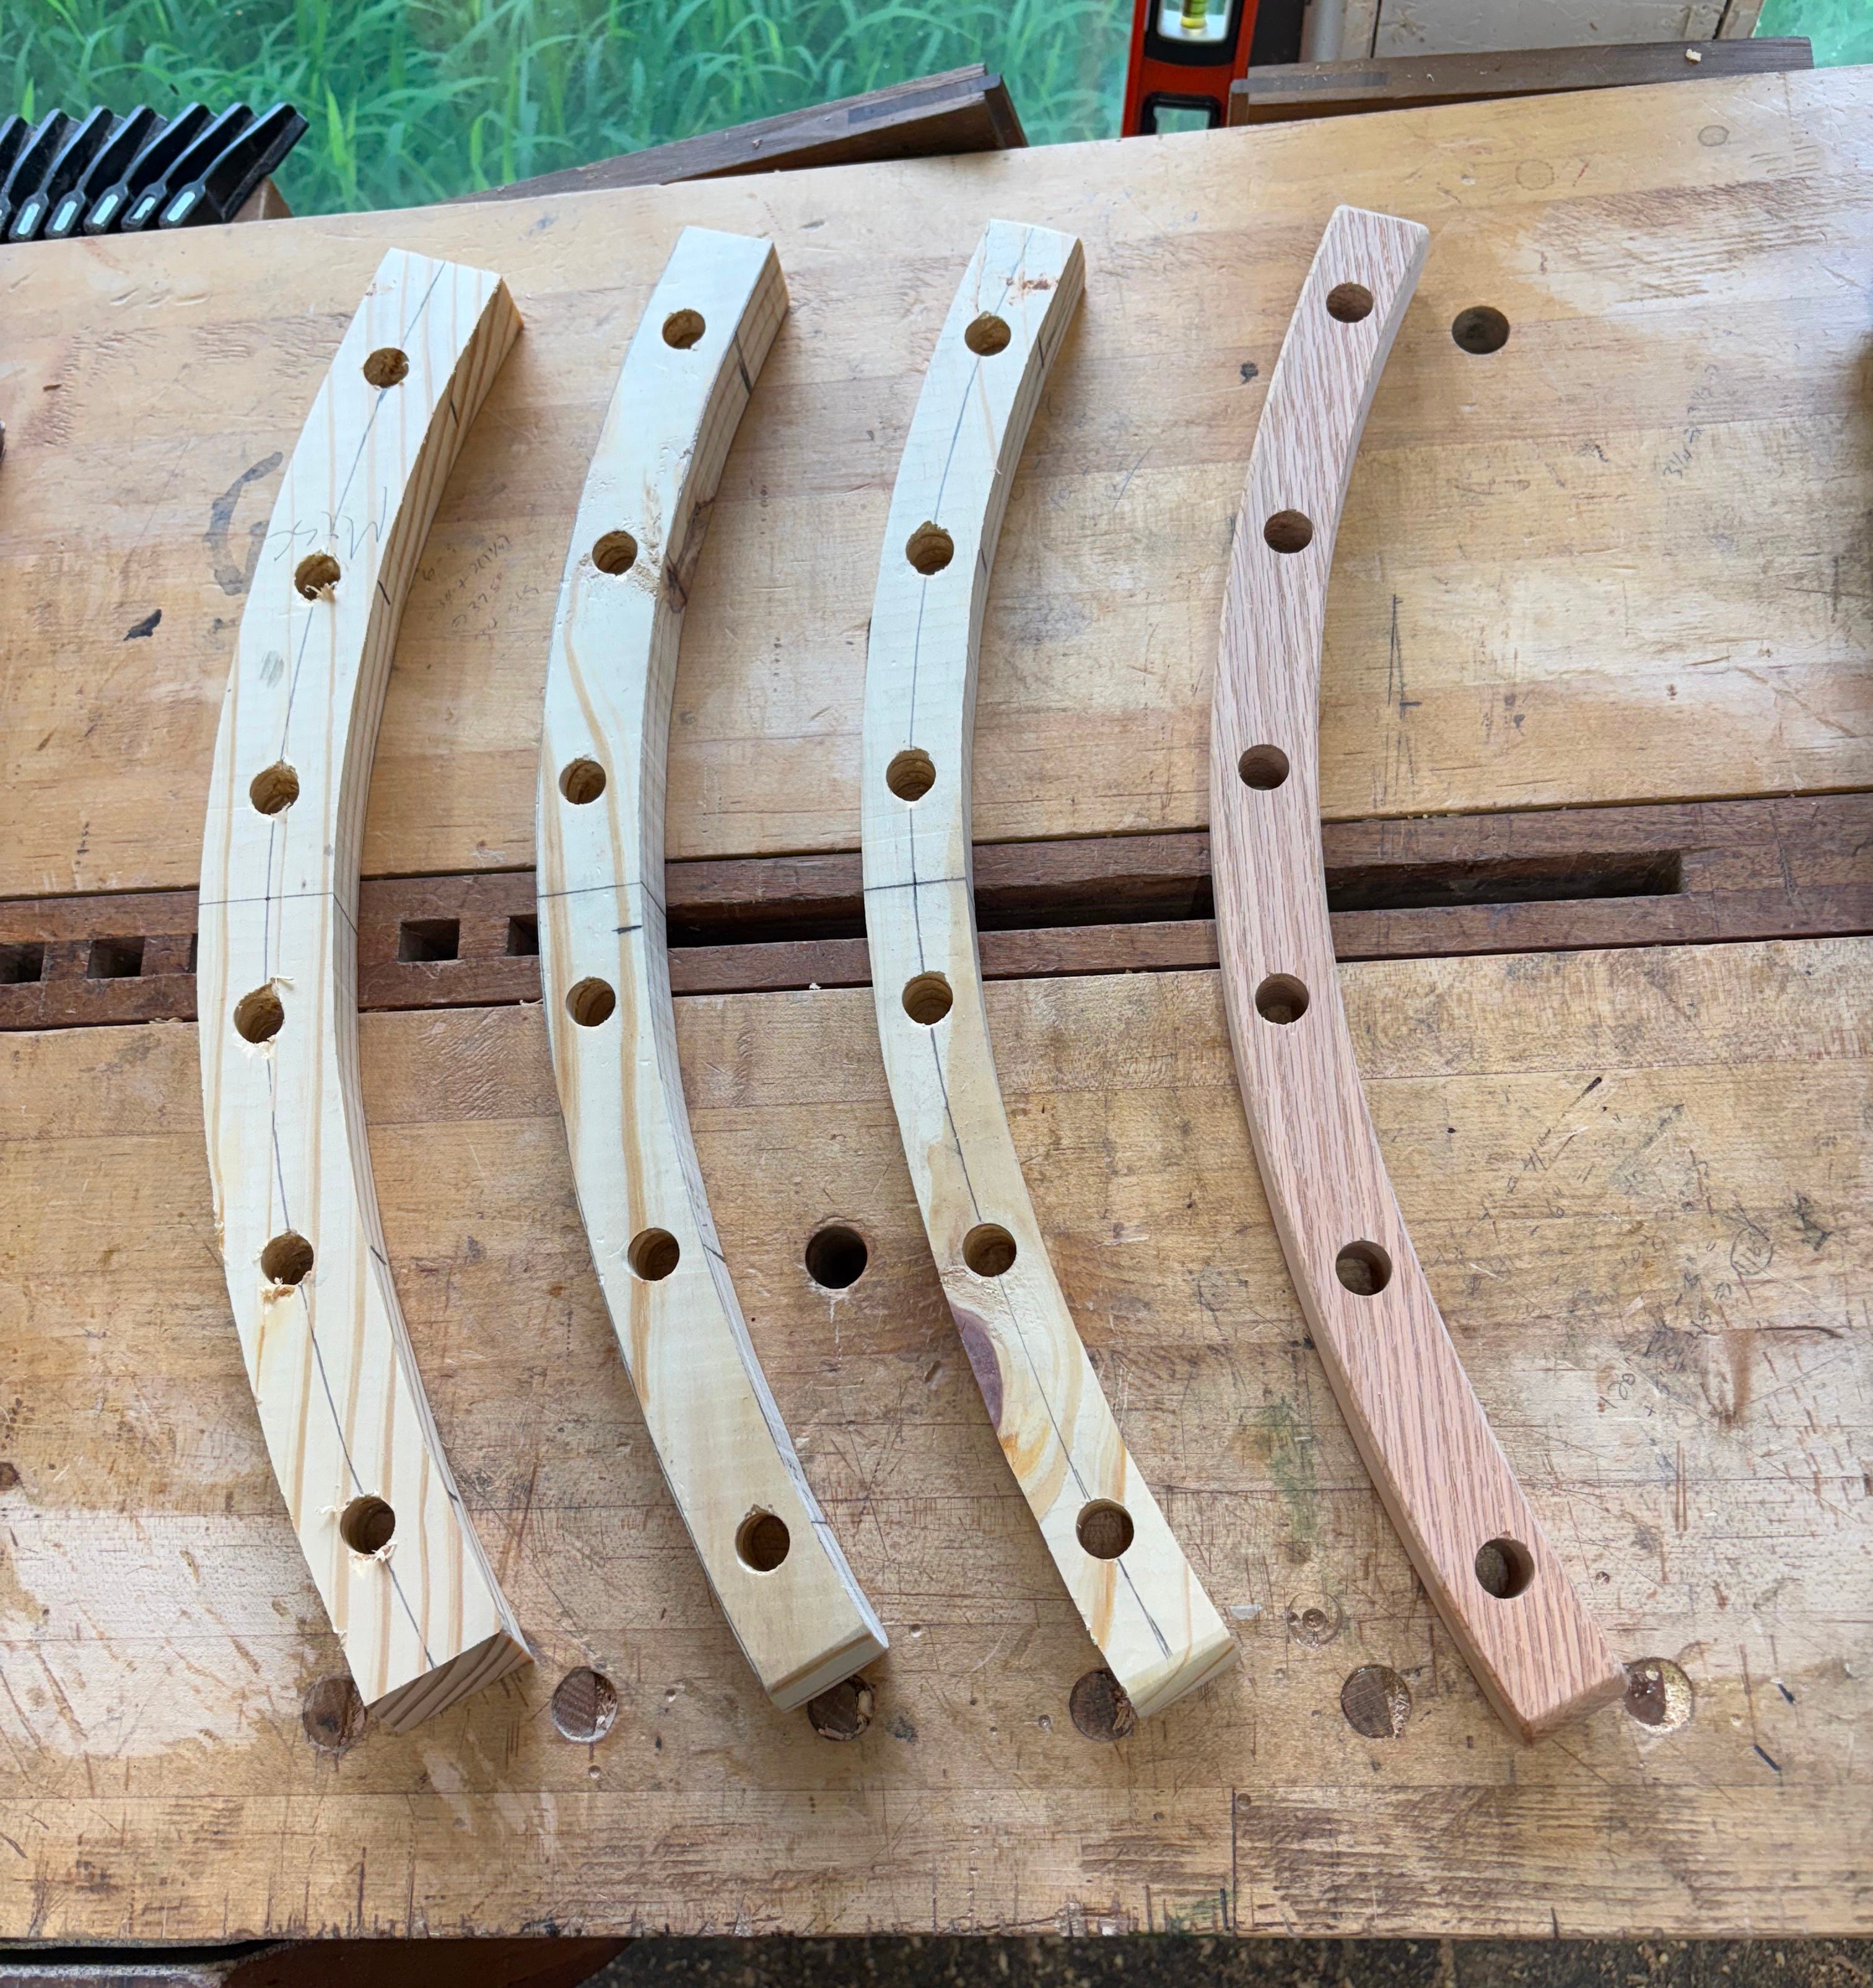
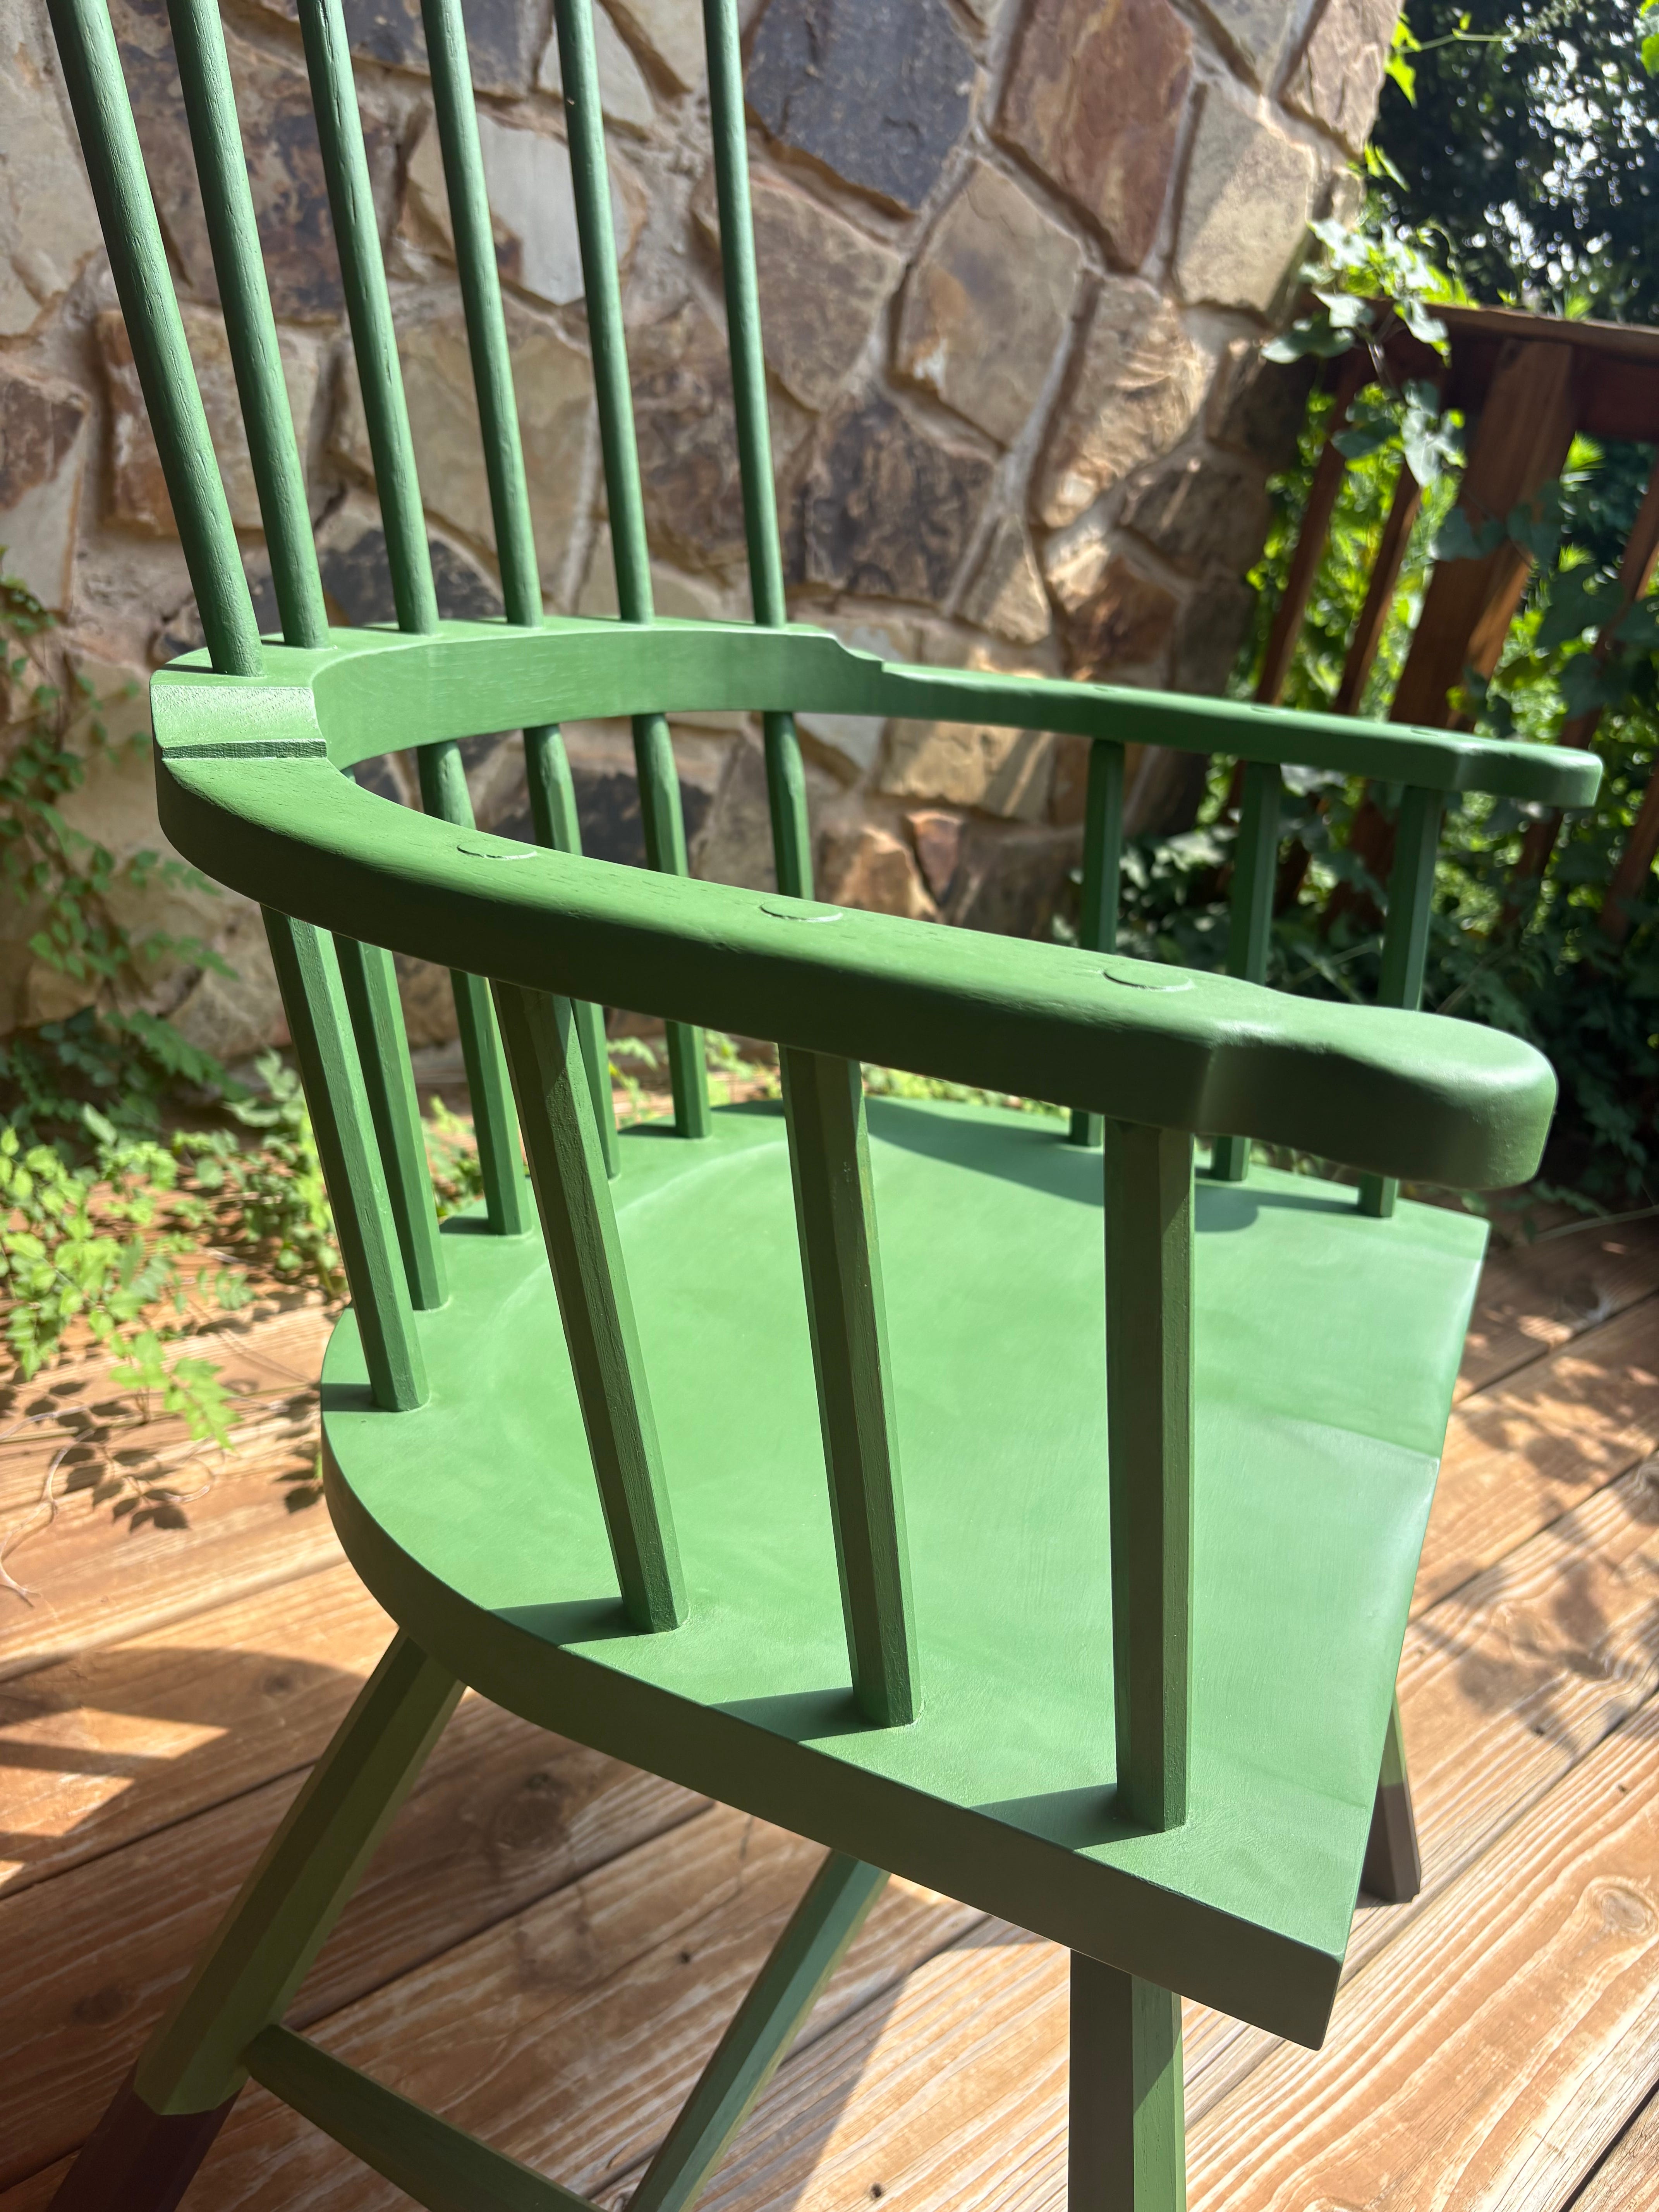
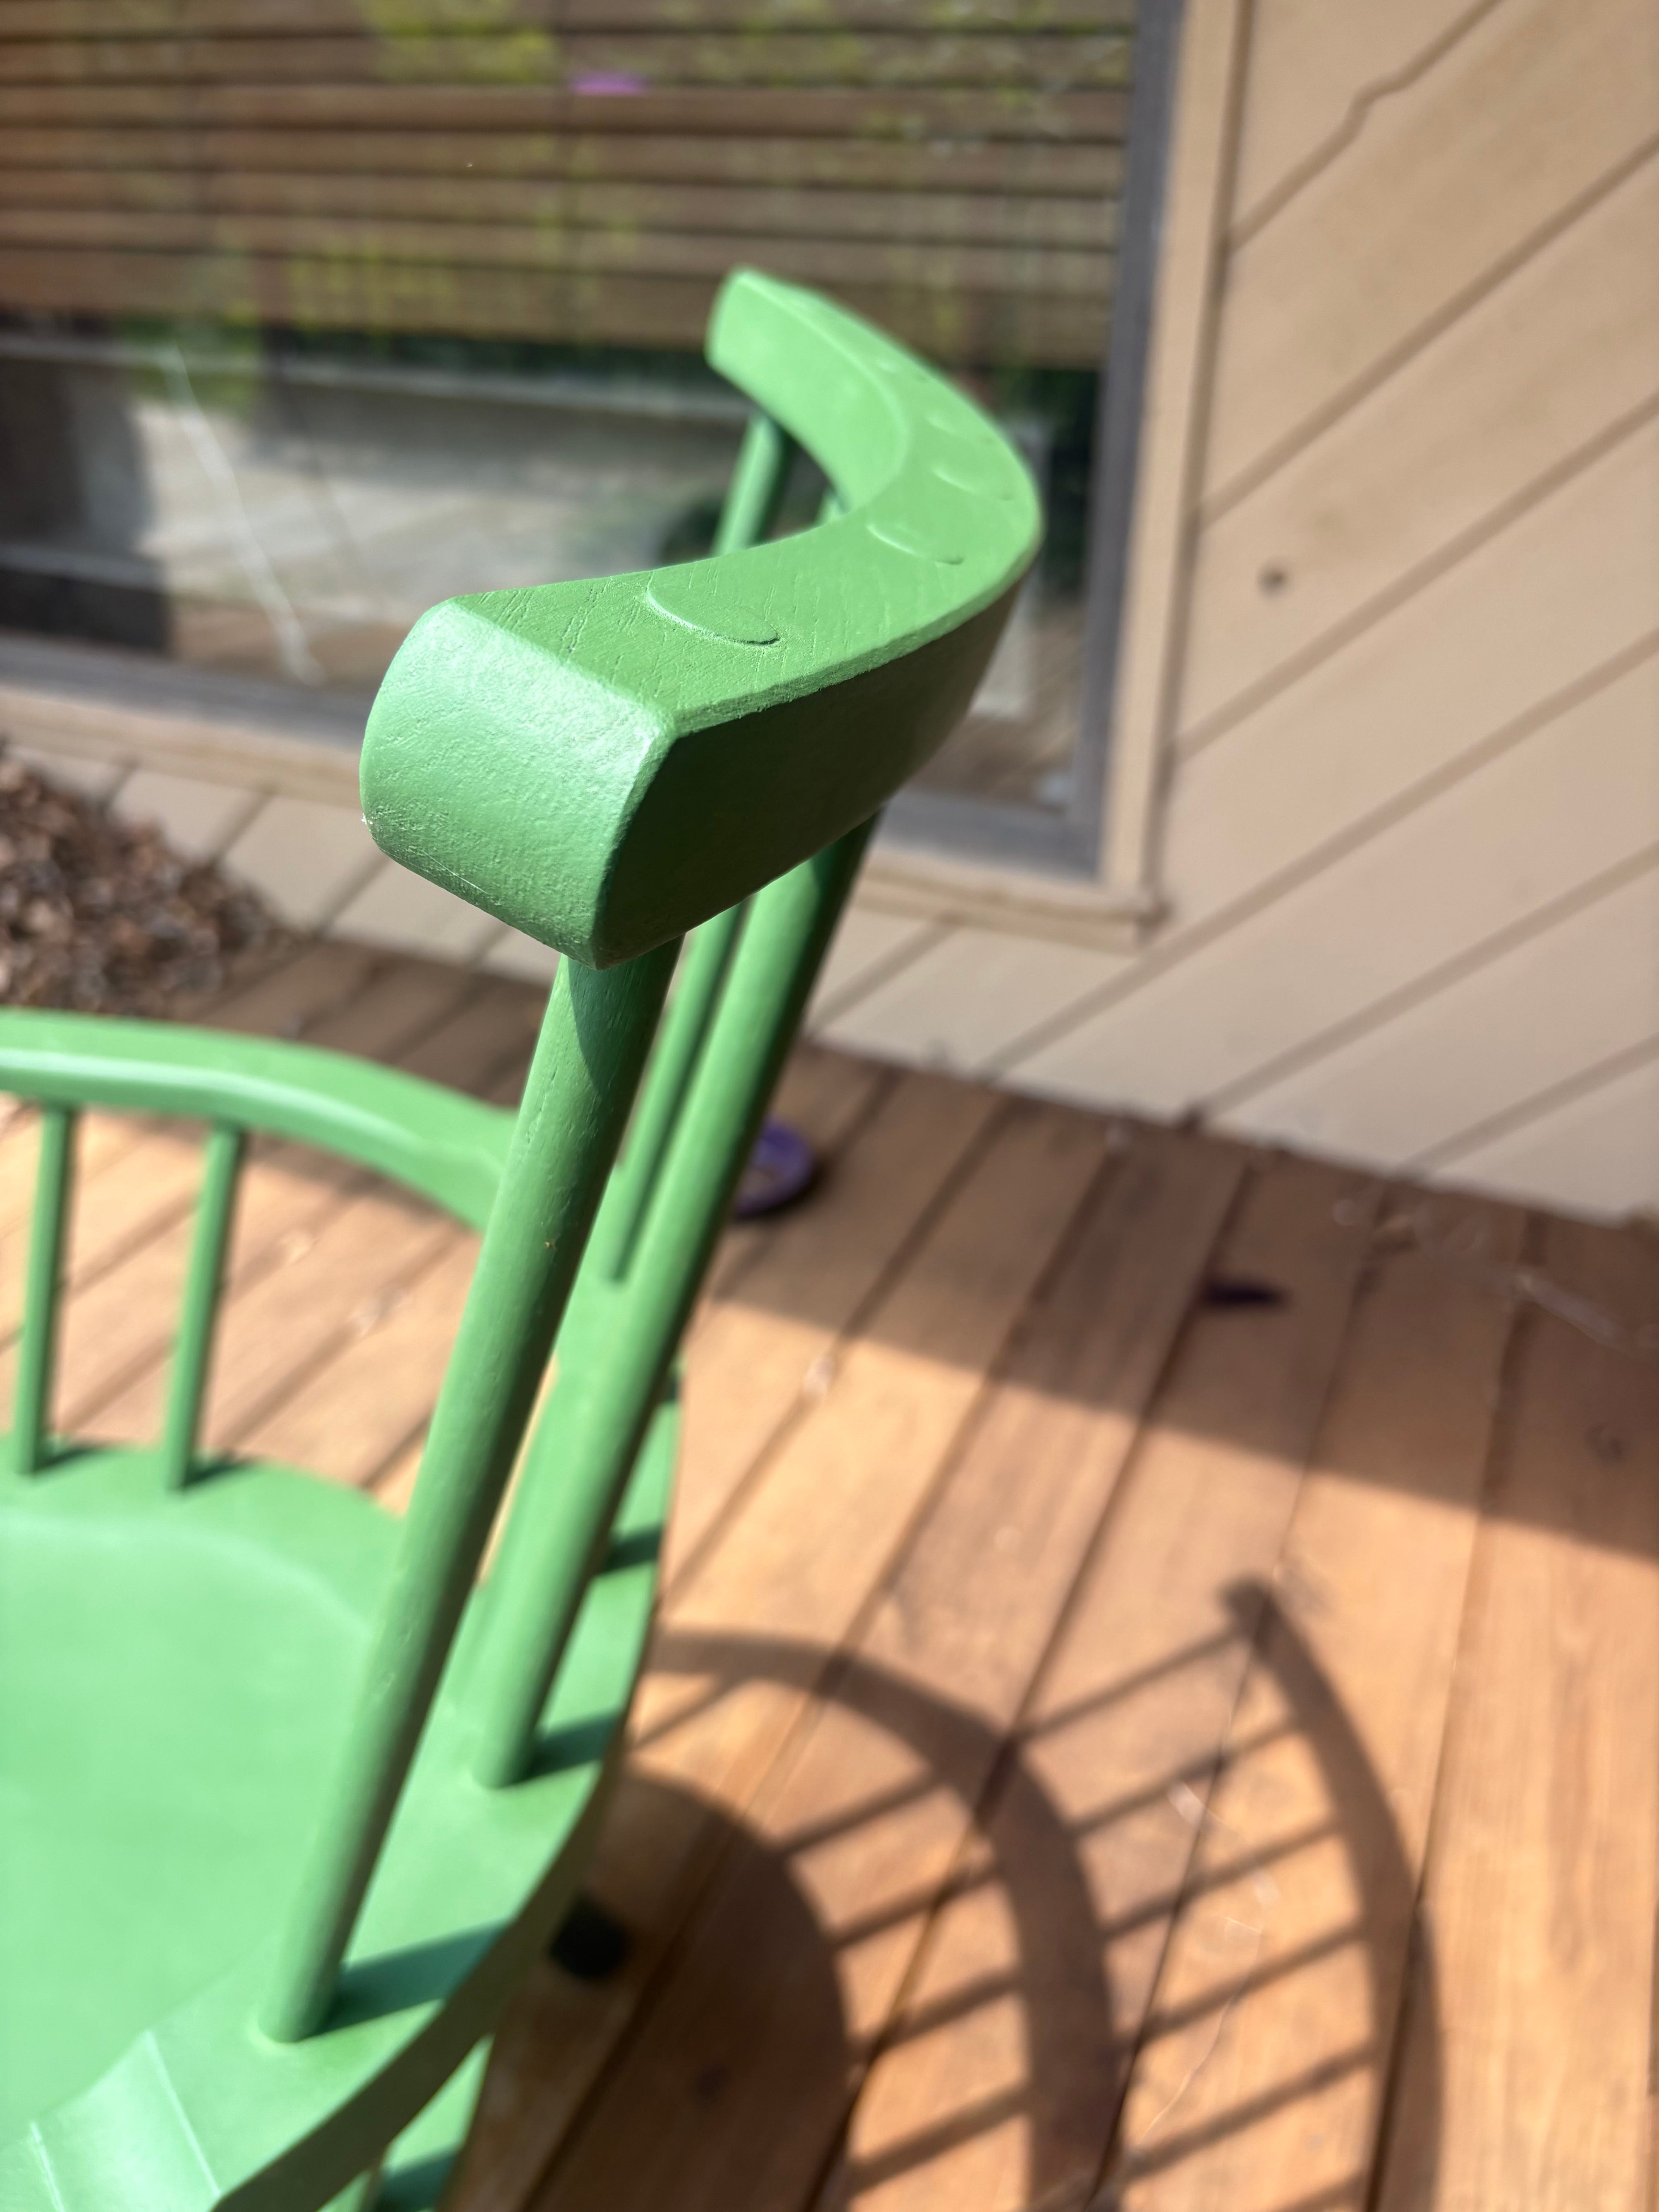
Given the small comb, it made sense to do wedged through tenons, which allowed me to leave them slightly proud to match what I’d done on the arms.
Chair Notes
I try to keep semi-detailed notes for each chair I make. I save them in a text file along with photos of the finished chair, including any helpful notes such as construction improvements, if I even decide to revisit it. Here’s this chairs notes as an example
Seat
5deg of tilt, 16-1/2” off the ground
Back
12deg of lean. For this chair, the armbow was set back 3/16” to get the desired lean. Can’t increase lean any more without modifying the armbow (would drill through the front). Could layout the mortises off-center (shifted back) on the shoe to allow for more tilt?
Arm height
8” from seat.
Comb
11-3/4” above shoe. Stock used for sticks was only 25-1/2” long and this was the nearly the maximum comb height allowed. Comb still sits above my shoulders, but it could sit 1-2” higher
Seat stick layout
2-7/8” apart. Spacing between back sticks and first front stick is double that (5-3/4”)
Arm stick layout
Back sticks are 1-7/16” from center (2-7/8” spacing). Increase spacing by 1/8” per stick to create a slight fan. Front stick is 3” from end of hand. Next stick is 3” from that, final stick is 3-1/8”.
Comb
1-1/4” x 1-1/4” cross section. First stick is 1-1/2” from center (3” spacing between the pair). Spacing progresses to 3-1/4” and 3-1/2”. Tempted to increase final spacing to 3-5/8” to create even more of a ‘fan’ in the sticks. Would definitely do so if back sticks were longer.
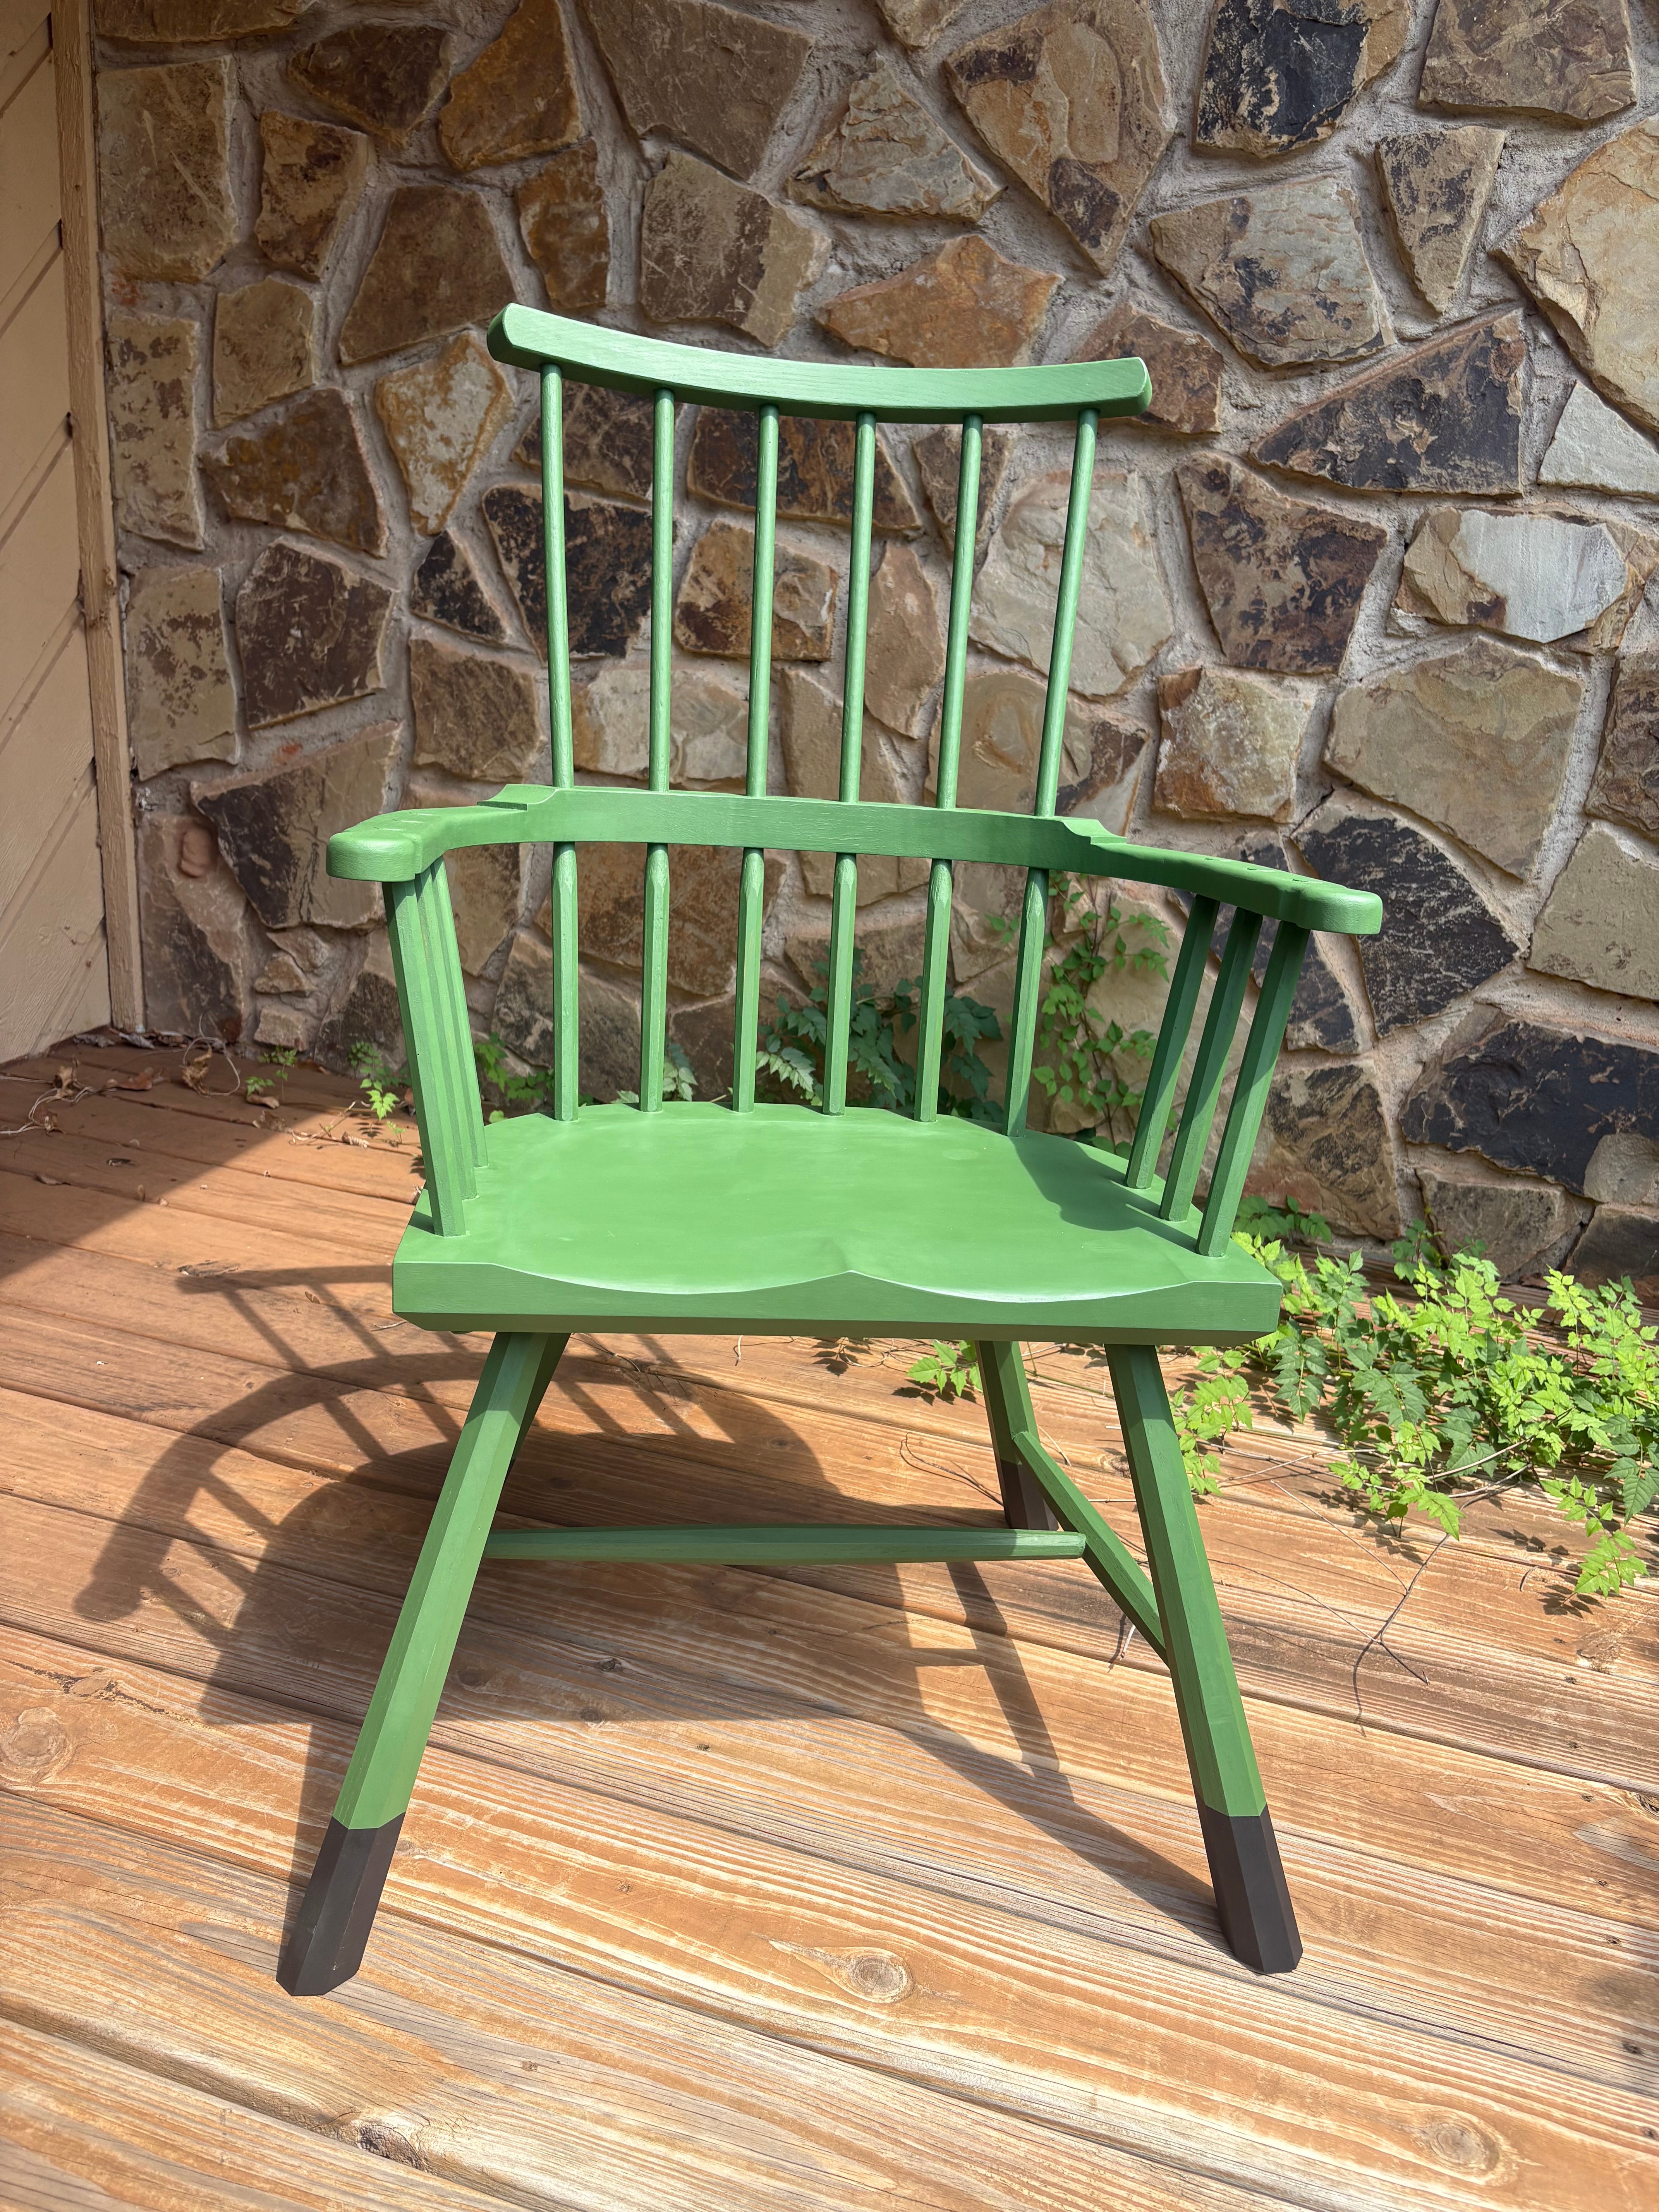
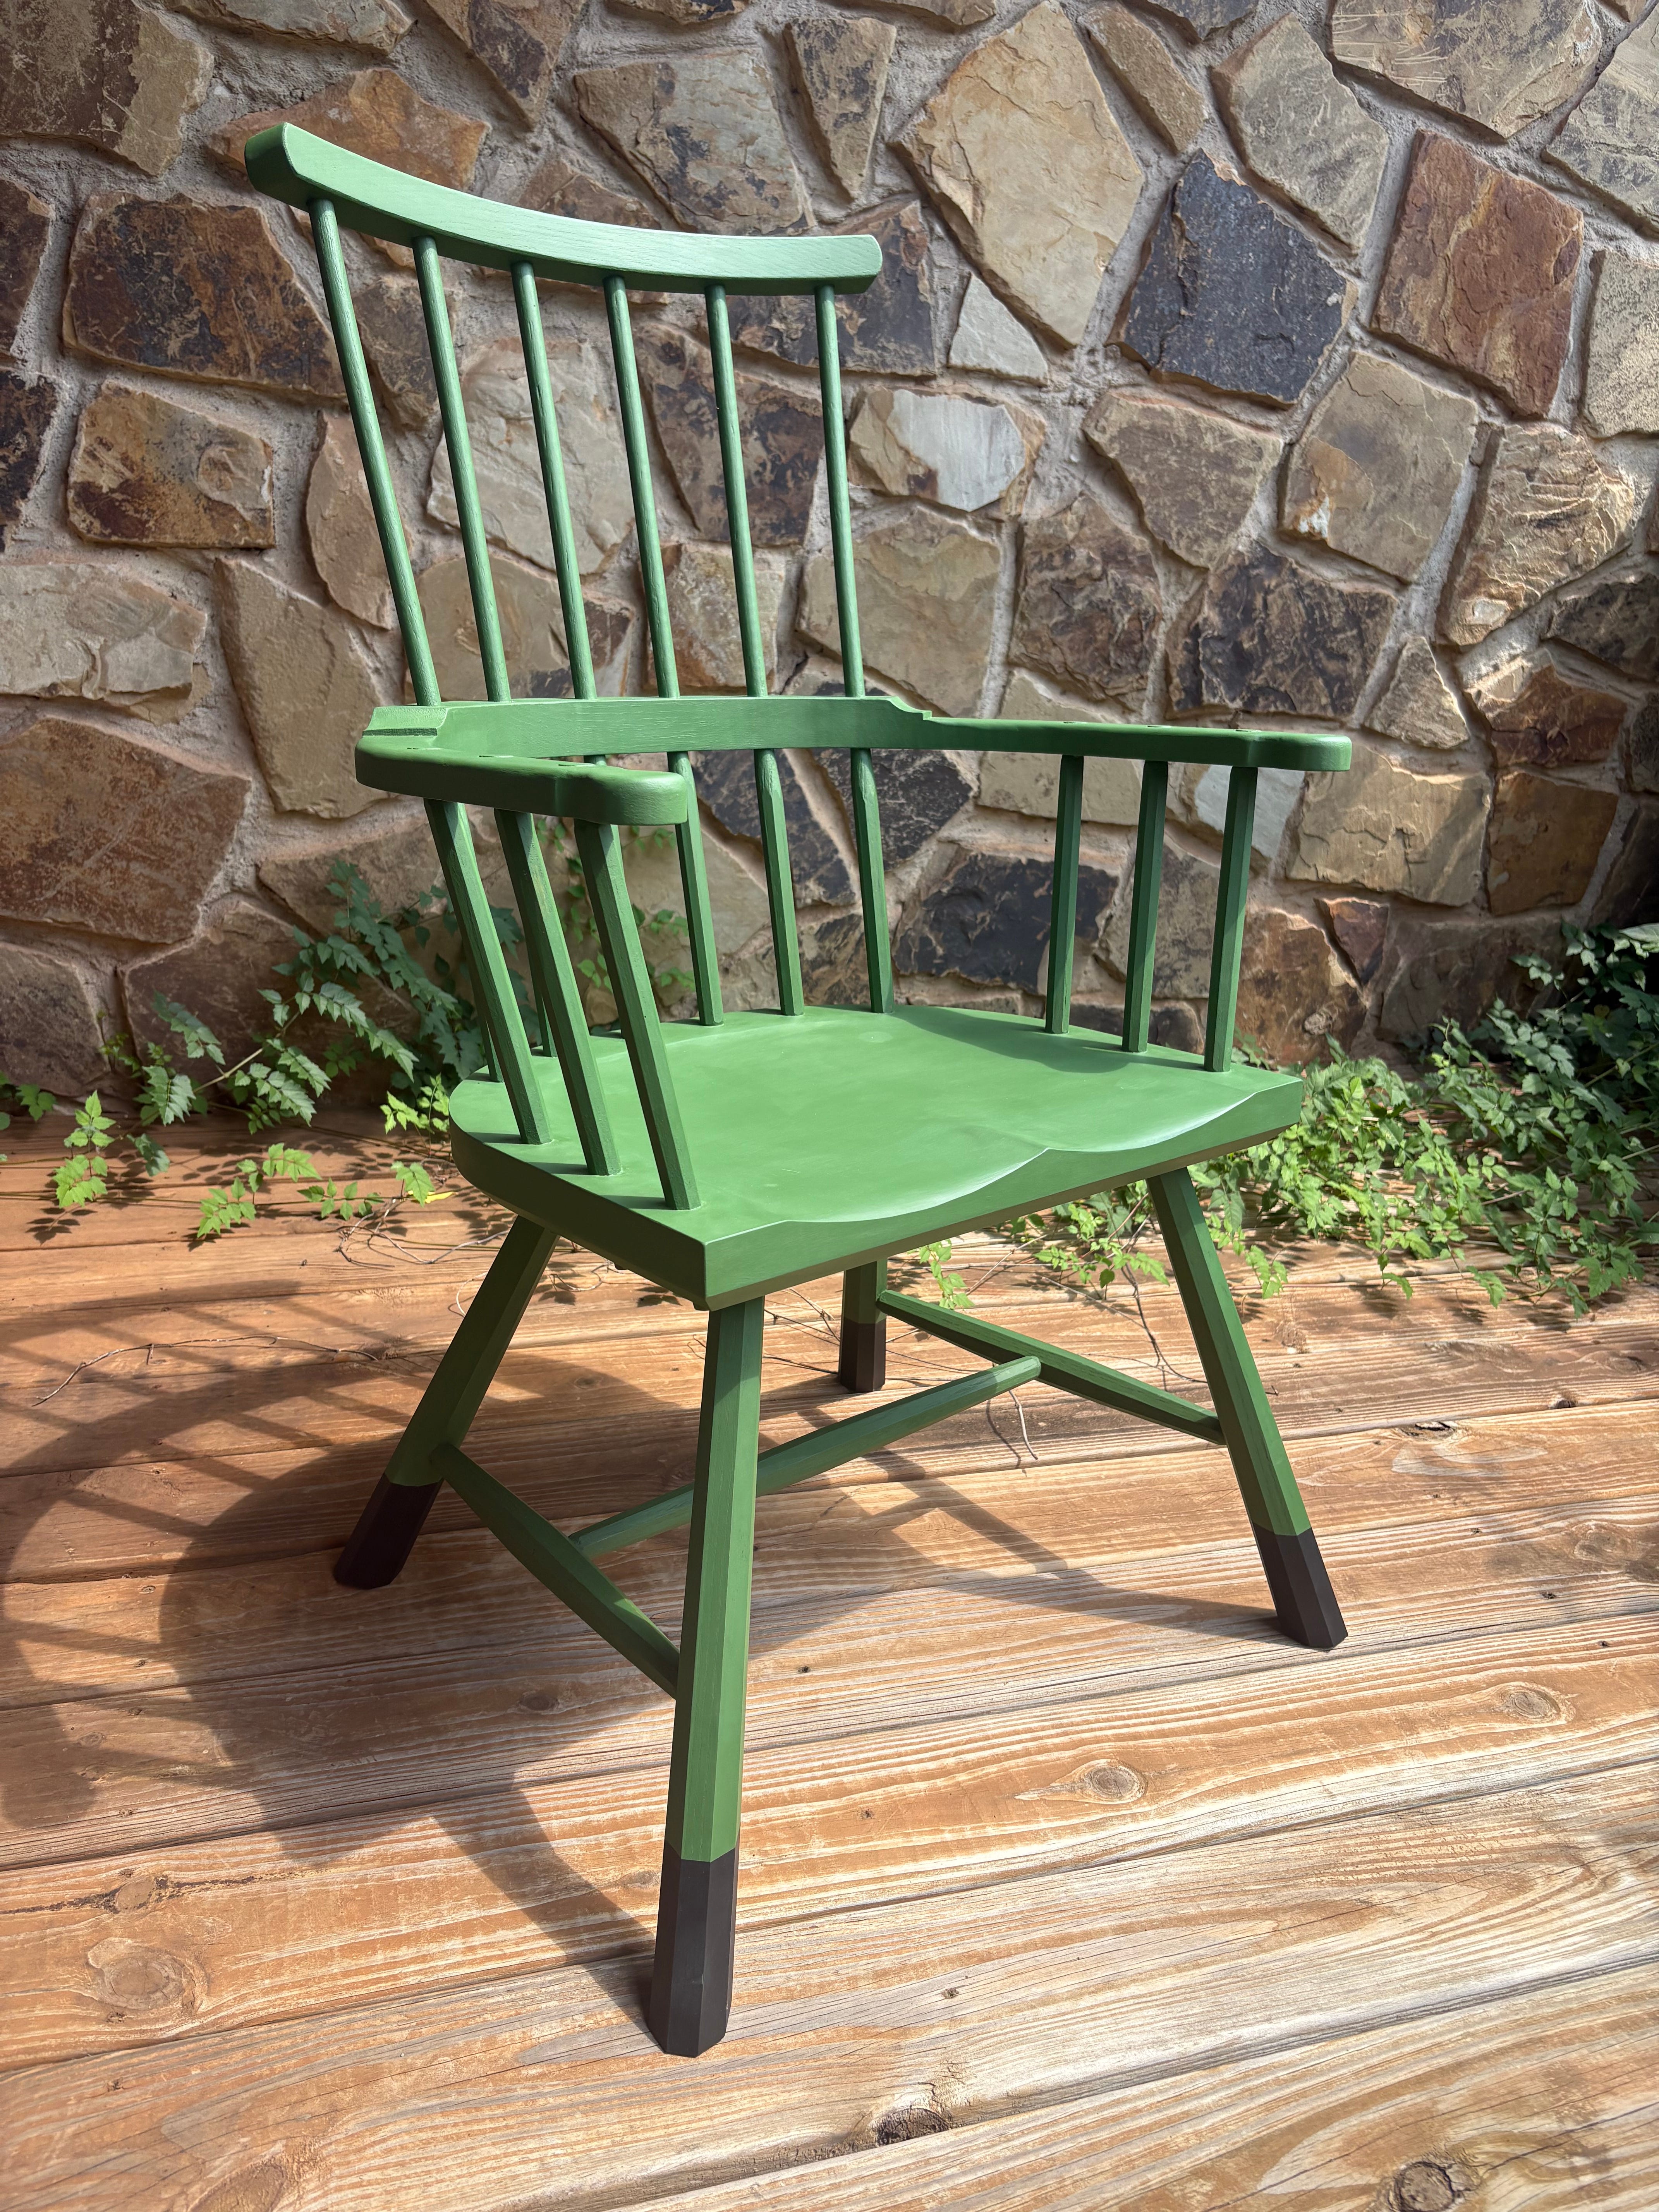
Milk Paint
Given the wide array of species used, paint was guaranteed. I bought a can of Lily Pad Real Milk Paint on clearance at work and went for it (I love that shade and was very sad when General Finishes discontinued one similar: Emerald).
I’m not going to even attempt to come off as an expert when it comes to milk paint. The entire time I was using it, I teetered between thinking it was going to be ok and cursing myself for trying something so relatively new on something so large. It was one hell of a rollercoaster, and while I do enjoy a good coaster, I don’t recommend this ride. I got a ton of excellent tips and insight from John Byer and did my best to implement them.
I mixed the paint according to the instructions (1:1 paint with water, by volume) and painted on 2 coats, with a very light sanding with a 320 grit sponge between. I did not make any test boards (giant fail when it comes to using milk paint) BUT I could use the underside of the seat to test some things. I tried a few different buffing methods after waiting 2 days for the paint to harden. I probably should’ve waited even longer to be safe, but go fever had fully set in. I used a grey scotch brite pad, a white one, and finally a balled up wad of craft paper (one of John’s suggestions) and the craft paper definitely won out. The surfaces weren’t noticeably different, and the craft paper generated less dust (i.e. it didn’t take off as much of the paint). The surface felt much better after buffing, but there was still some visible streaks. I tested soft wax on the underside of the seat (I’ve read it can lift the pigment). Thankfully it didn’t appear to be lifting much, if any at all. I was glad it worked, since shellac was my only other option. Not that I have anything against shellac, but soft wax is much easier to apply IMO. From my test section, soft wax also smoothed out the streaks, so it was a double win.
Some Final Notes on Comfort
I really like this seat shape visually, since it adds a little more interest than a standard D seat, but I’ve found that I really enjoy it from a comfort standpoint as well. I have a slightly larger than average frame, and D seats hug my back and sides a hair more than I like. They don’t ‘pinch’ my sides, per se, but that’s the best way I can describe how they feel to me (if you are a sensory seeking person, that might be a feature of those seats and not a bug). The small (4”) flat on this seat and armbow pushes the curvature out just enough to feel like a nice hug without the pinch.
Chair for Sale
I always feel a little weird about posting things for sale in a place where my audience is largely made up of other woodworkers/furniture makers, but I’m trying to avoid making assumptions or doing any ‘mind reading’. I’m trying out something new (mostly as a learning experience) and selling the chair for $1,300 which includes crating and shipping within the contiguous US. Below are some pics of the finished chair.

Great job! I really like the through tenons in the comb!
I love the six-stick form, and yours is very nicely executed. Great chair!