
Based

When I initially posted this, I had didn’t toggle comments from paid to everyone (Substack defaults reading and commenting to paid subs and I have to change it for every post). It’s corrected now and thanks to Bridgid for letting me know!
I’ve had something in my drafts for months now, and I thought I was finally ready to finish it. Opened it up, read it, re-wrote over half of it and let it sit. Came back to it the next day, re-wrote half of it again, and decided to just shelve it again. It’s teetering between needing to be more brief or much longer. I think I know what I’m trying to say with it, but every time I start to work on it, it veers off into some unknown direction, and by the time I’ve realized it, I have no idea how to steer it back to my original idea without an extended detour. All of that is to say, sorry for the lack of a post last week. The table base wasn’t completed either, and I really didn’t feel like splitting that into 2 posts. Turns out writing can be hard sometimes.
When I originally made a plan for this table, I was going to add a few short supports to a simple leg and apron structure and call it good. My fear got the best of me and I decided to add another stretcher running the full length of the table, on top of making the aprons out of 8/4 material.
I just got in my own head about it being a “10 ft, massive table” and dialed my usual over-kill approach up to 11. Even after a conversation with a friend that makes massive tables regularly, I was still doubting myself. Once I had milled the material and put my full weight in the middle of a single 10ft apron, I started to feel a little better.
For the apron joinery, classic mortise and tenon construction was the only thing I had considered. The only modification was I would be drawboring them together.
If you are unfamiliar with that particular technique, Bridgid from Dinkle’s Woodshop made a fantastic video about it with excellent visuals here.
In short, where a pinned mortise and tenon has a hole drilled straight through the workpiece and tenon, a drawbored joint offsets the hole in tenon (towards the shoulder). When you drive the peg, this offset will pull the pieces together, making a tighter and stronger joint. The real clincher here is no need for clamps when using this joinery method, which is incredibly convenient since I do not own 11ft+ long clamps (yes, I could clamp across the short supports instead, which is what I did to mark for the holes, but I didn’t trust that offset clamping pressure to squarely close the joint).
Historical aside: drawboring as a technique has been around for at least 400 years. I have to assume that a big driver in its use and development was that it is a ‘clamp free’ joint to assemble.
Quick Tip
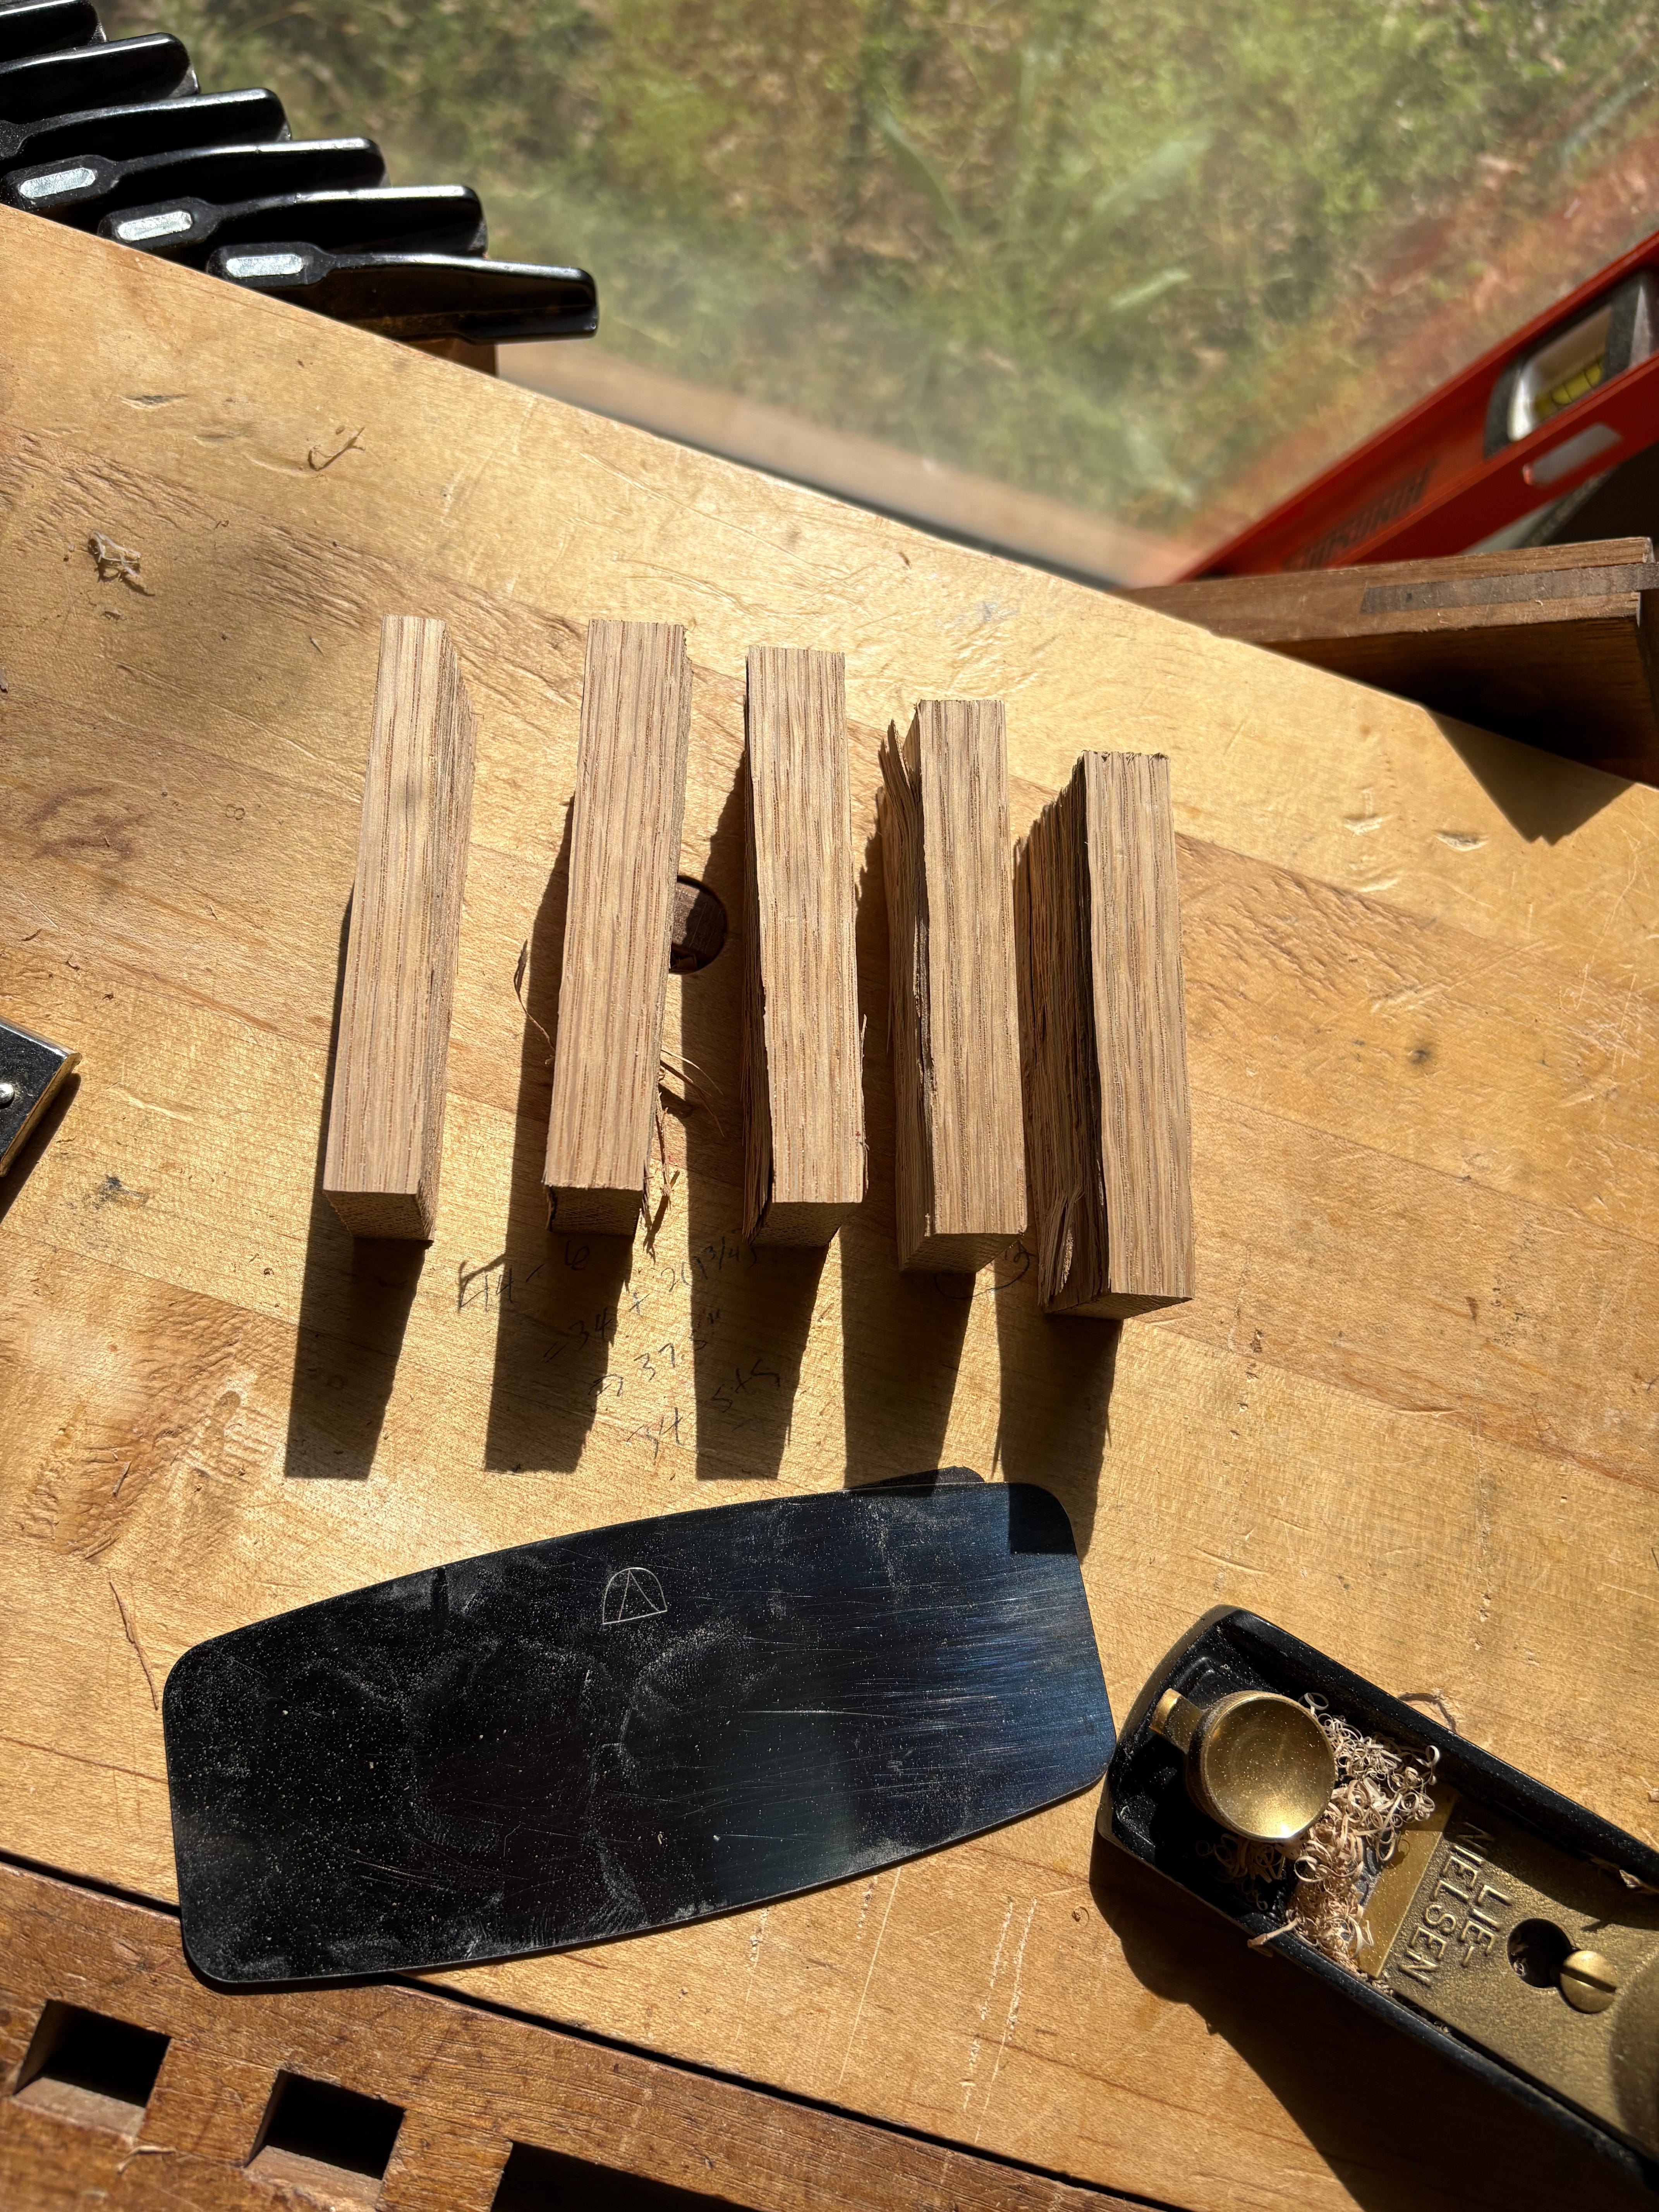
Save the offcuts from your tenon cheeks. You never know when your brother will call and you will lose track of how much you’ve trimmed off your tenon faces, resulting in a sloppy fit. All I had to do was glue some offcuts on to the tenon and try again.
I got incredibly lucky with some of my apron offcuts and found 2 pieces that had dead straight grain (the grain and the medullary rays were running parallel). I rived out some blanks and played whack a mole with my dowel plate.
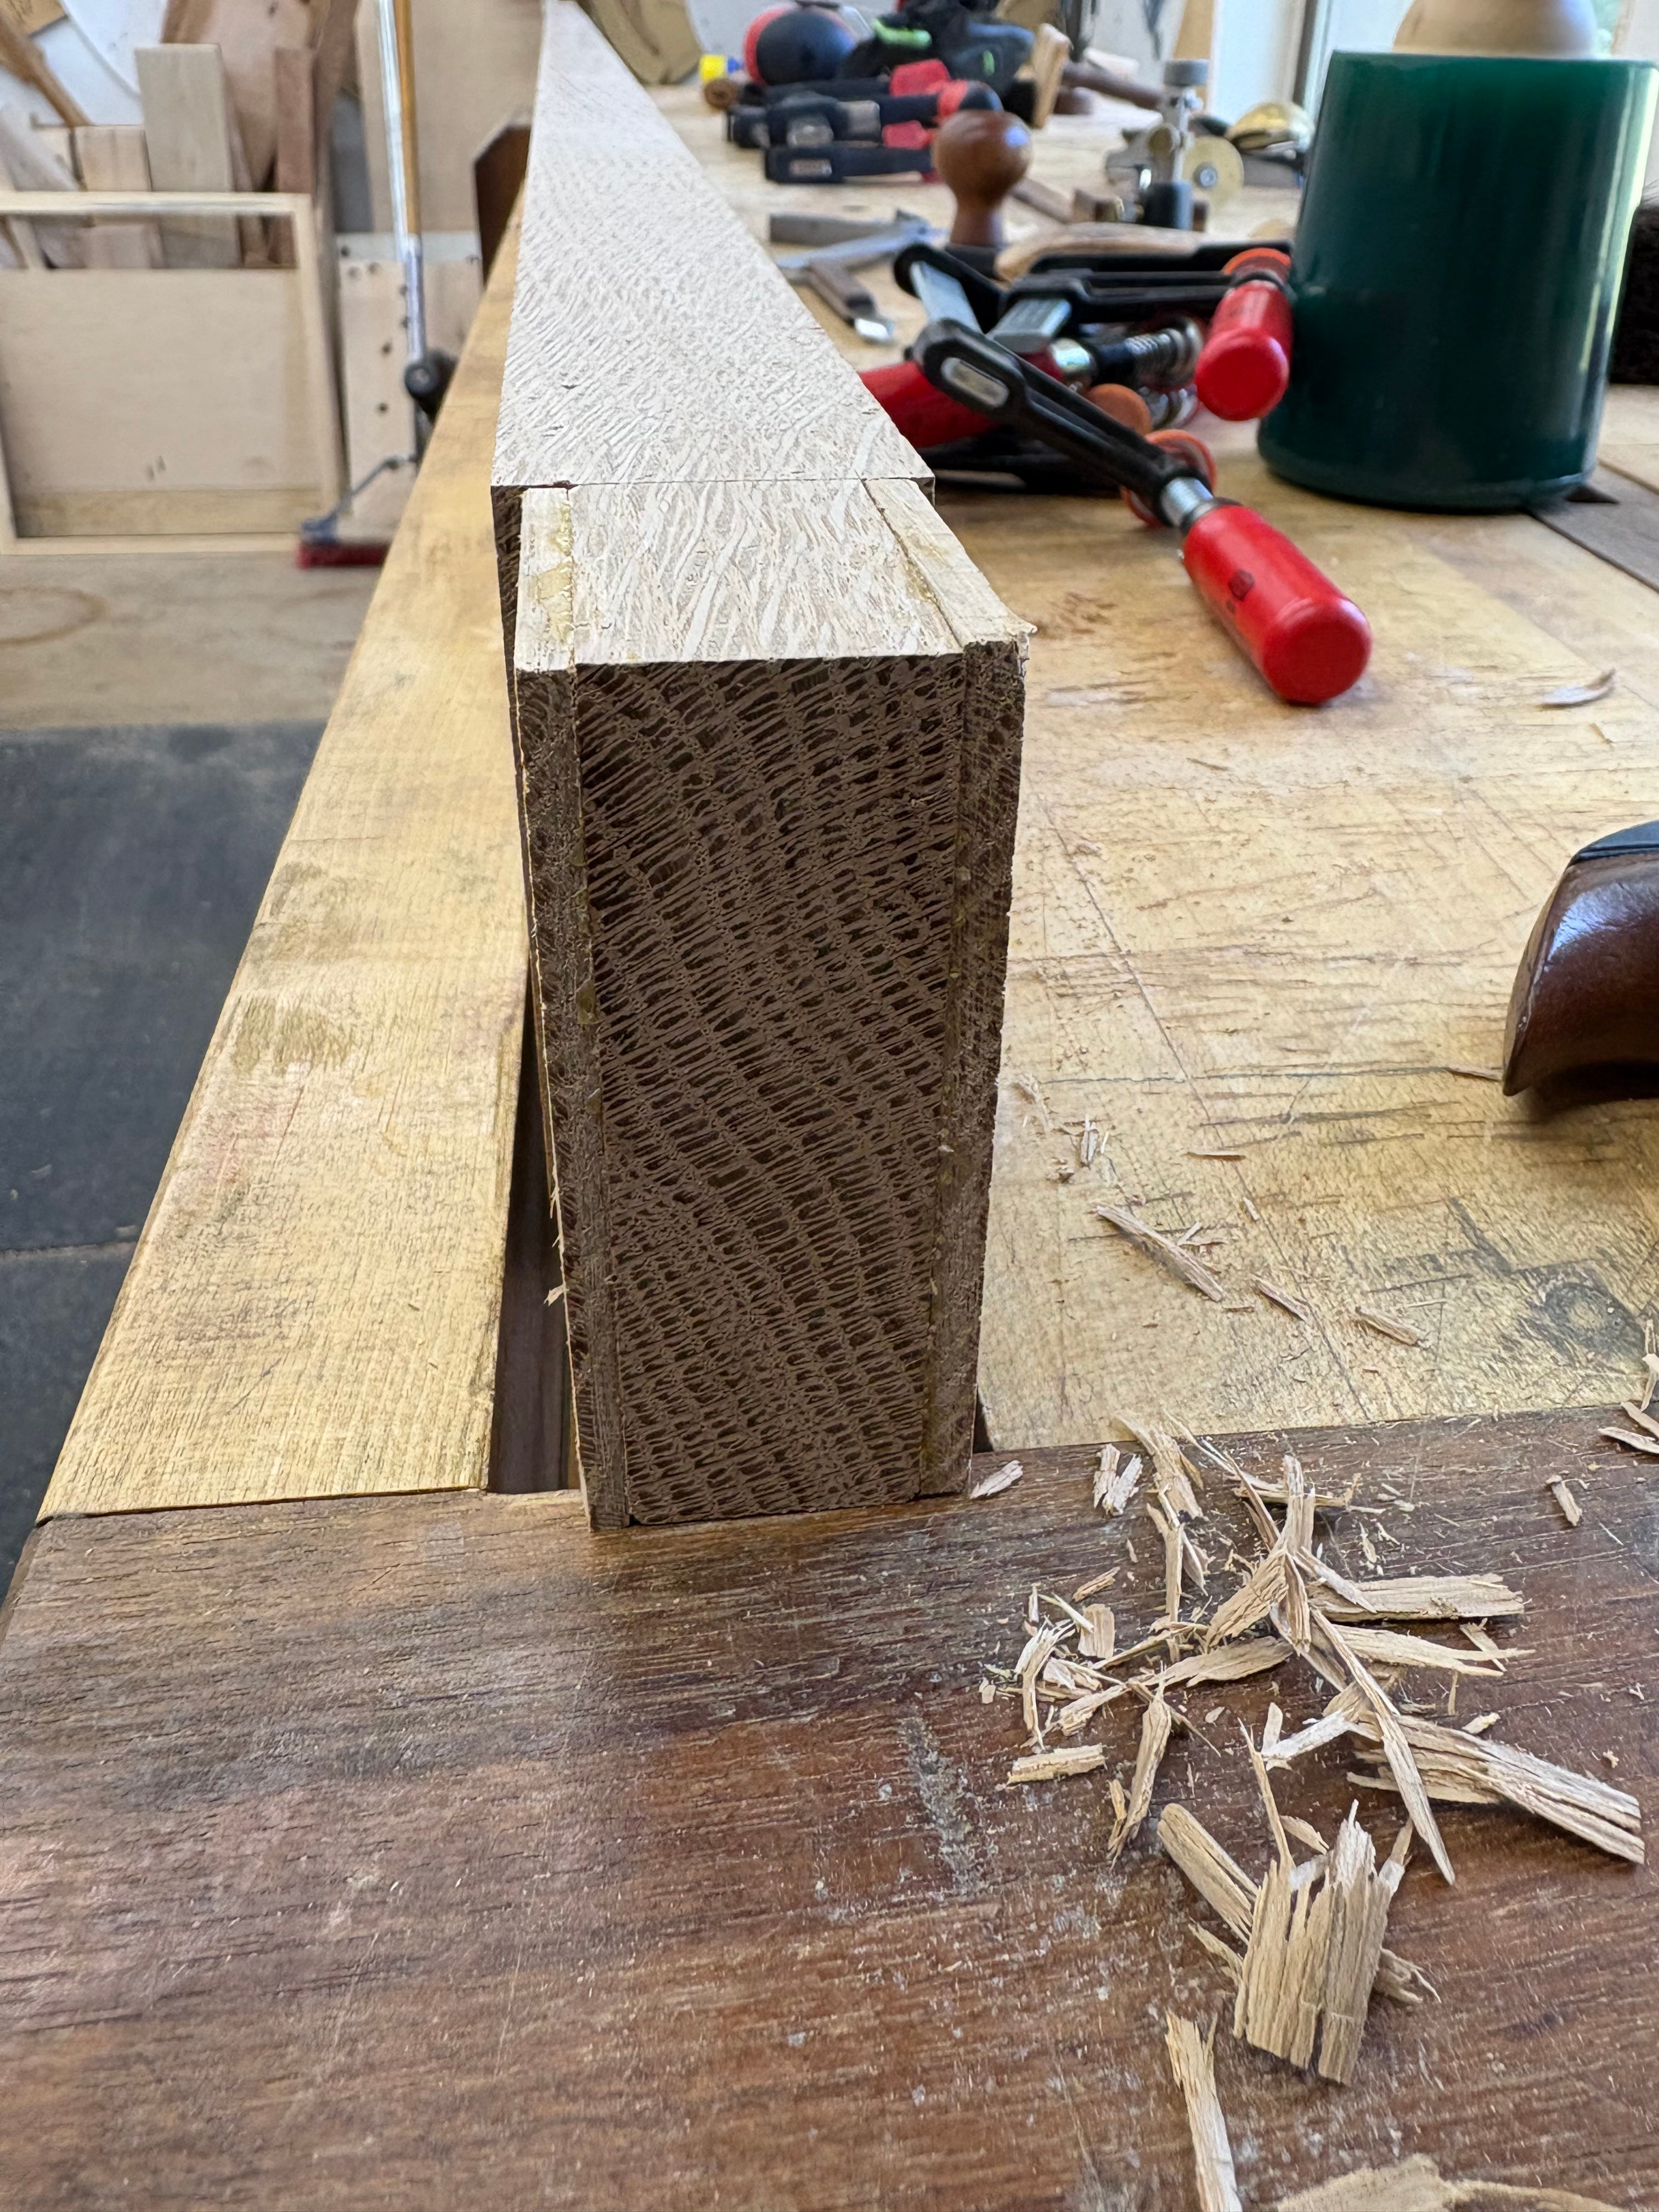
Before I could assemble the table, I needed to cut my stretchers and layout their joinery. Since the over-kill was still set to 11, I opted for rabbeted stepped dovetails to hold the short supports in place. The rabbets will help with wracking, and the dovetails will keep the long stretchers from bowing outward.


For the long stretcher, I gave myself some grace and omitted the dovetail. The short aprons won’t really see the same forces as the long aprons, and the cross laps will lock it all in place. I cut slots for the table buttons I’ll use to attach the top and then did a LOT of sanding. I’m less experienced with oak compared to walnut and cherry, so I didn’t want to try and finish plane the parts only to spend even more time addressing tear out. The table top will also be sanded, so I bit the bullet and decided to treat everything the same. If this table was for me, I’d plane it and just live with any discrepancies (light hand sanding with a 180 or 220 can help to blend the surfaces together).
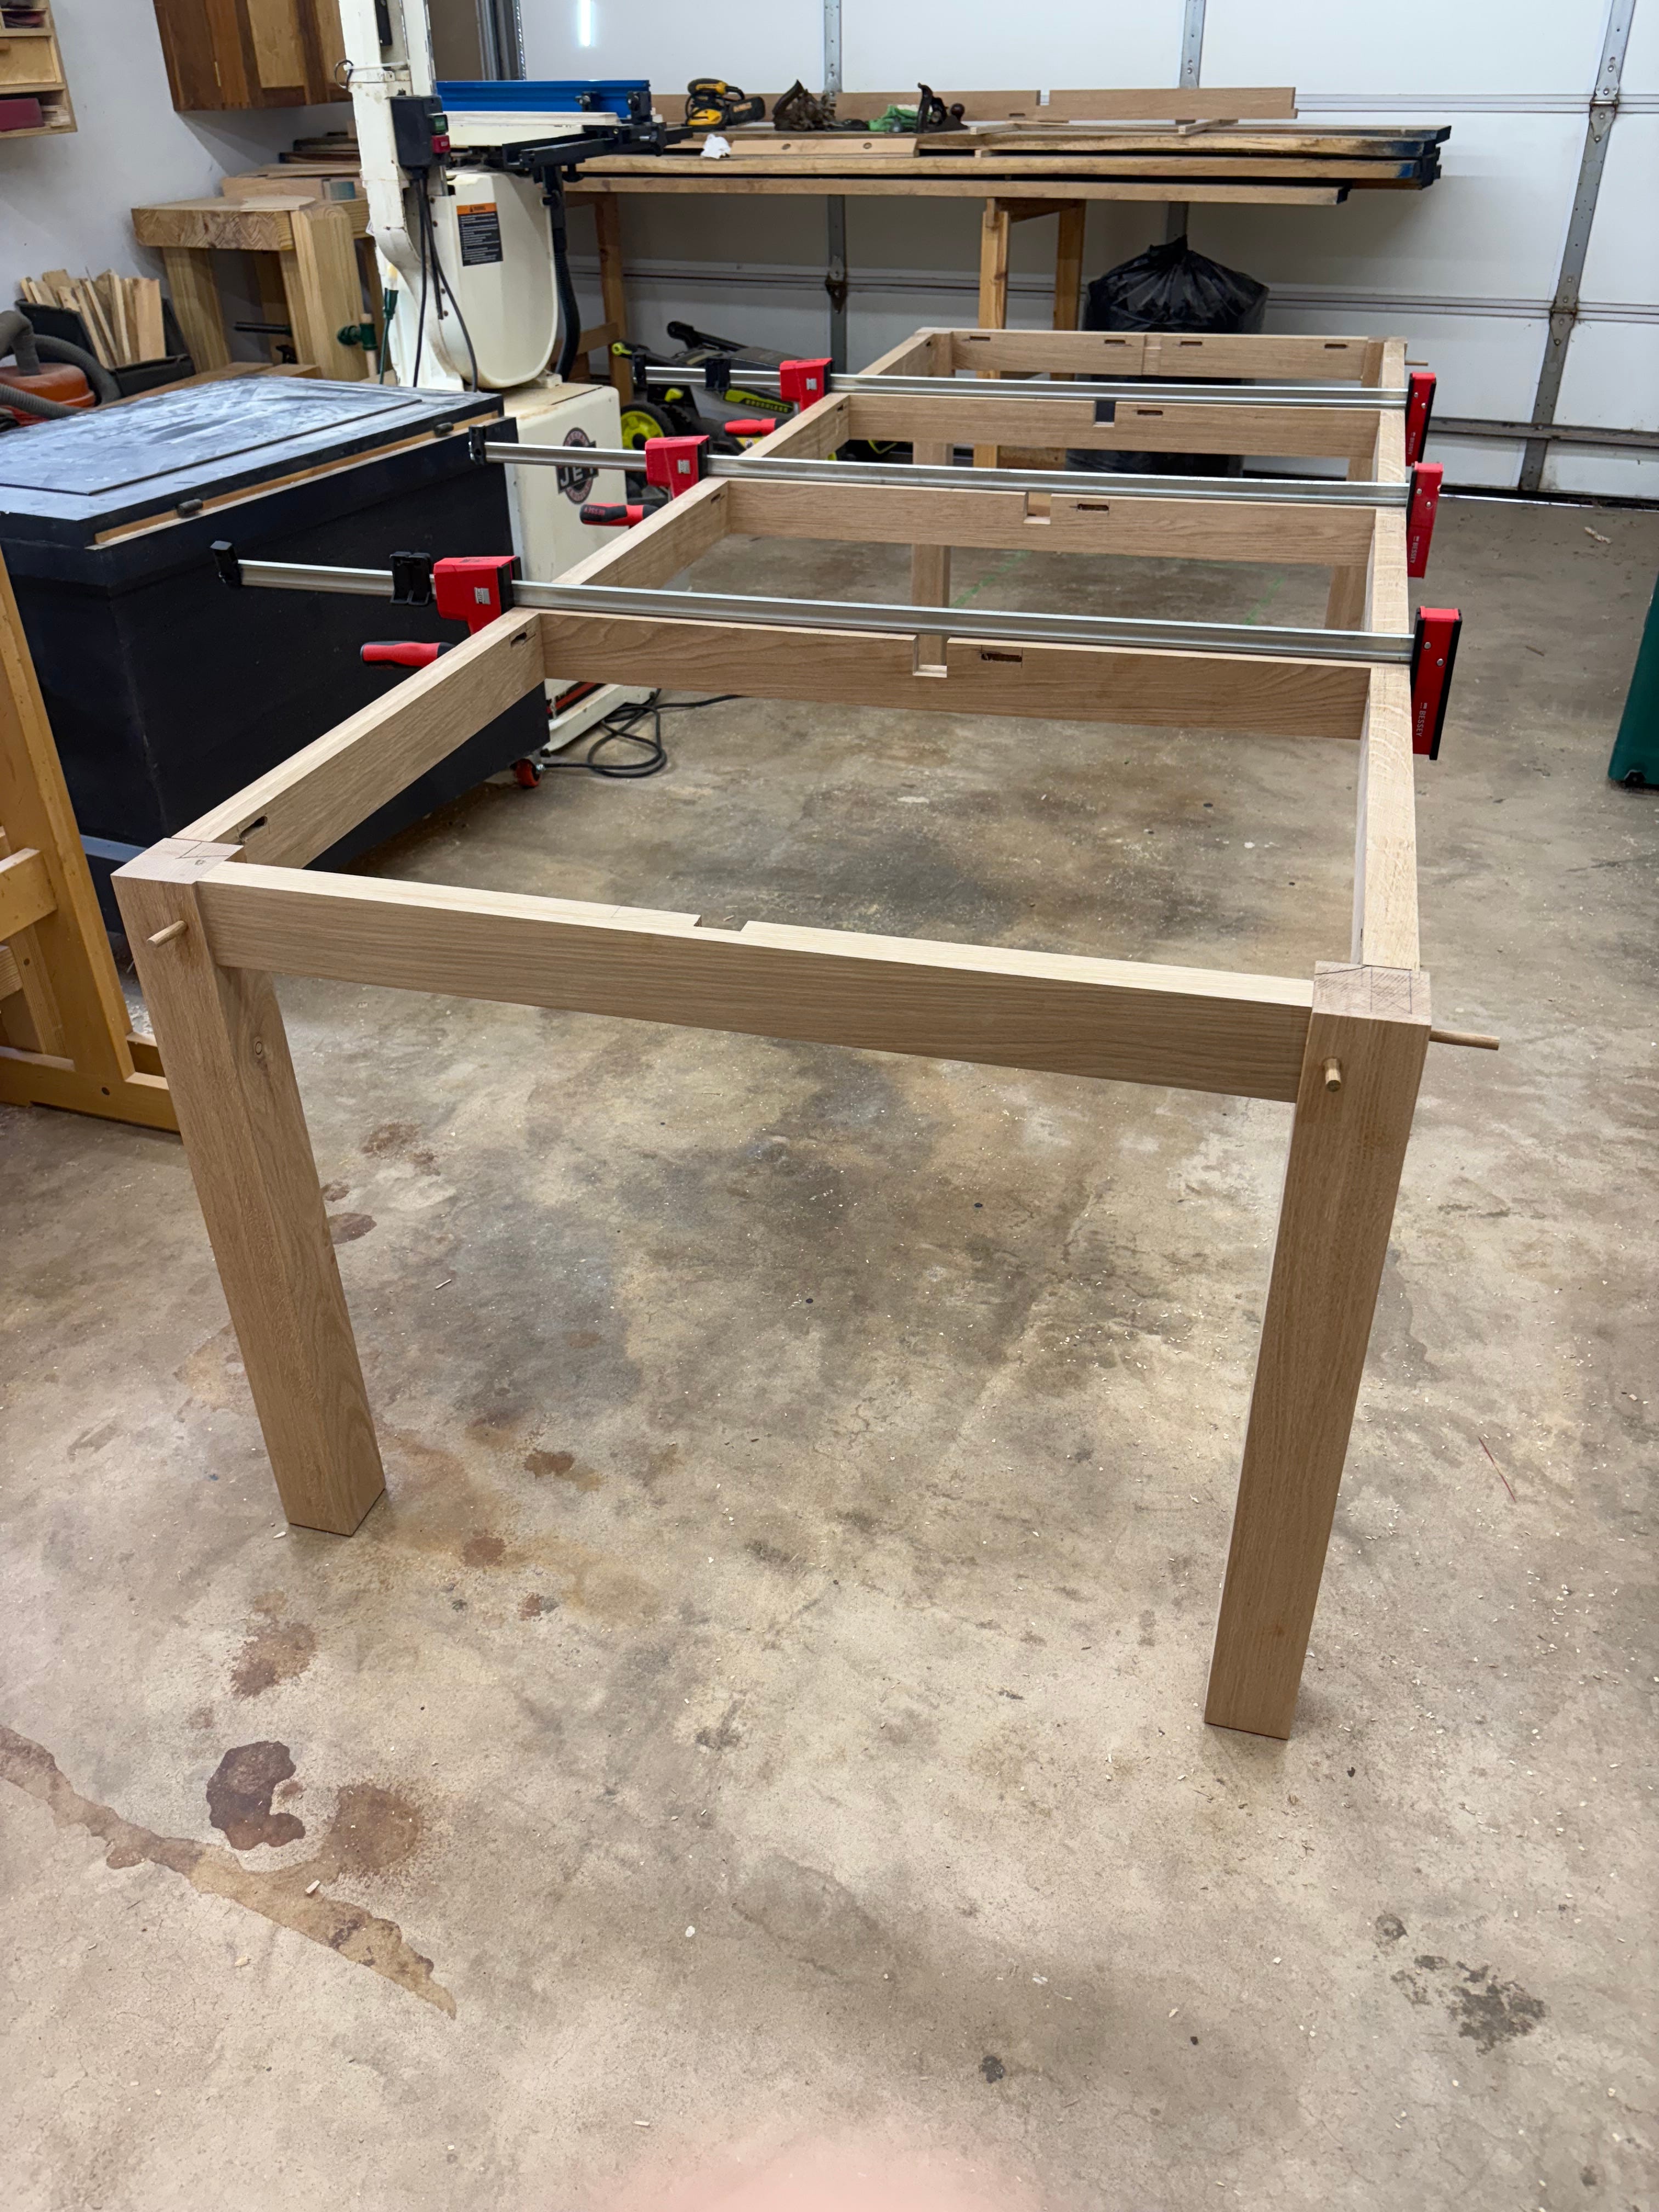
Between Piggly No Wiggly glue (gelatin based glue with good lubricity and longer open time) and the drawbores, the base came together quickly and stress free. Applied glue to both mating surfaces, assembled the joint, hit the peg until it stopped moving, and was on to the next one.
Oddly enough, gluing and screwing in the long support gave me way more hell. We’ve had a lot of rain lately, so my only guess is that things had slightly swelled and lining up all 3 cross laps proved to be a challenge. Between clamps and an assembly mallet, it eventually came together. I didn’t bother applying glue on the cross laps, just a countersunk 2-1/2” screw.


The customer requested a matte finish, so I’m going to use Rubio Monocoat. I’m thankful that’s the look they were after, because I don’t think I would’ve taken on the work if they wanted high gloss, requiring a polyurethane or lacquer. I personally don’t think they’re great finishes for a table since they’re not repairable. I’m not thrilled about inhaling them either. This leaves me with about 2 weeks to make the top for our target delivery date. Given how much extra time its taken to just handle and move boards this big/long, I’m glad I gave myself the extra time.
Summer has started and that means adjusting to a new normal and more family time. It’ll probably be 2 weeks before I’ve got another post, unless I can finally untangle the mess in my drafts…
Just learned that I forgot to toggle off “paid” comments only. Substack defaults every post I make to paid only for reading and commenting. Can’t seem to fix it on the app so I’ll have to do it when I get home.
The dovetailed stretches are really nice!