
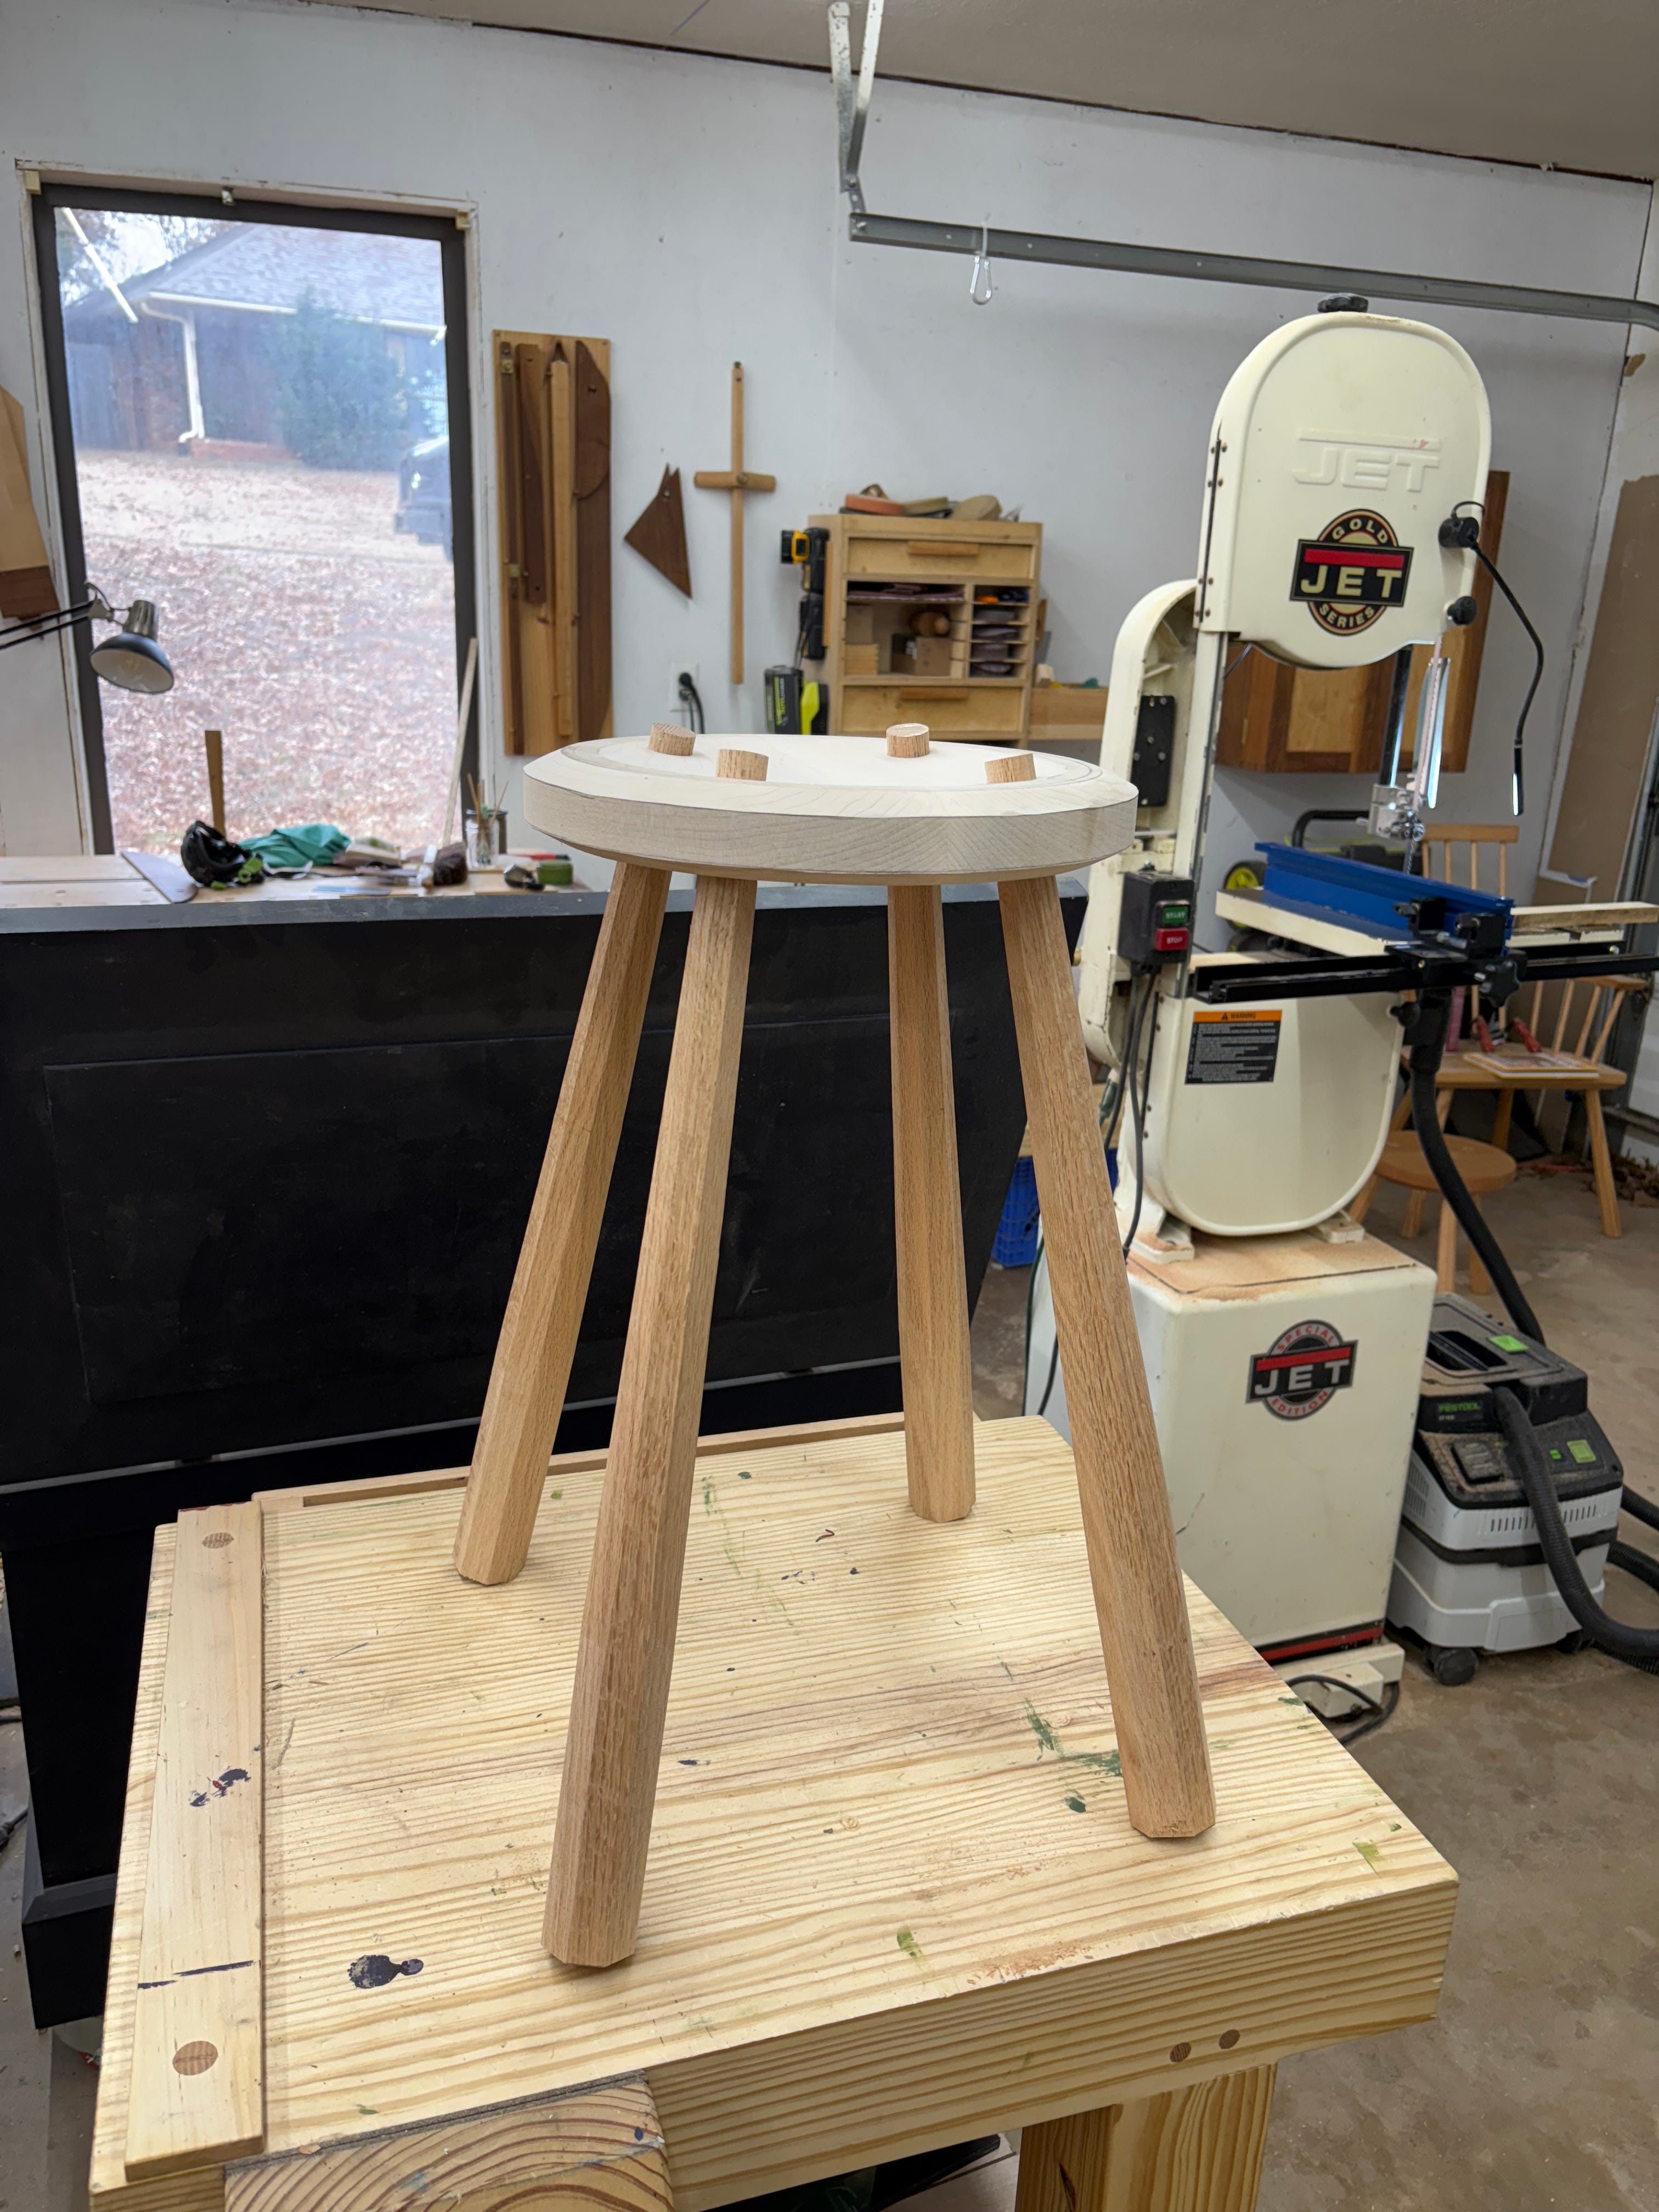
High Stool

I’ve finished the high stool I wrote about in my previous (not end of year) post, but I’m going to share a bit about how I landed on the legs.
I wanted a very dramatic taper for these legs and decided to push them as far as I could with the stock I had (8/4 red oak). That meant starting with 1-7/8” octagonal leg blanks, tapering from 1” to 1-7/8” at about 2/3rds the length of the leg, then tapering back to roughly 1” at the floor. This approach would give me the maximum possible tapering with the fattest part of the leg = the size of the blank. I made a few octagonal blanks out of the scrap stock and got to work.
First up is a leg that’s tapered from 1” to 1-7/8”, about 2/3rds the length of the leg, and then left at 1-7/8”
Then I tapered one leg to ~1” at the floor
As one reader pointed out, something wasn’t quite right. It looked ‘ok’ but still seemed off. I thought maybe my floor taper was too aggressive, making the rest of the leg look too chunky. I tapered the next test leg to 1-3/8” at the floor. At this point I realized one leg, in a vacuum or sorts, also wasn’t helping me visualize the form, so I made a matching leg and batched the rest of my tests out in pairs.
It looks a bit more balanced, and honestly would’ve been fine for the stool, but I was still reaching for something ‘more’.
Here’s where I took a step back and tried to re-think my approach. My initial idea was to keep the inflection point of the taper as wide as possible, and I was trying to hold onto to that1. For the next leg, I went back to the basics: tapering a leg blank as normal, and then tapering it to the floor.
Again, it was ‘fine’ but not where I wanted to be.
Maybe it was inspiration from re-reading The Cabinetmaker’s Notebook by James Krenov, or maybe it was the general winter malaise that comes when the temps drop, but I couldn’t see a way forward so I decided to just let the stool hang out in the shop on my spare bench for a week or so.
I’d steal glances from time to time when I was in the garage, inspecting it from different angles. In an effort to combat the malaise, I decided to deep clean (since there was no progress to be made on the stool). Throughout the day, I’d look at it from different angles. Gradually my opinions changed.
“Now that there’s two of the initial leg design, it doesn’t look so bad. Still seems off.”
“I think the stool could work with that taper.”
“From over here, I kinda like how the legs look.”
“Yes. Those legs will work!”
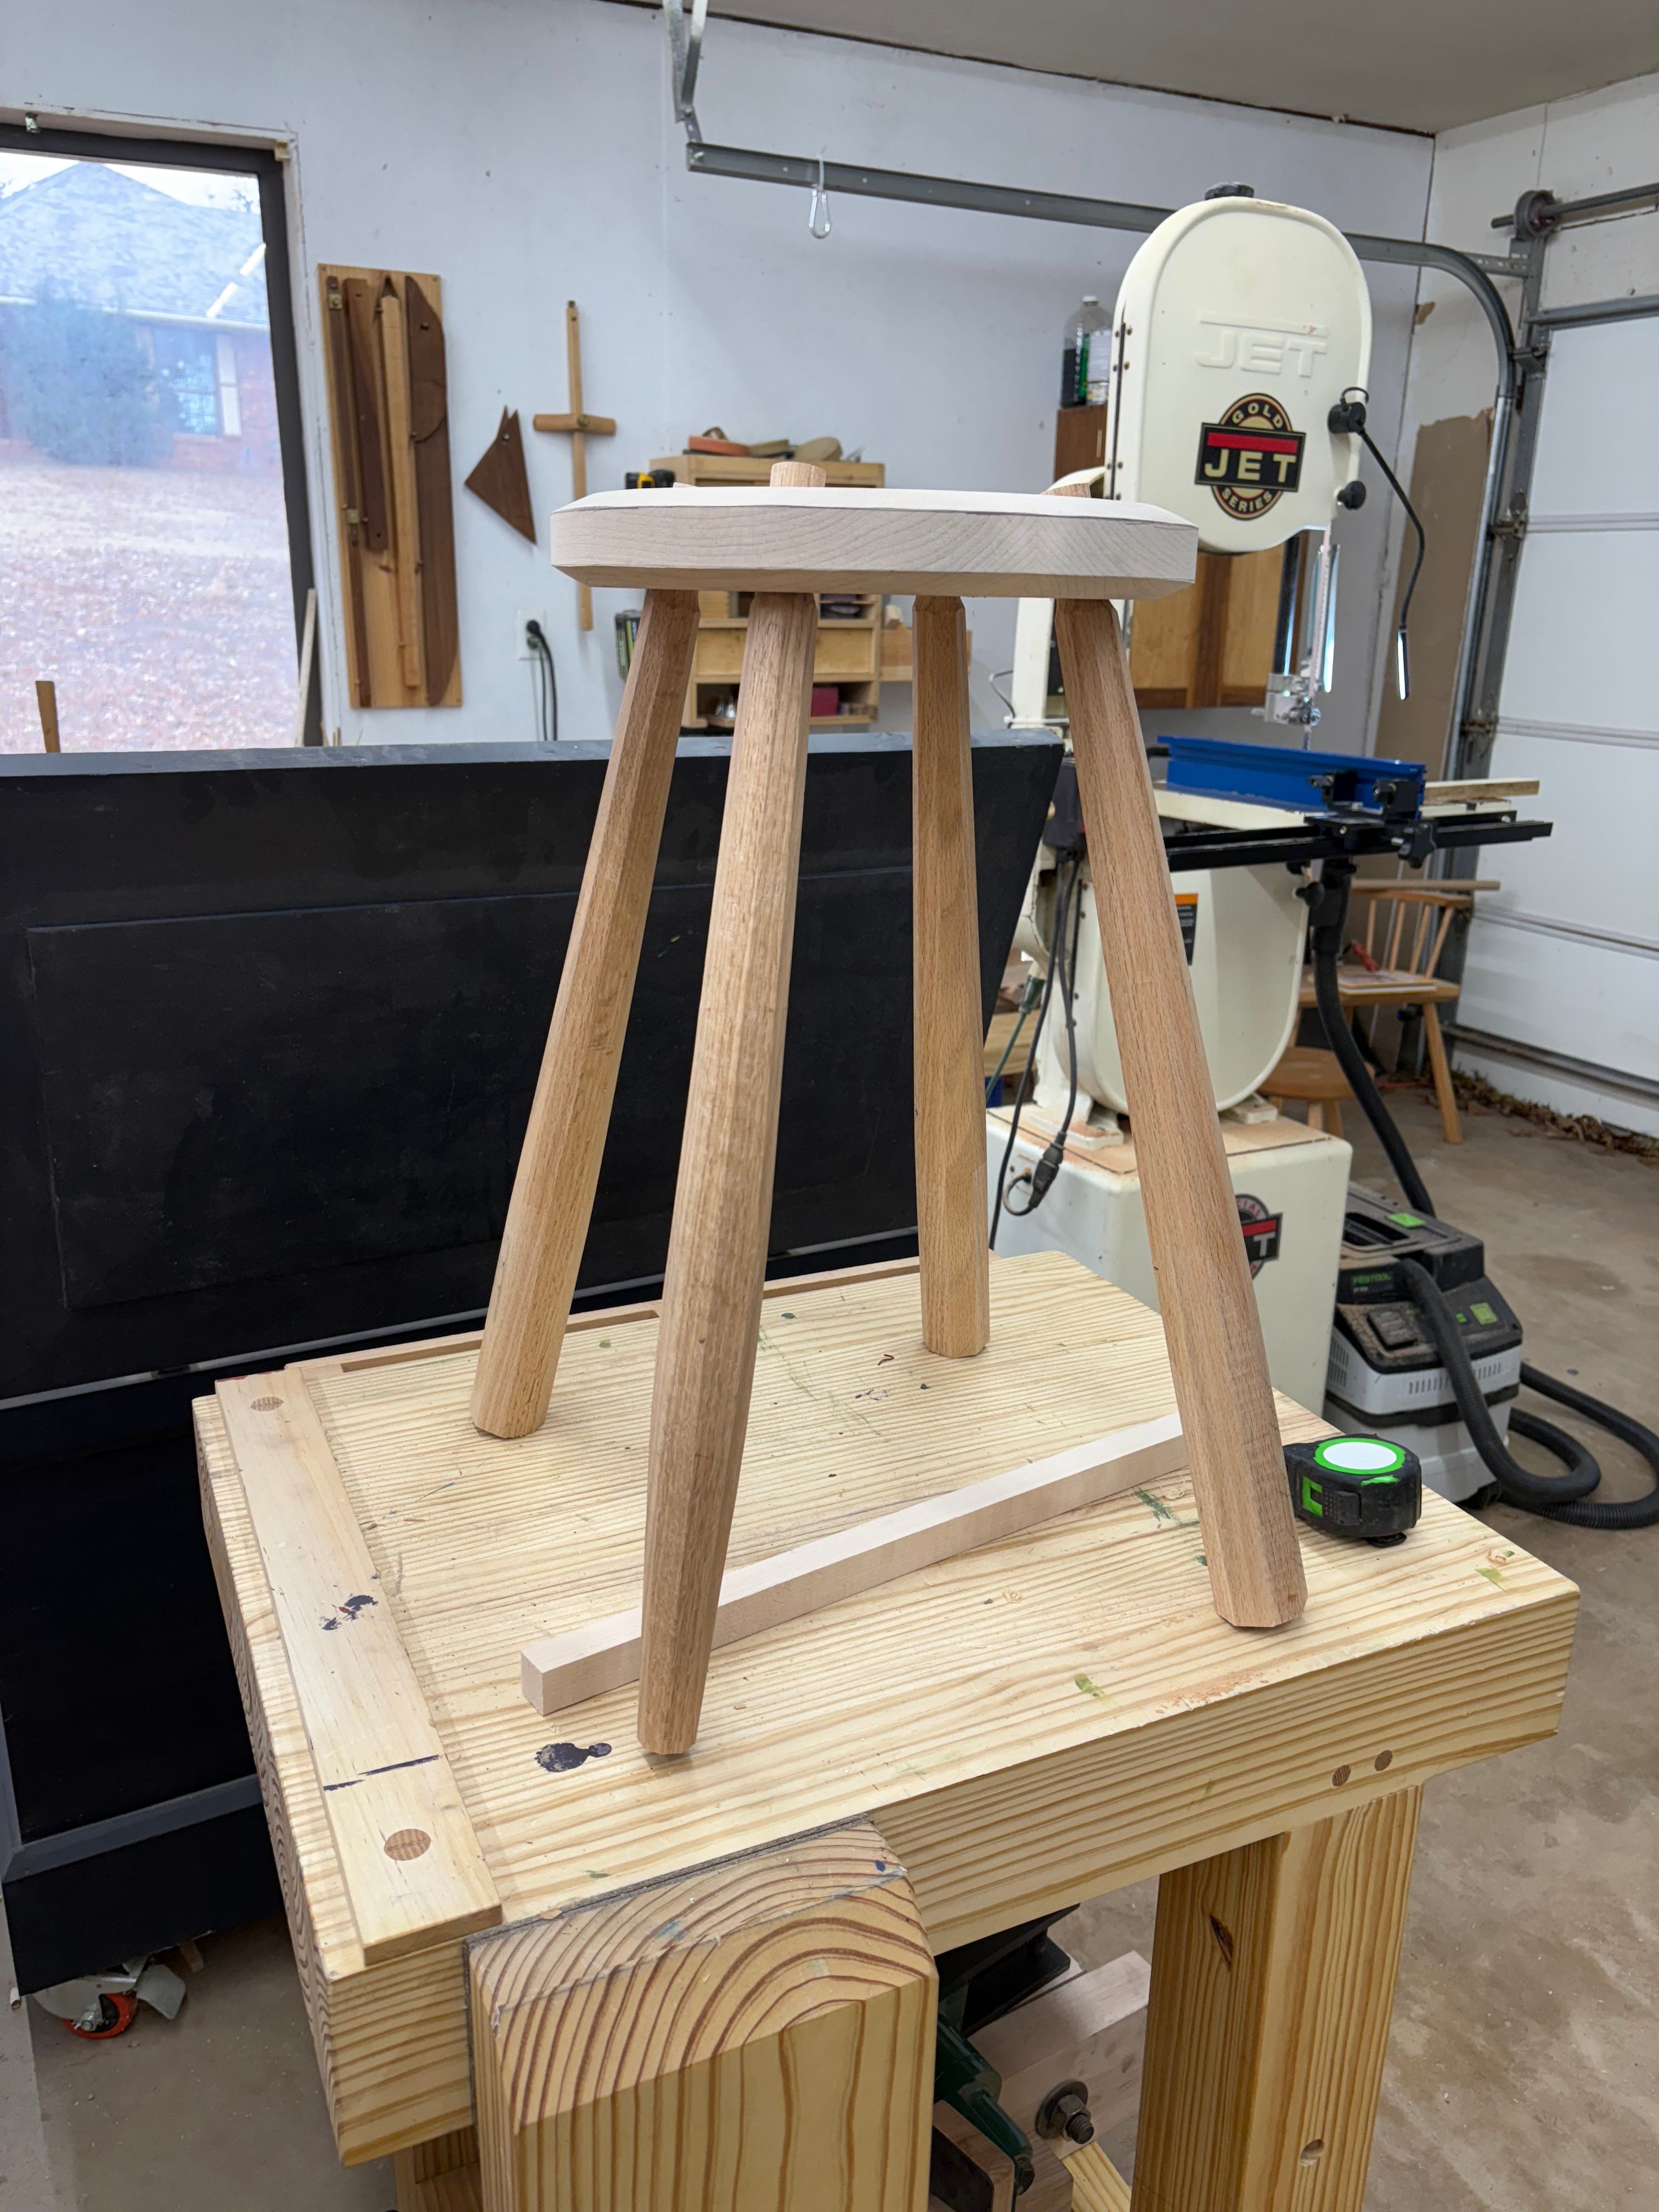
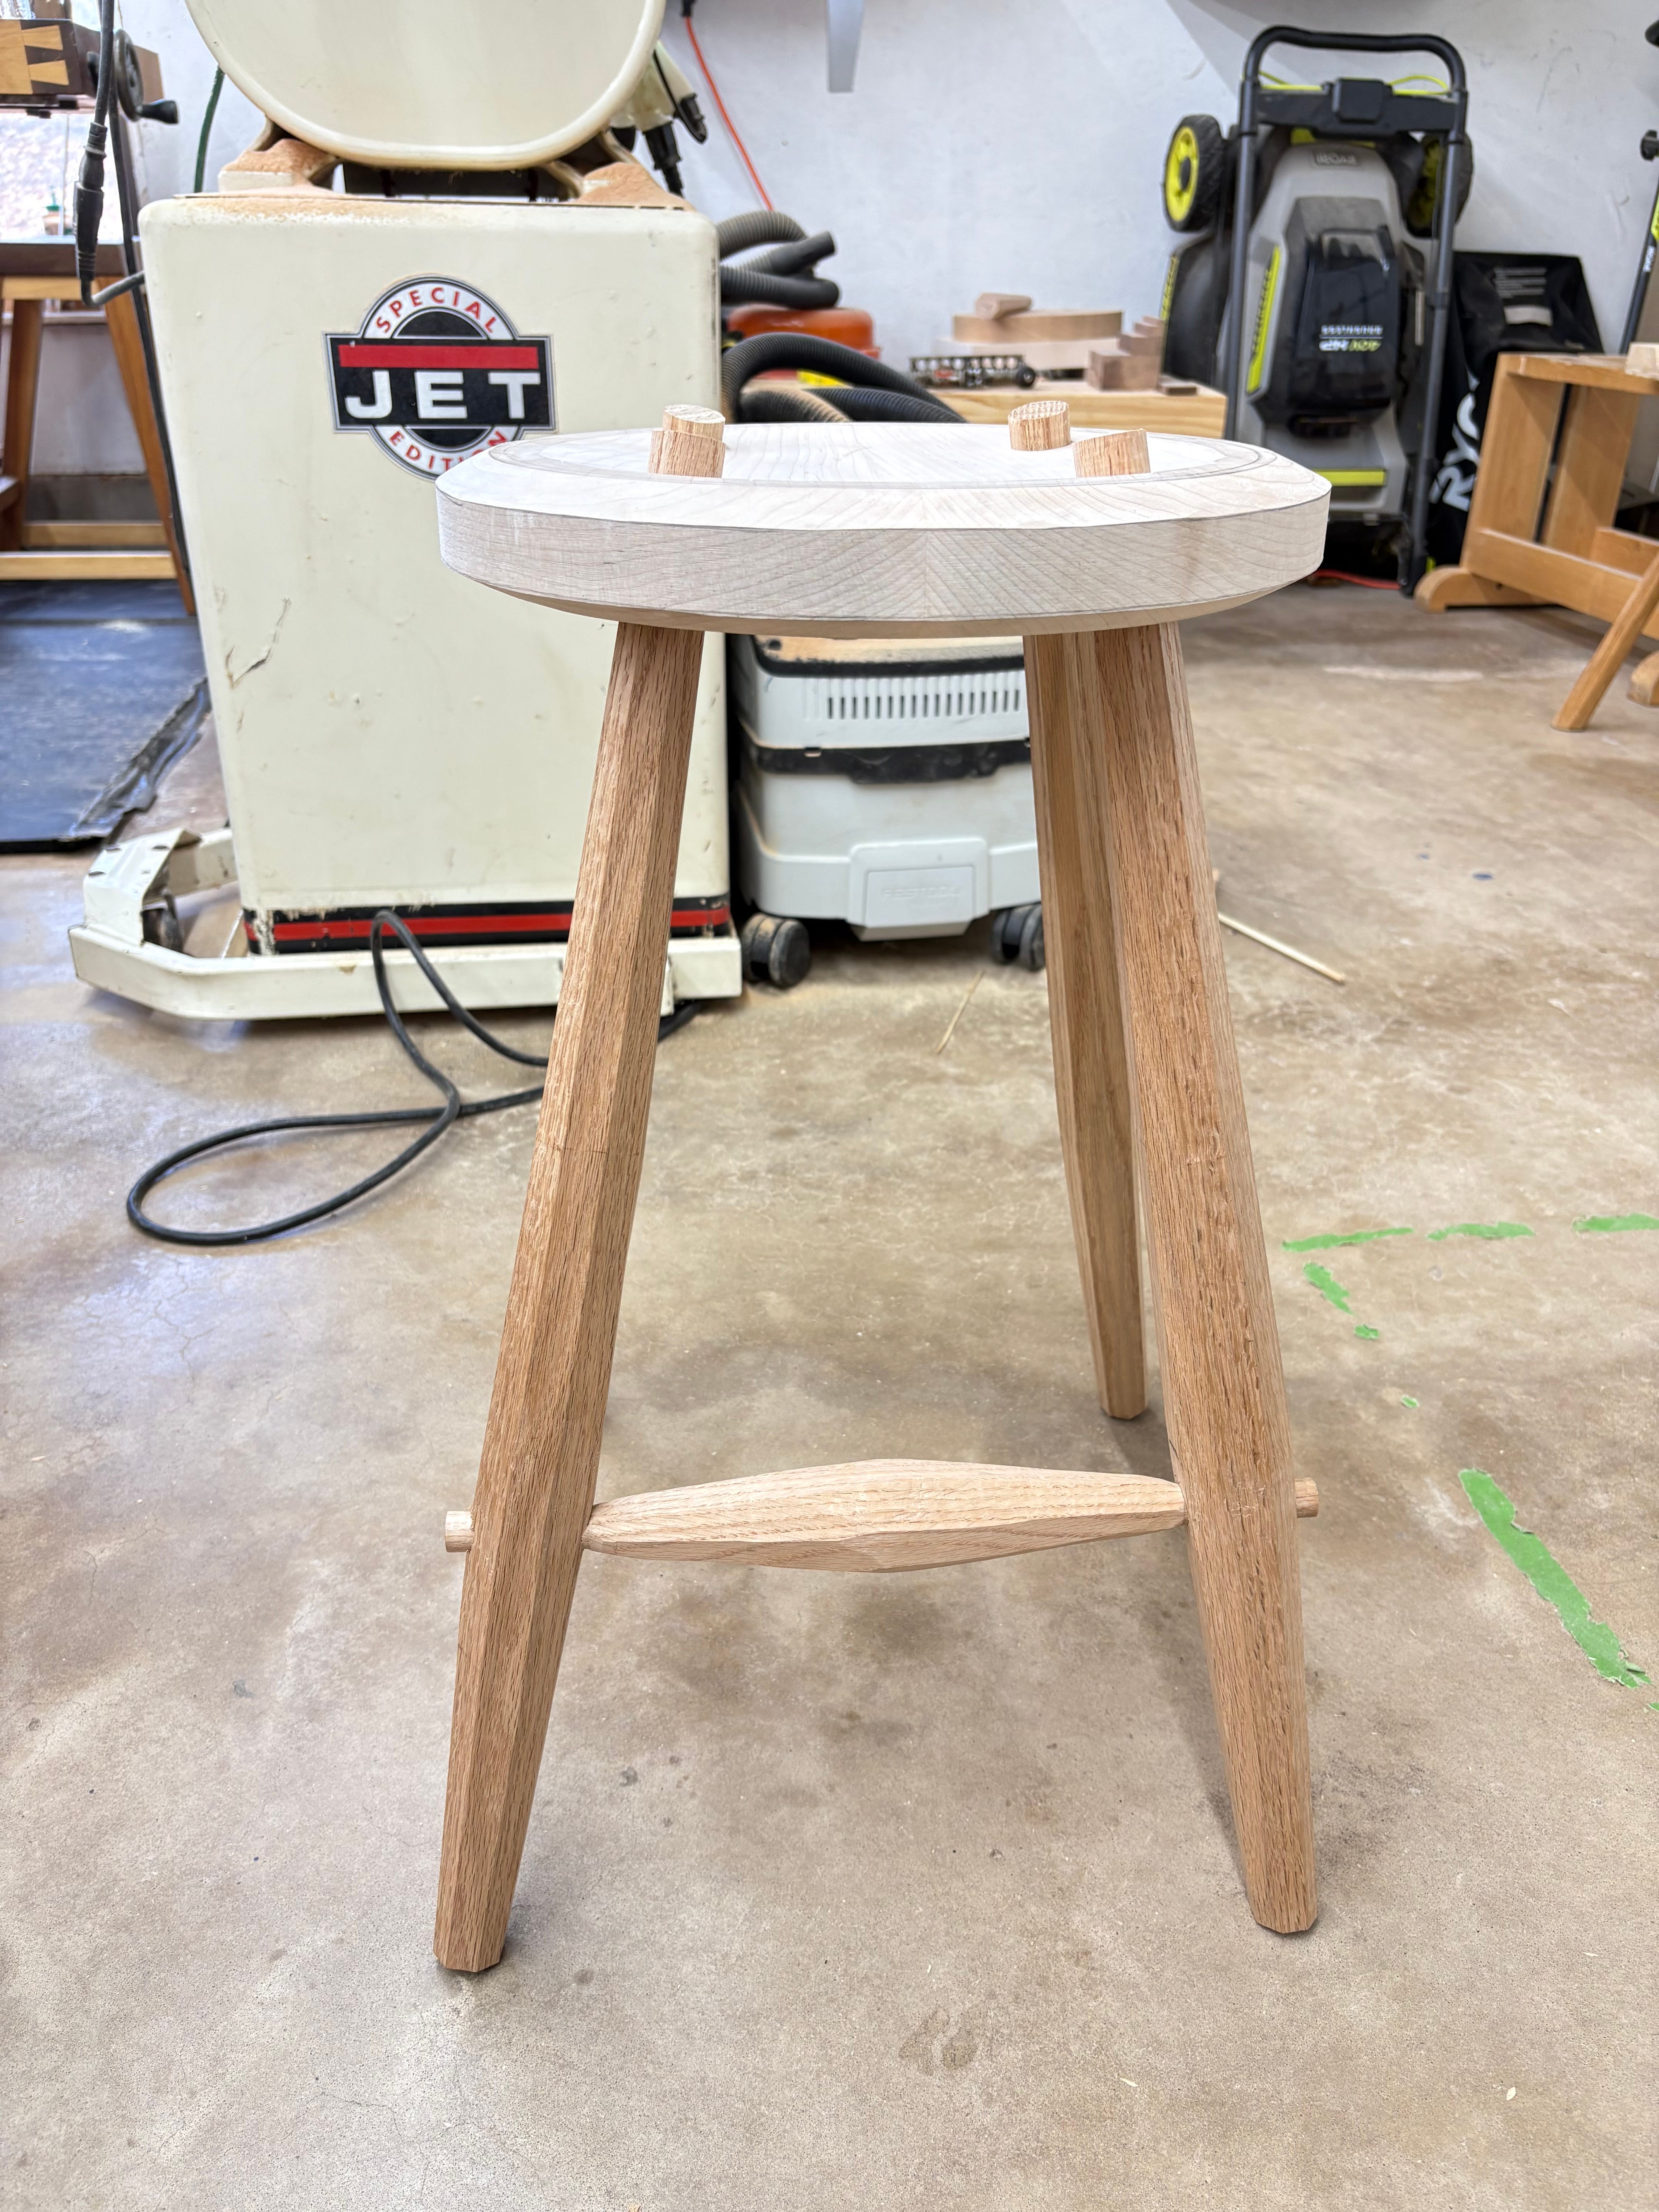
To be completely sure, I mocked up some stretchers.
I dug through the scrap and made more test blanks. For my first stretcher, I took it as far as I could go: 1-7/8” at the midpoint tapering to 3/4” (with a 5/8” tenon).
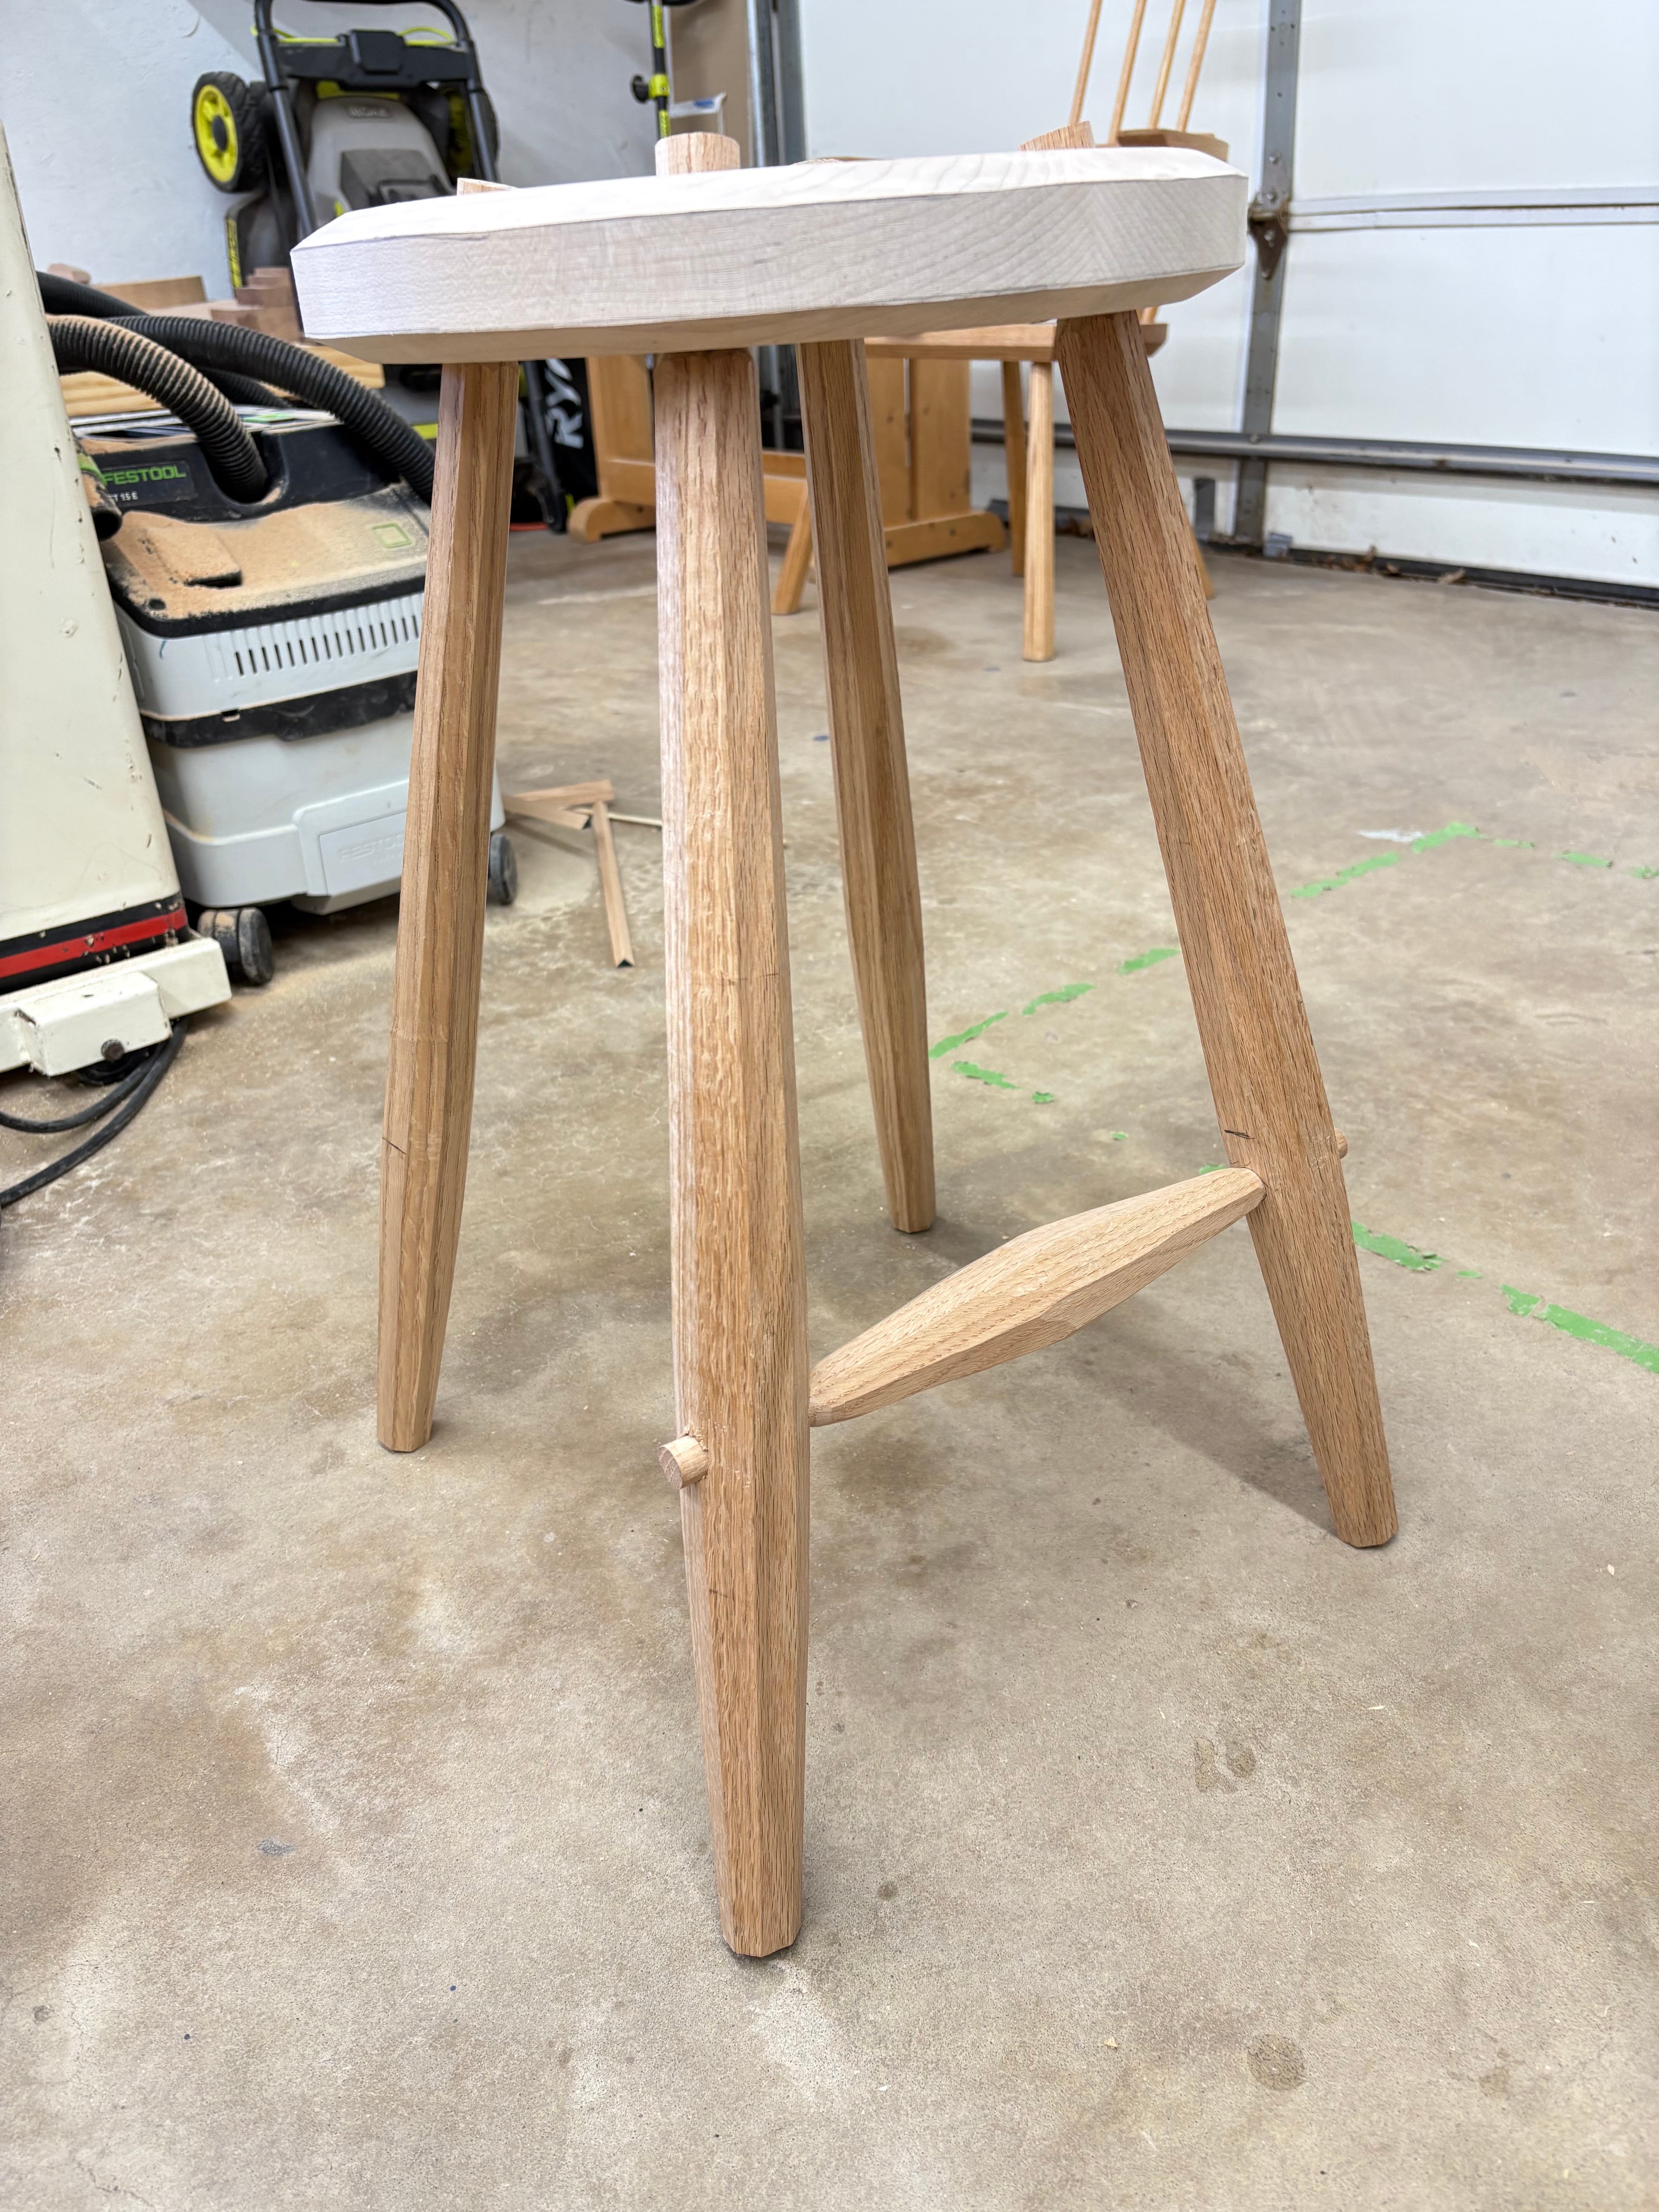
Sometimes the only way to know where the line is, is to sprint right past it. In addition to looking out of proportion, the part was unwieldy to work.
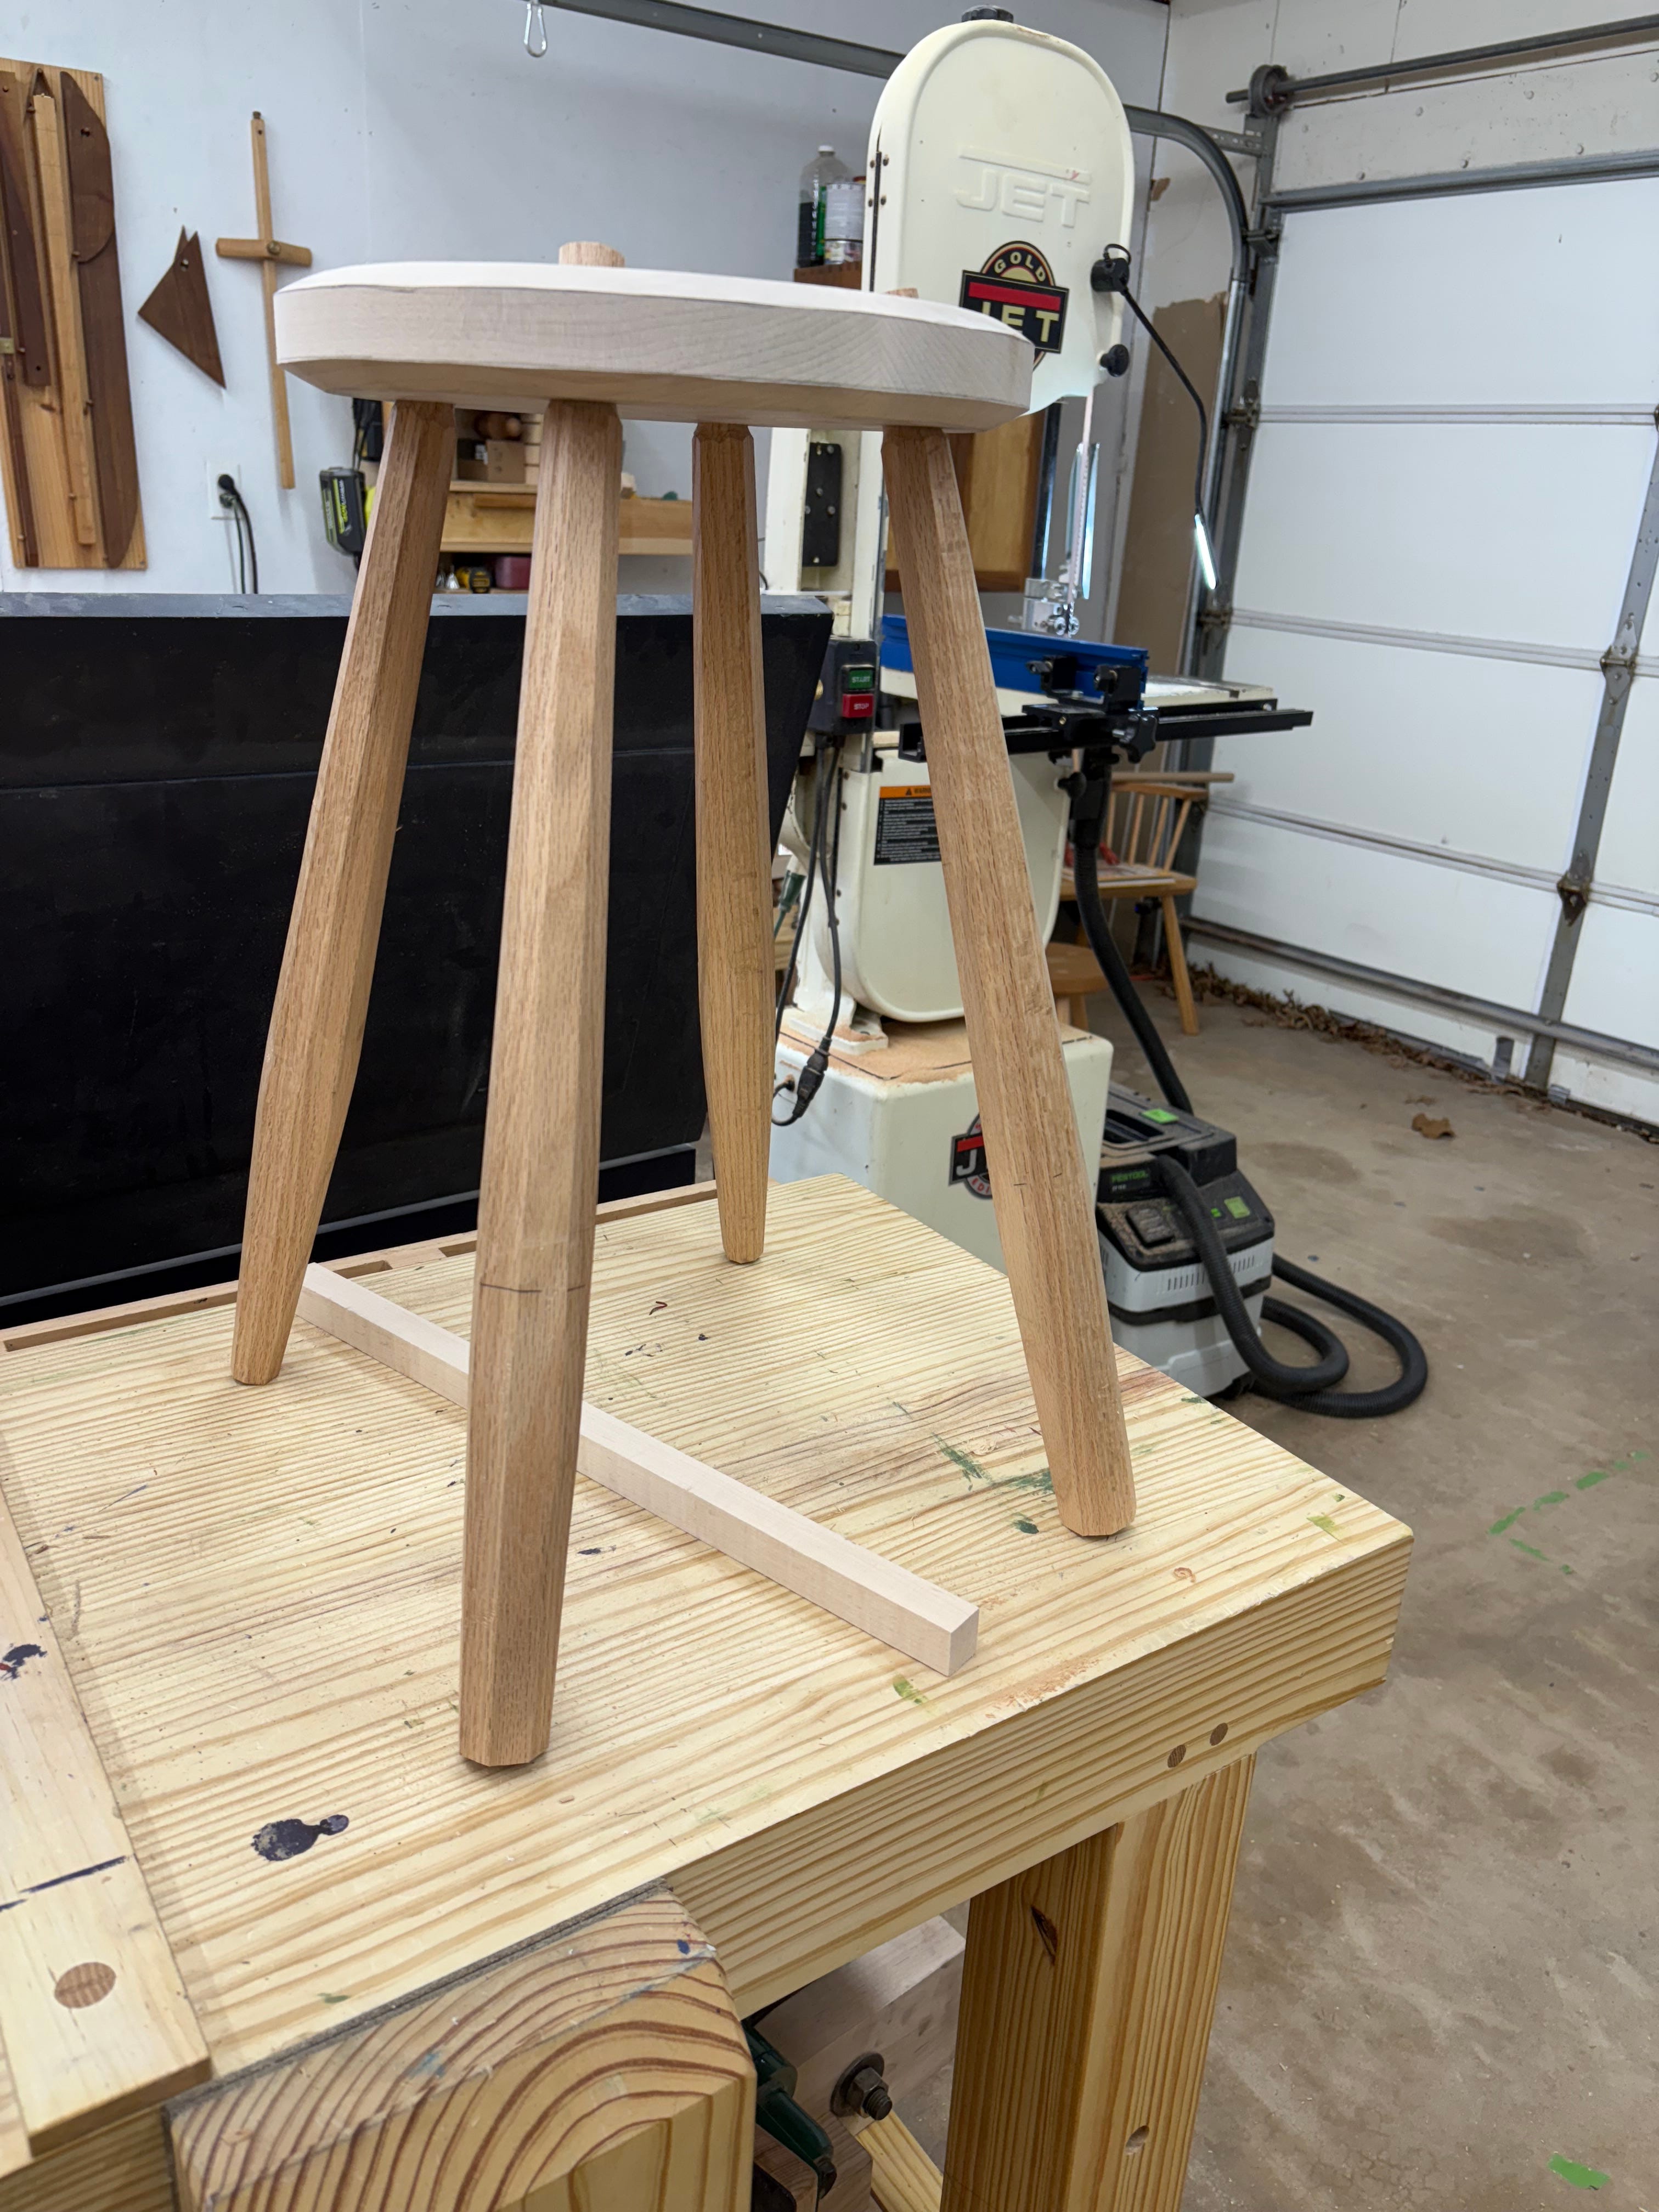
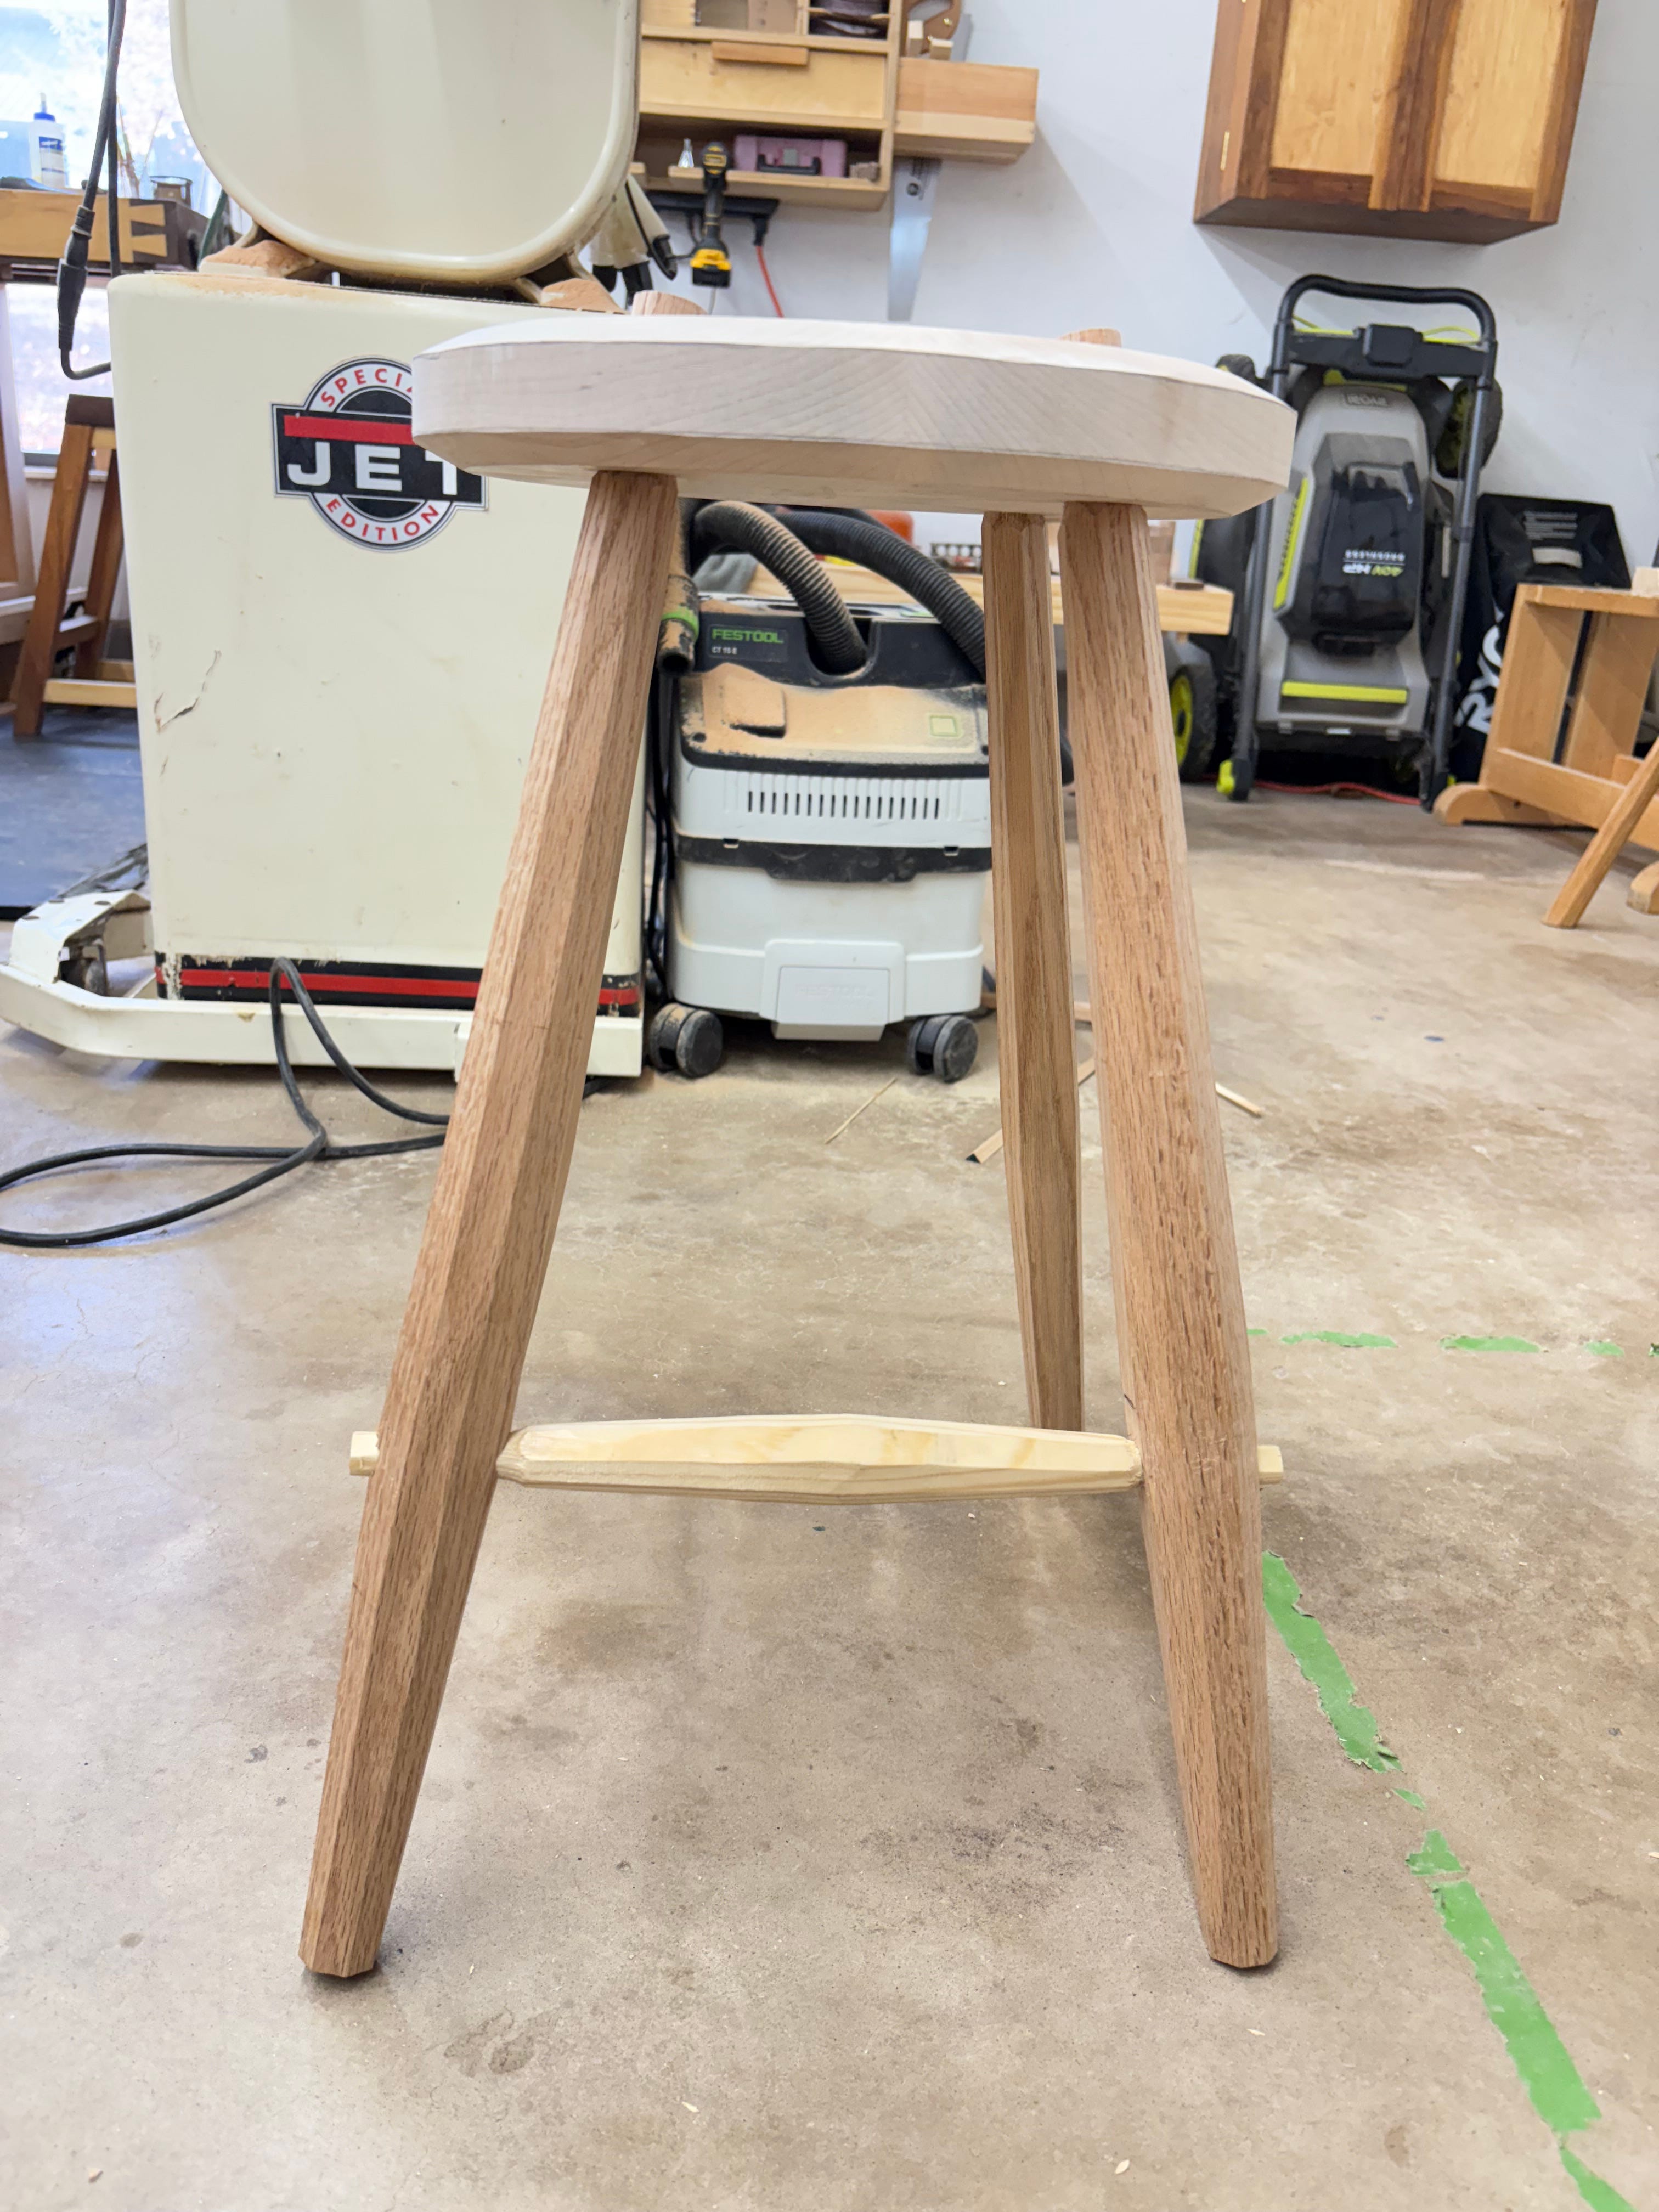
Back to a more measured approach: 1-1/4” octagonal stock.
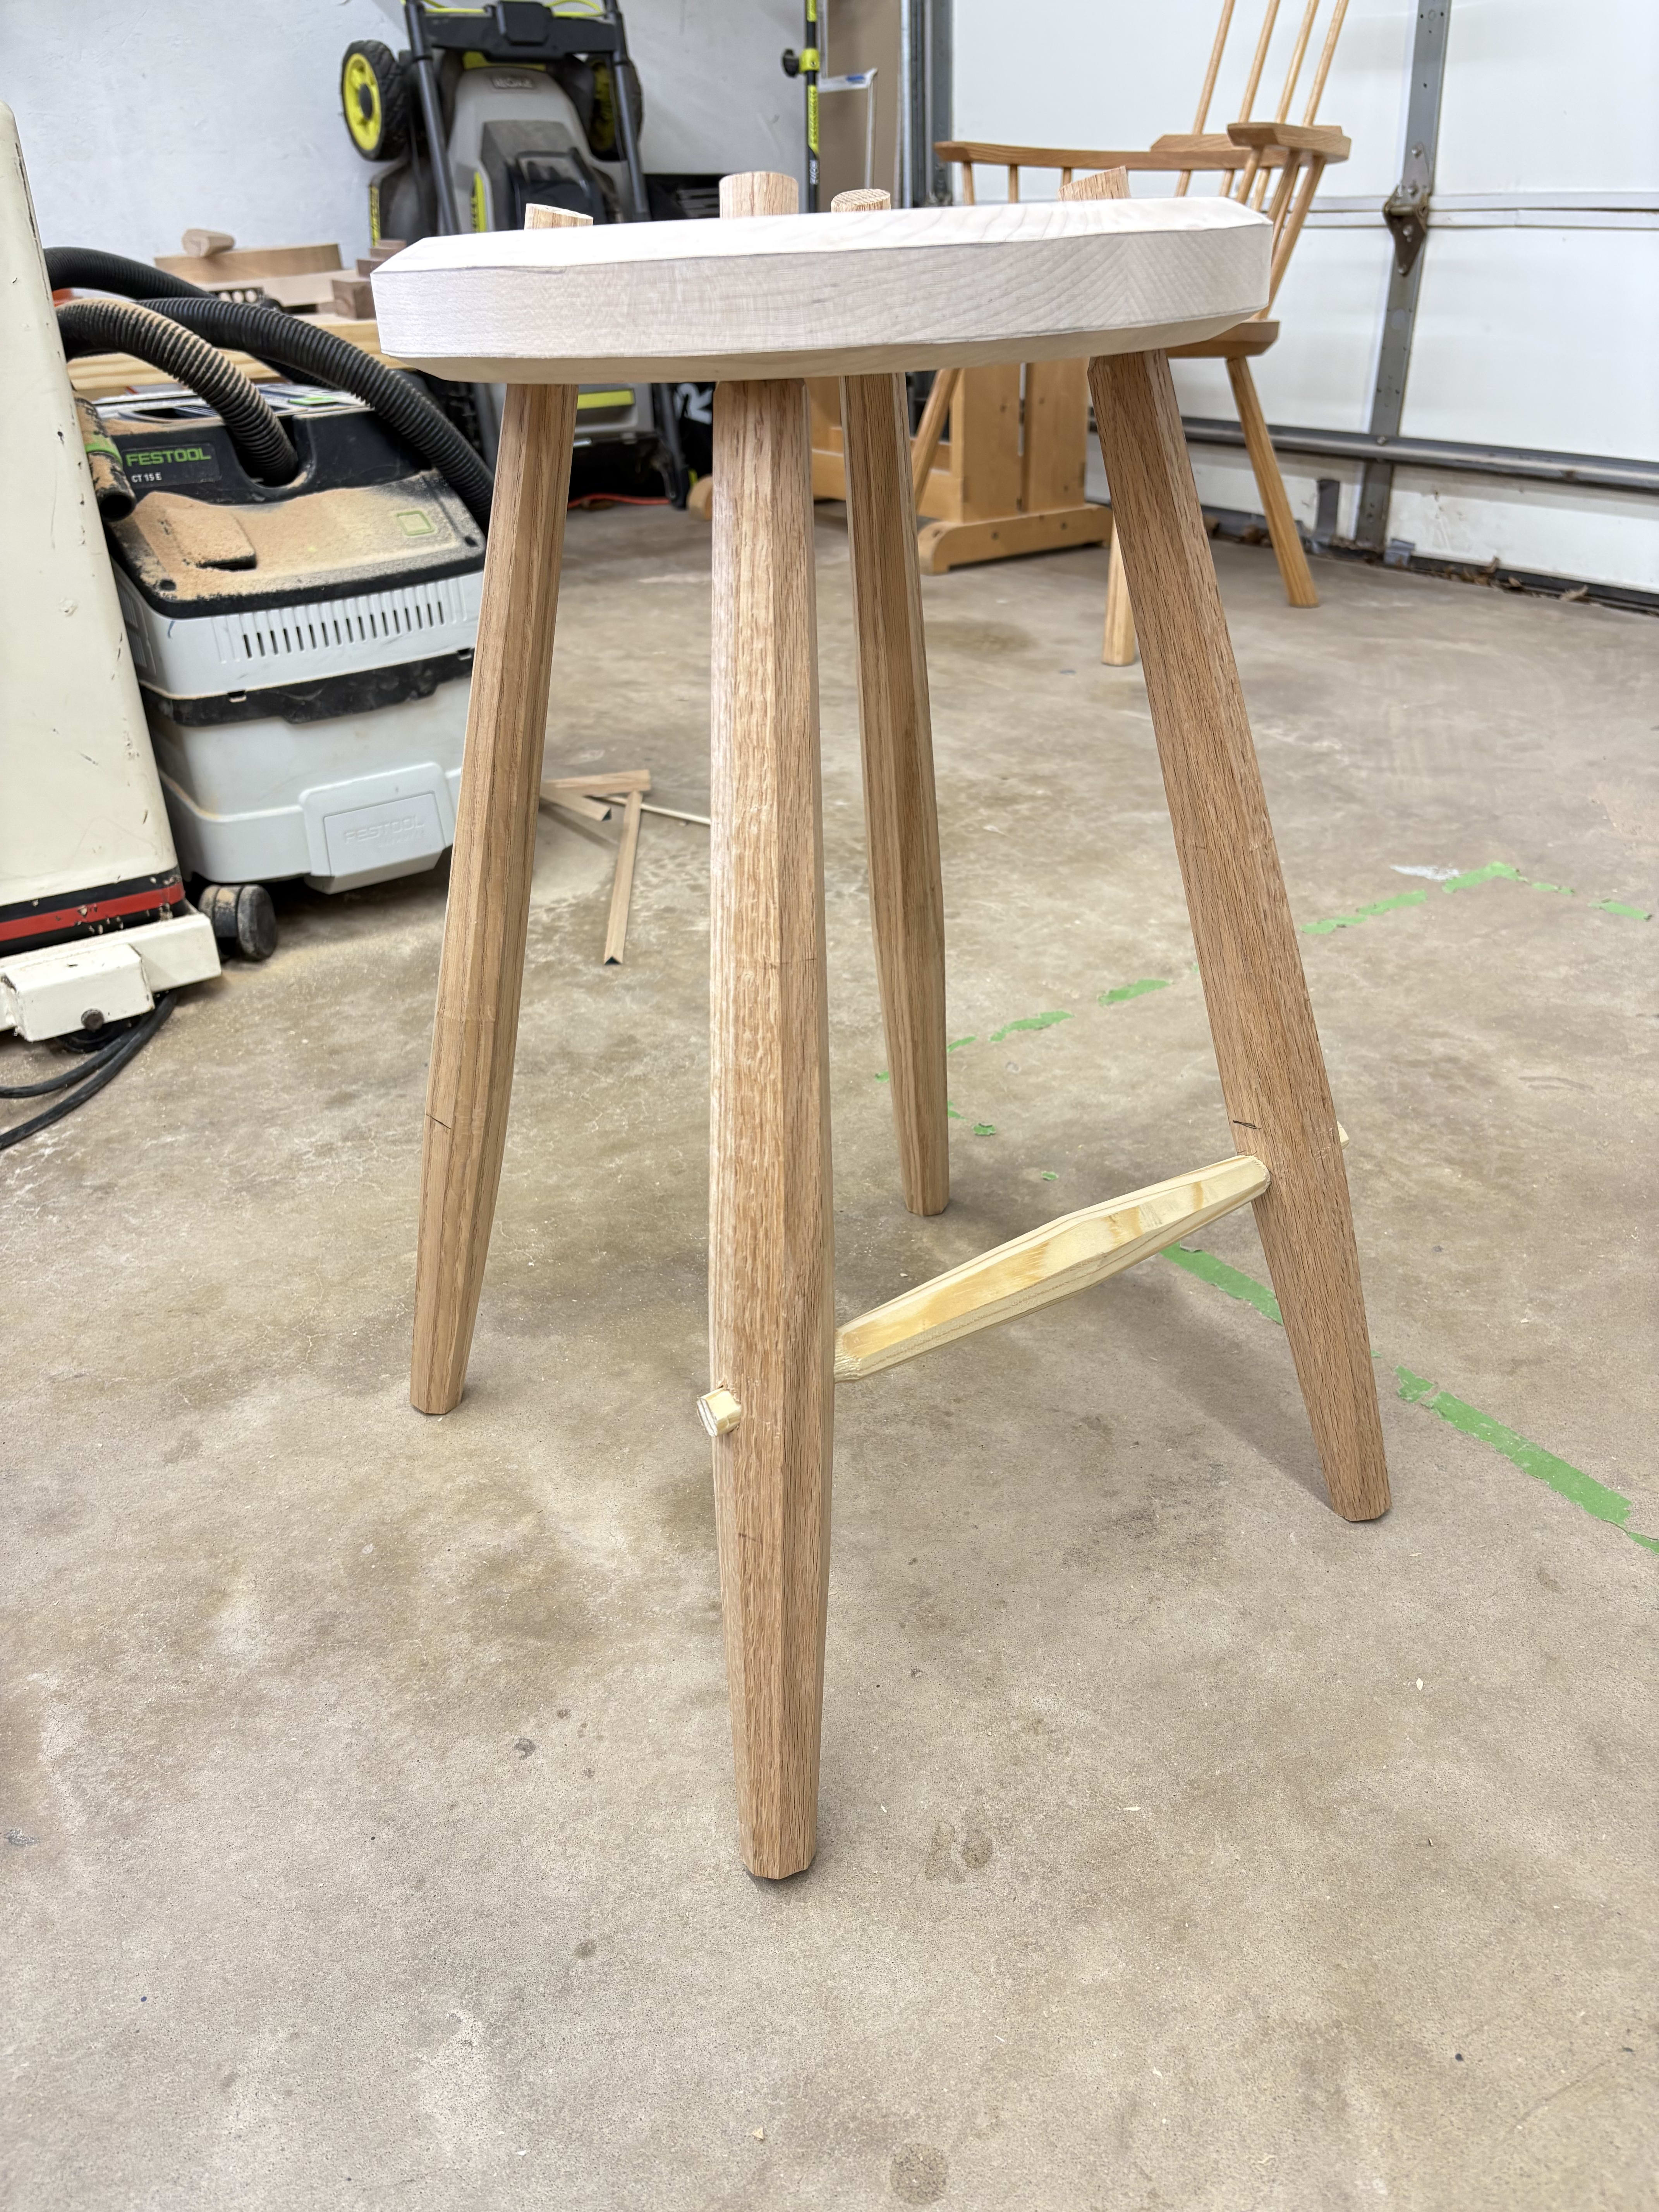
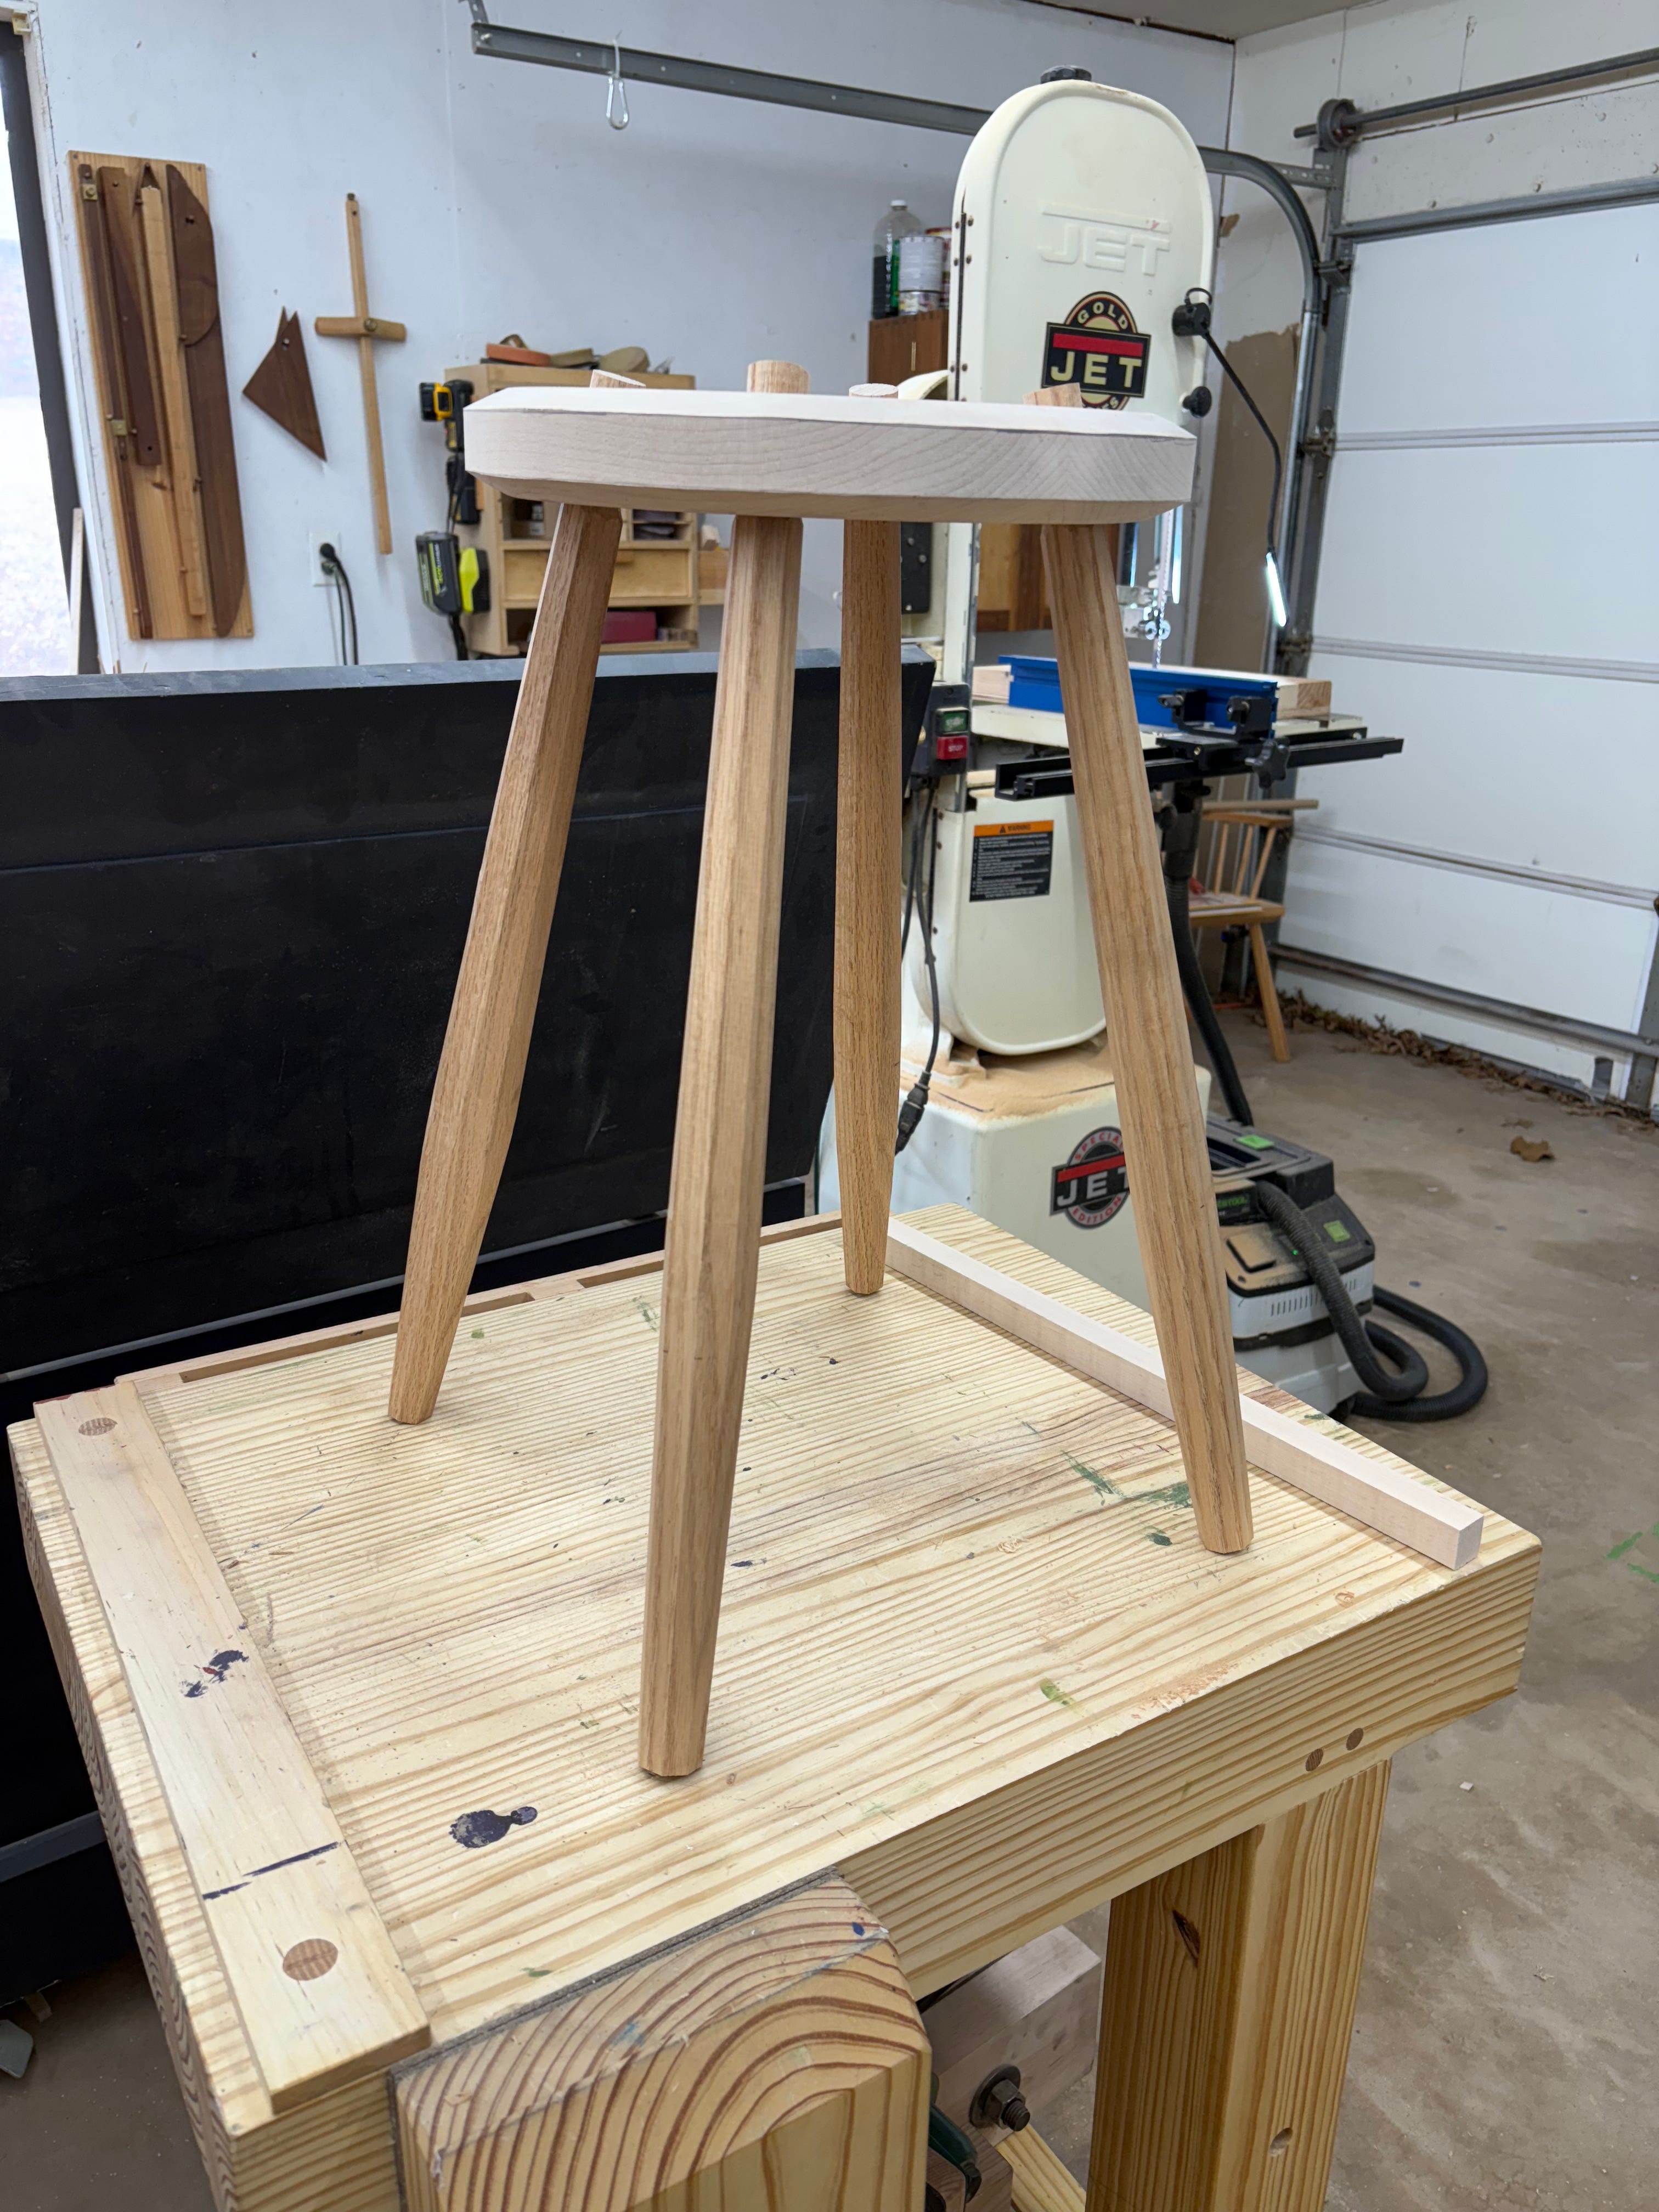
To me, it looked fine, but the whole point of this stool was to play, so I made one more stretcher. This time I took a page out of the revised Stick Chair book and made a rectangular stretcher: 1-3/8” x 7/8” cross section2.
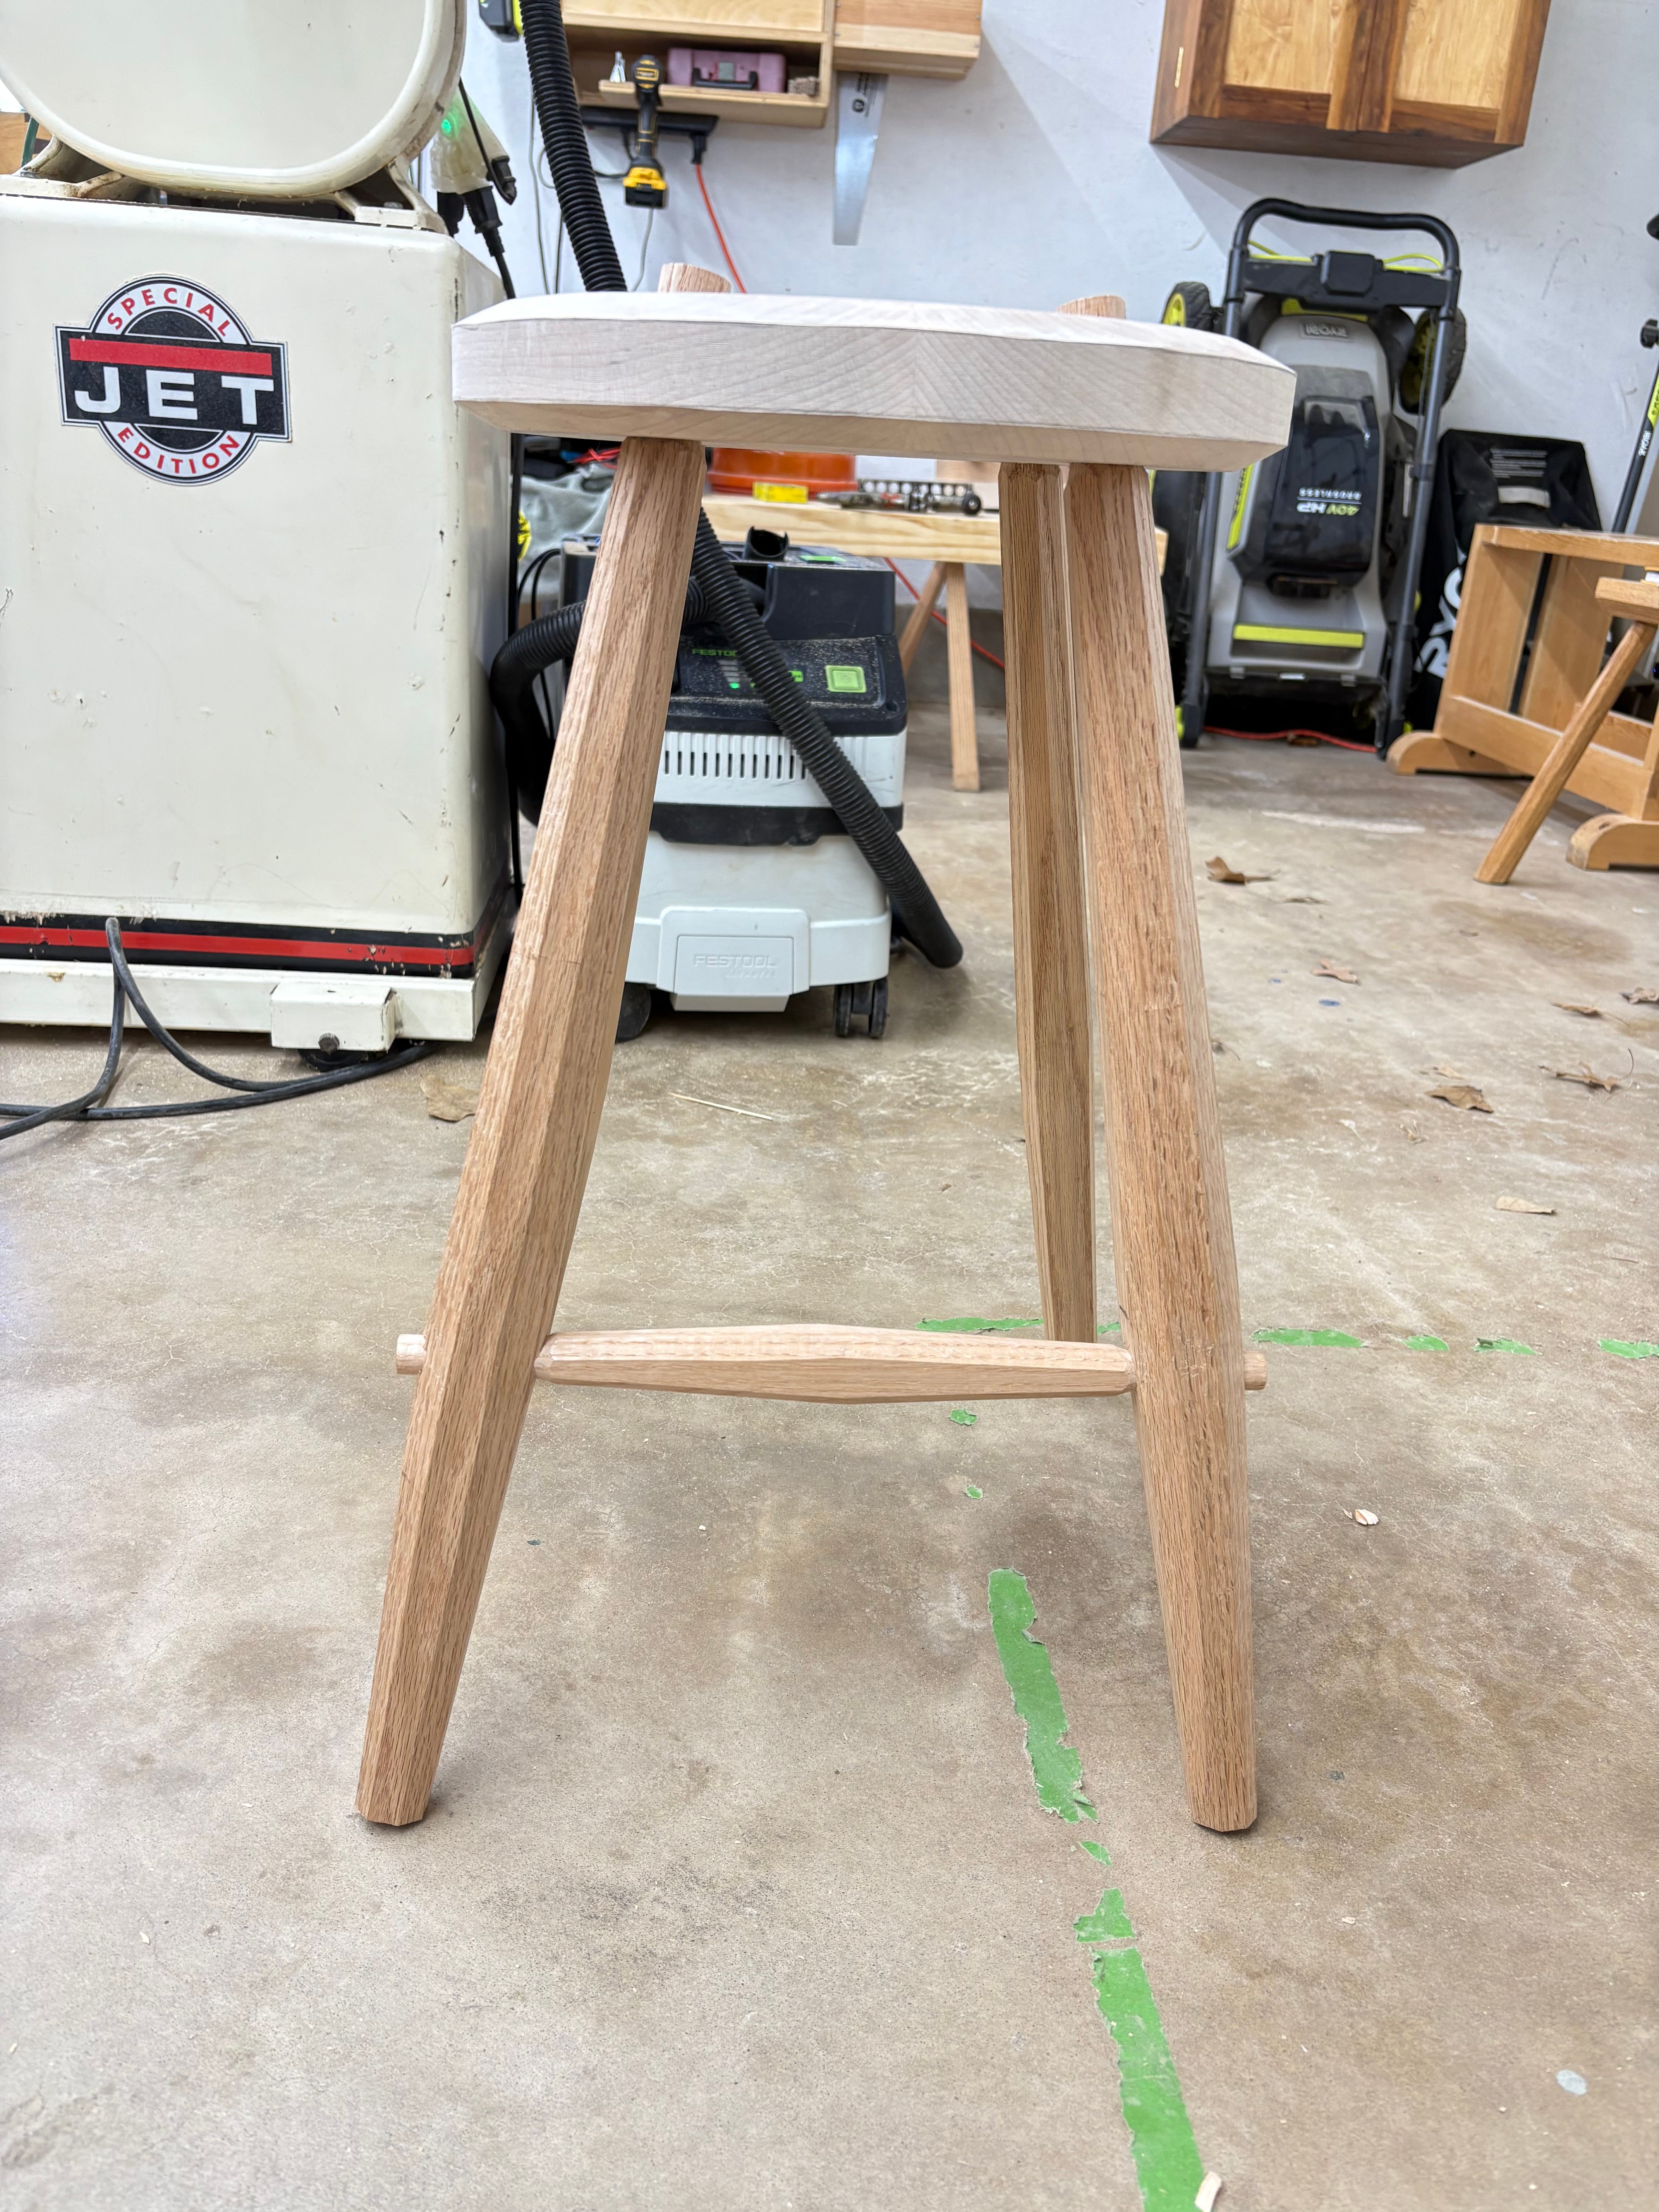
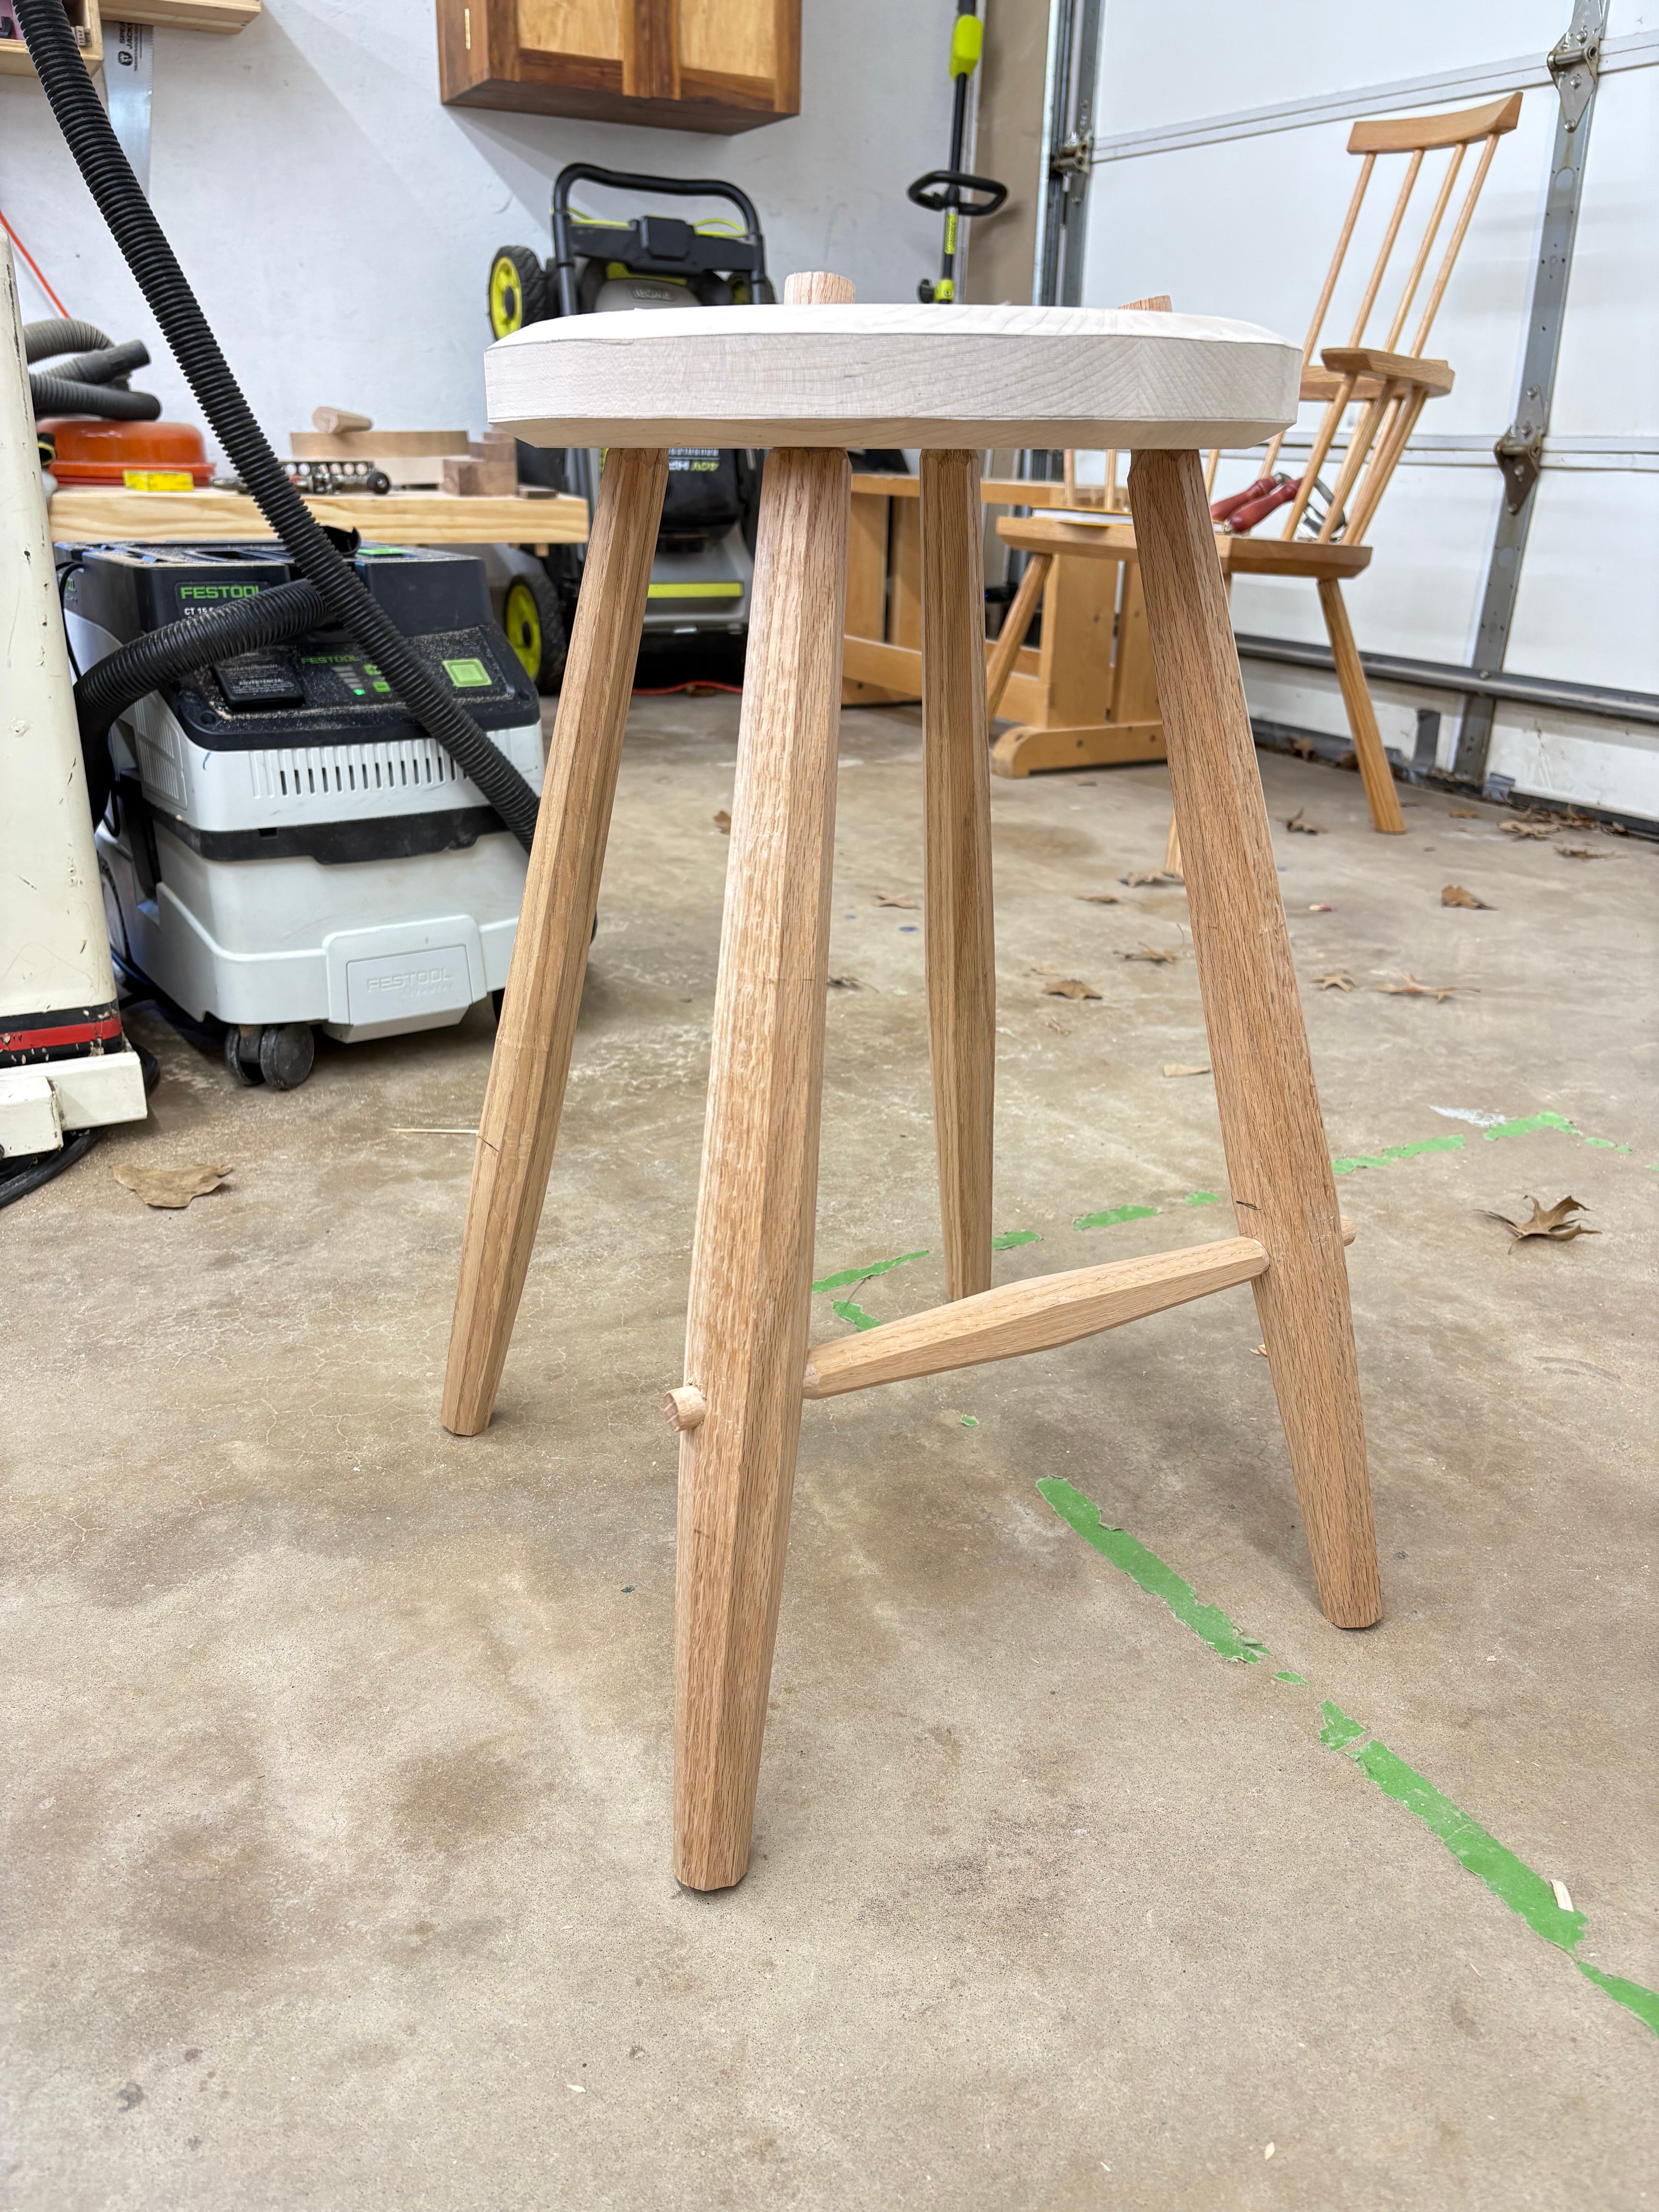
The slightly wider (taller?) stretcher gave me just what I was looking for, and worked well with the initial tapered leg. Next week will be a more ‘technical’ post covering how I made the legs and stretchers and maybe a bit on the seat shape, also a departure from previous stools.
If you were a tournament Magic the Gathering player in the late 90’s/early 00’s, you were familiar with the “Danger of cool things” and I was very attached to this cool thing/idea…
The revised version of the book uses 1-1/8” x 7/8” stretchers for a few chairs. Saves on material when compared to 1-1/8” square stock and still leaves a face large enough for a 5/8” tenon to be centered after tapering.
Hi Jon, Thanks for sharing this!
May I ask about that cool small-ish workbench in the pictures? Is there a post on it on your substack? (will there be?)
Cheers